Last Updated on November 23, 2023
DIY Sidewalk Chalk is the key to easily keeping kids occupied for hours on end.

There are so many different sidewalk chalk activities, once your kids unlock the fun, you’ll want to keep sidewalk chalk on hand all the time.
Why Make DIY Sidewalk Chalk?
Until I learned how to make my own sidewalk chalk, I used to buy a 120-count box of sidewalk chalk for our sidewalk adventures. It wasn’t very expensive, came in 10 different colors (color options open up your sidewalk chalk entertainment options), and provided plenty of chalk to get us through late fall when the weather turned too cold for sidewalk chalk activities.
Since buying sidewalk chalk was so practical and easy, I didn’t have any reason to go through the trouble of making sidewalk chalk. And if you know me, I’m all about the fastest, easiest solutions so I wasn’t about to make my own sidewalk chalk just for the fun of it.
So why did I make DIY sidewalk chalk?
To Use Up Plaster of Paris
The main ingredient in this DIY sidewalk chalk is Plaster of Paris. We happened to have a bunch left over after we made some of these mosaic coasters. Yes, that was a craft for toddlers, which means it was right at my craft ability level.
Plaster of Paris isn’t expensive and there are so many different ways to use it, so it’s something you quite possibly might end up with an extra supply of.
Multi-Colored Chalk
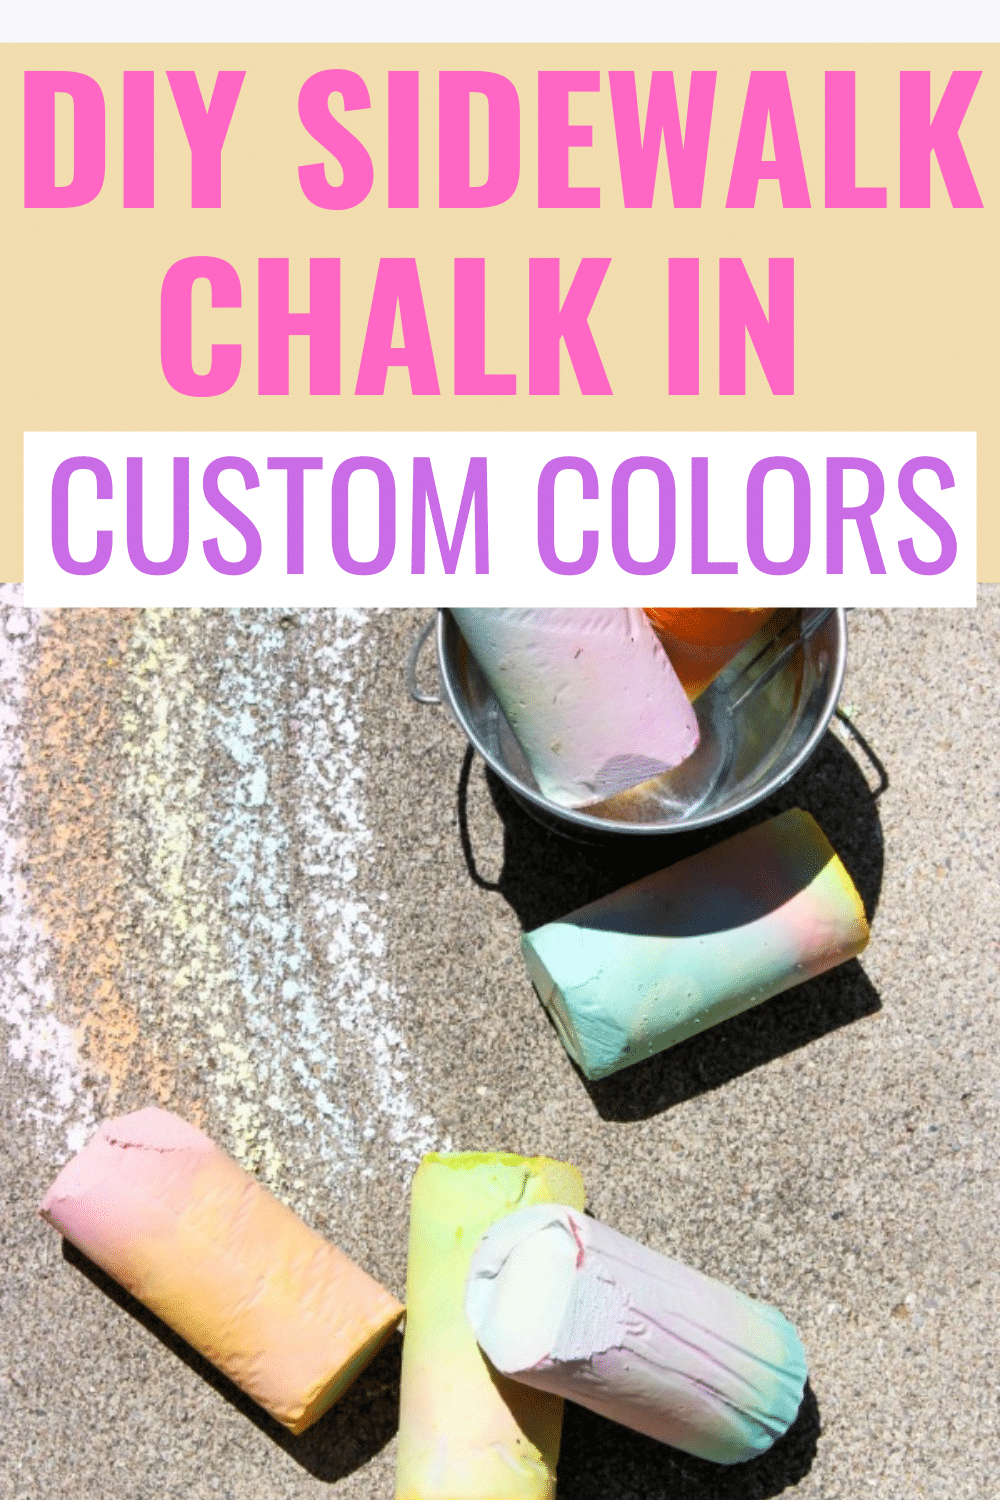
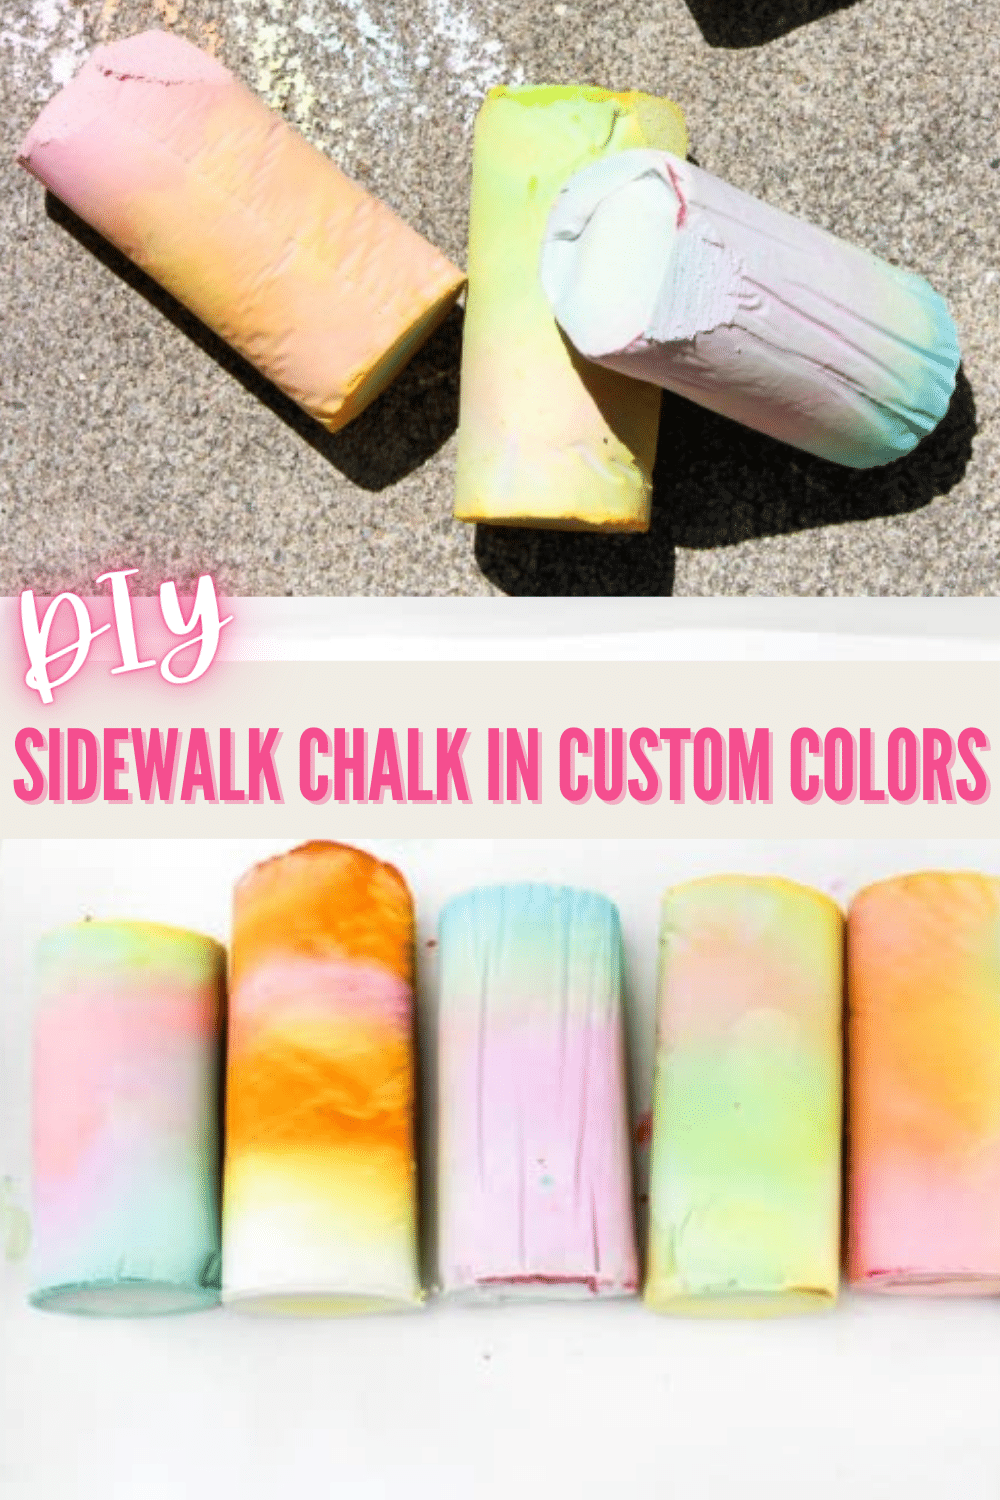
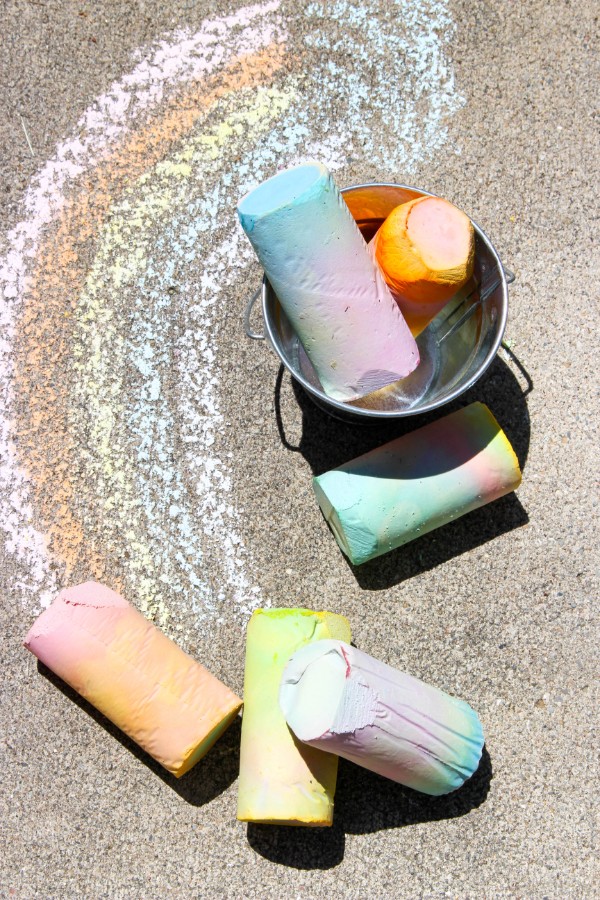
In my opinion, the BEST thing about making your own sidewalk chalk is that you can make chalk sticks that are marbled or multicolored layers.
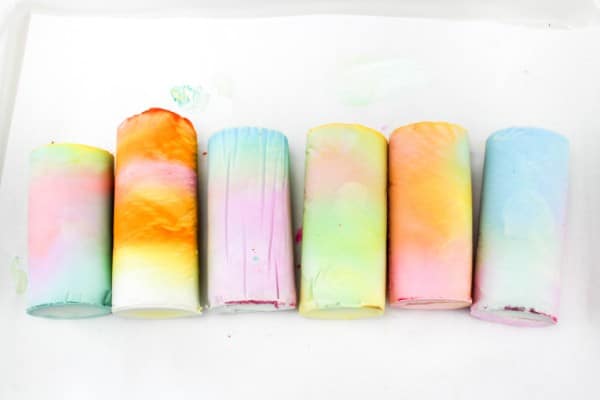
Not only do the chalk pieces look really cool, but so do the things the kids draw with them on the sidewalk. Also, you can play with the colors to get custom colors that you might not get in store-bought chalk.
Custom Sizes
Aside from customizing your colors, when you make your own sidewalk chalk, you can also customize the size and shape of your chalk pieces.
For this version, I used leftover toilet paper cardboard tubes as my mold. But you could also use silicone molds to get fun-shaped chalk.
For chalk pieces that are similar to marker size (I find these easier to write with), you can use these ice cube stick molds.
Important Tips for Working with Plaster of Paris
Plaster of Paris is a powder and floats around in the air a lot when you are working with it. That’s why you should always wear a mask when working with it.
It can also be hard on your hands so you should always wear gloves when working with it. And use a plastic spoon or paint stirrer to mix it.
Under NO circumstances should kids work with Plaster of Paris alone. An adult should always be involved when working with Plaster of Paris.
How to Make DIY Sidewalk Chalk
As always, if you see a craft on my site, it is an EASY craft. My craft ability is low so I am confident in saying if I can do this, anyone can.
Gather the Supplies
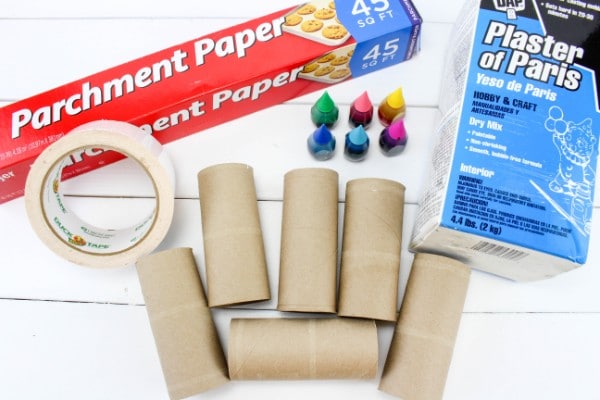
You’ll need a few basic supplies for this DIY sidewalk chalk:
- 6 toilet paper cardboard tubes
- 5 cups Plaster of Paris
- 2 ½ cups water
- Parchment paper
- Duct tape
- Food coloring
Would you like to save this?
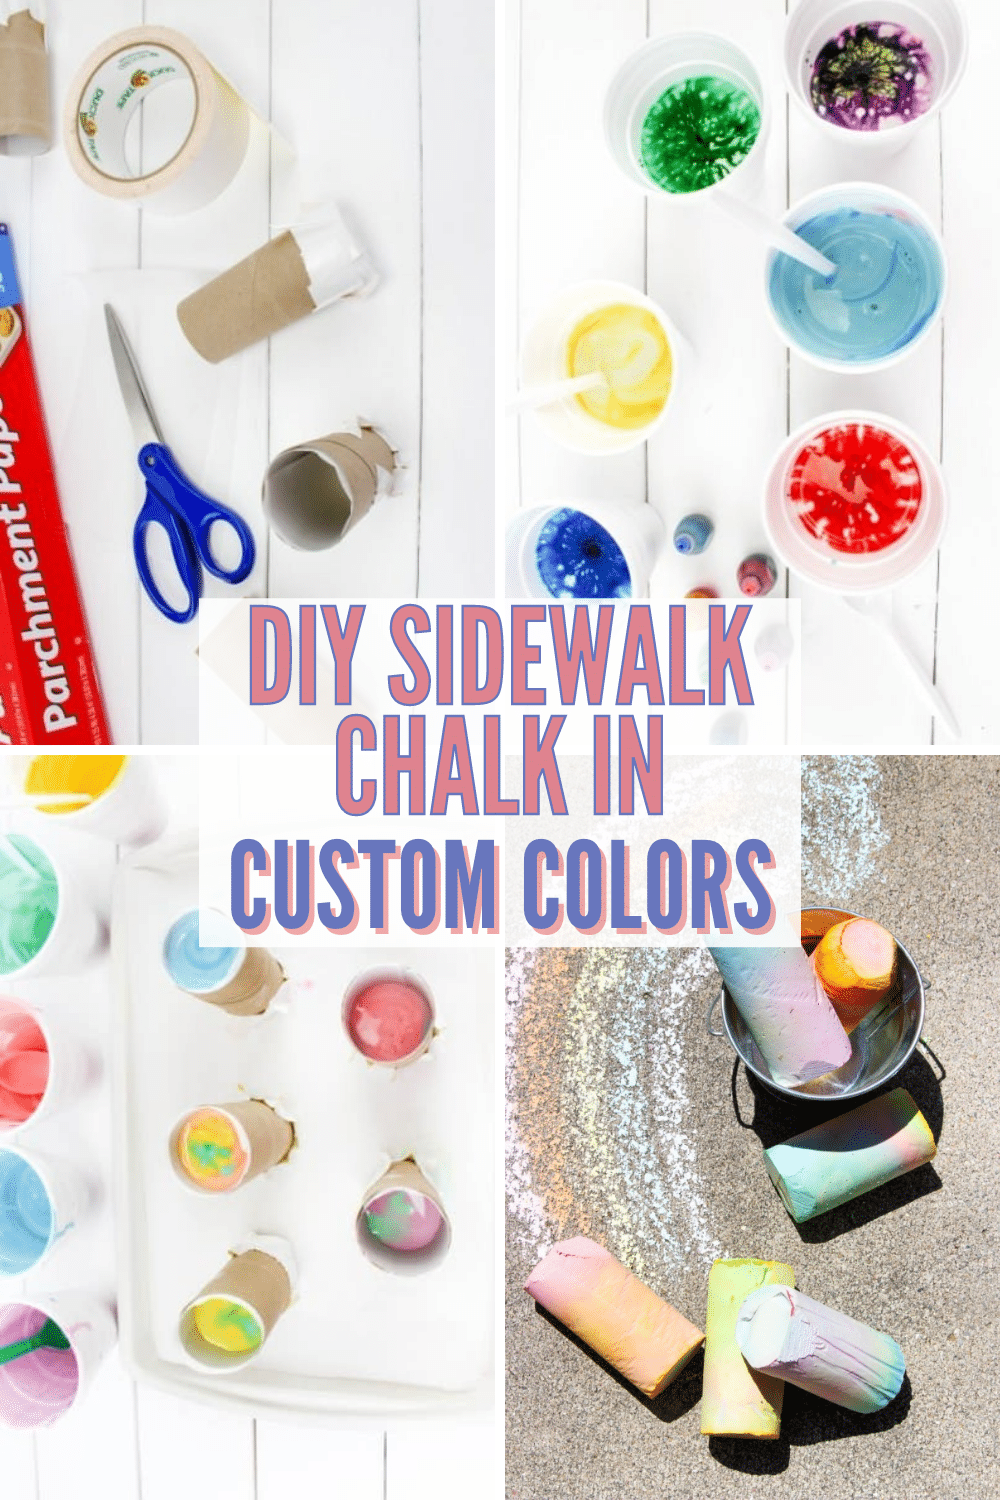
Step 1 – Prepare the Molds
First, tape 2 pieces of duct tape over one end of each of the toilet paper cardboard tubes.
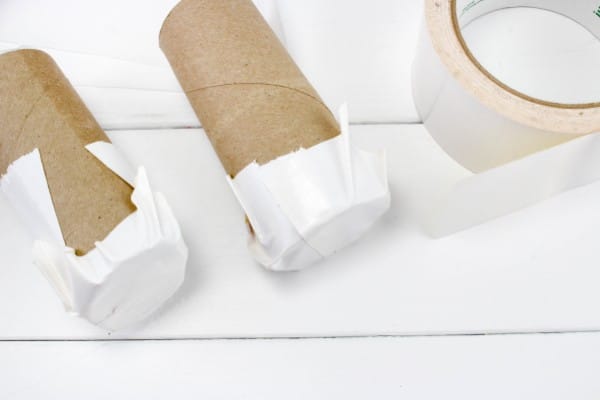
Line a cookie sheet with parchment paper, then stand the tubes up on the parchment paper with the tape side down.
Step 2 – Prepare Tube Liners
Next, you’ll need to cut six 4×6″ rectangles out of parchment paper.
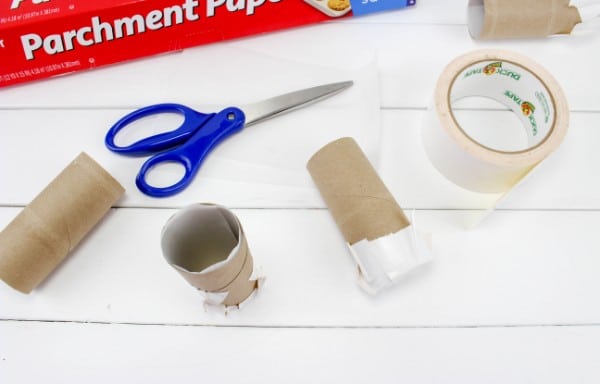
Then, roll up each piece of parchment paper and slide one into each cardboard tube.
Step 3 – Prepare Plaster of Paris
Now it’s time to get the plaster of paris ready. Mix it with the water in a large bowl.
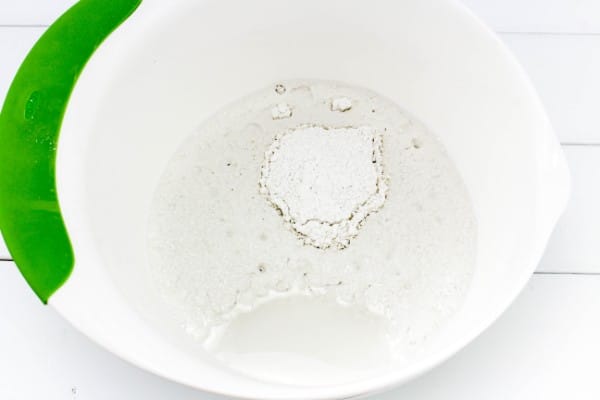
Then, divide the mixture into six disposable cups.
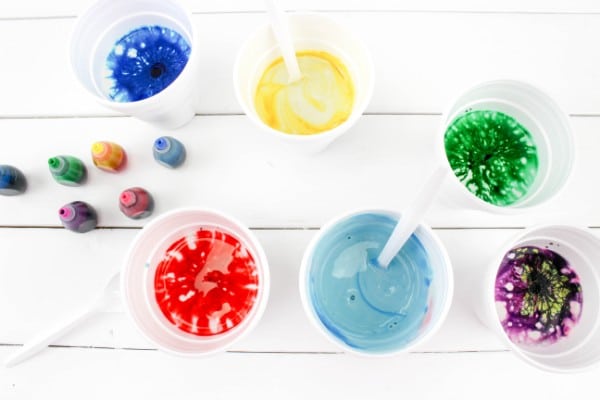
Step 4 – Add Color
Next, add food coloring to each cup to create the colors you want.
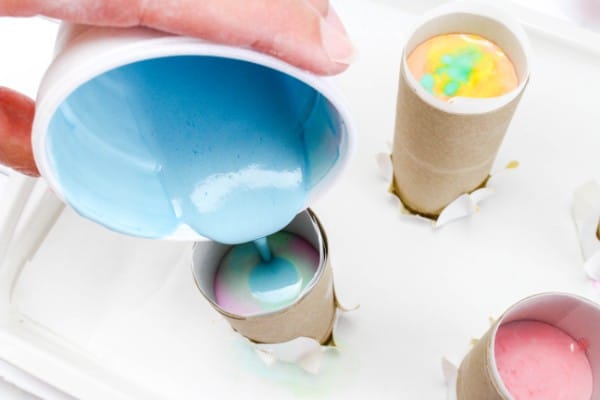
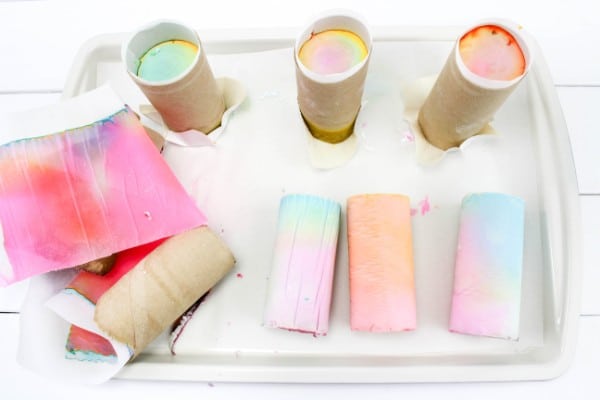
Step 5 – Add Plaster Mixture to Tubes
Now it’s time to pour the plaster mixture into each cardboard tube. If you want to create multicolored chalk pieces, alternate the colors within one tube.
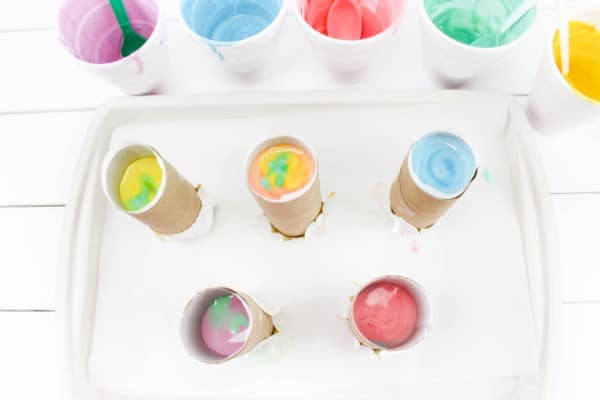
Step 6 – Wait
After you’ve poured the plaster into the tubes, you just need to wait for the plaster to dry. It will take several hours so leave them to dry overnight.
After they’ve dried, carefully peel away the cardboard and parchment paper.
That’s it! Now you can head outside to draw, play hopscotch, play four square or tic-tac-toe.

What a fun idea! Thanks for joining us for Friday Favorites. I’m featuring you this week.
I can hardly wait to make these with my grandson on our next rainy weekend. We are always looking for new ideas for stuff to do when it’s too cold/too hot/too whatever for the park or bike riding! We go through a lot of regular sidewalk chalk on our (2 1/2 car) carport.
I hope you and your grandson have fun making the chalk together! Thanks for commenting.
I was just thinking of searching for a way to make this and then I found you through the Saturday Sharefest! We’ll be trying this soon! Thanks for sharing.
When the nephews come to visit, I like to keep them entertained. This looks perfect…a little messy, so they’ll like it!
Pinned so I can use with my kids this summer!
I love this idea as we don’t always have sidewalk chalk on hand. Thanks for linking this post with us at #OMHGWW!
Love this! We love play ideas, they are so important for kids’ learning!