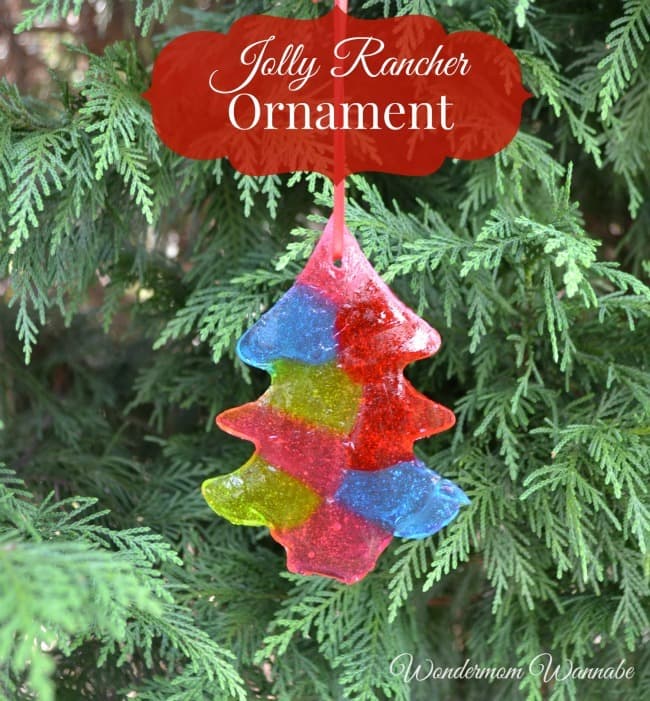
This Jolly Rancher ornament is a fun craft to make with the kids and a great way to use up these candies if you want to reduce the risk of cavities. It’s also the perfect way to get in the Christmas spirit.
The finished product looks like stained glass. It’s shiny, semi-translucent and colorful!

As I was foraging through my kids’ leftover Halloween candy for chocolate, I realized they had a lot of Jolly Ranchers floating around in their candy bags. Apparently, they either received a lot of these or they just didn’t like them as much as the other candy.
Either way, since Halloween was more than two weeks ago, I decided it was time to start coming up with ways to use up all the leftover candy. So, I gathered up a bunch of the Jolly Ranchers and turned them into a Christmas ornament.
How to Make a Jolly Rancher Ornament
Before I tell you how I made my Jolly Rancher ornament, I have to warn you, even though I somehow managed to pull this off with my almost non-existent craft ability, this was NOT an easy project!
If you want the mosaic look with less effort, I recommend these melted crayon christmas ornaments instead. And if you like the idea of baked ornaments, try these Homemade cinnamon spice ornaments.
I will share all of my mistakes and lessons learned so that if you want to recreate it, your process will be more streamlined, but even with tips and tricks you will need a little finesse and a pinch of patience to pull it off.
The steps to make this ornament are deceptively simple:
Step 1: Prepare Baking Sheet
Line a cookie sheet with parchment paper and coat a cookie cutter with butter, cooking spray or oil.
Step 2: Place Ornaments and Candies
Unwrap Jolly Rancher candies and place as many as you can fit in a single layer within the cookie cutter.
Step 3: Melt
Bake at 250° for about 5 minutes (candies will have softened and melted slightly but haven’t become completely liquid.
Step 4: Prepare Hole for Ribbon
Remove from oven and insert a juice box straw near the top of each ornament to create a hole for the string. Leave straw in place until candy has cooled.
Step 5: Remove from Cookie Cutters
Before candy cools completely and hardens (about 1-2 minutes after removing from oven), gently press on edges of ornament to release it from the cookie cutter. Use a butter knife to separate the candy from the cookie cutter if necessary.
Step 6: Finish
Push straw all the way through the hole and then tie a piece of ribbon or string through to form the ornament hanger.
See? It doesn’t SOUND hard.
Tips for Making a Jolly Rancher Ornament
Here are some important notes to make the process as simple as possible:
- Don’t skip the parchment paper and greasing the cookie cutter with non stick spray! Jolly Ranchers cool and harden quickly and they adhere to whatever they touch.
- If you ignored the first important note, you can still salvage your cookie sheet and cookie cutter by returning them to the oven and heating until the candy melts again. Then, wipe off quickly before the candy cools.
- After you’ve baked the ornament, do NOT wait for it to cool completely to remove it from the cookie cutter or you risk the ornament cracking or breaking. Ideally, the candy will be semi-solid and malleable while you work to release it from the cookie sheet.
- I used my toaster oven. You can use a full-sized cookie sheet in a full-sized oven so you can make multiple ornaments at once, but make sure you have a small army to help you quickly make the hanger holes and to help you extract the ornaments from the cookie cutters before they cool.
- If you do break the ornament trying to free it from the cookie cutter, simply put the broken pieces back inside the cookie cutter and melt them again. I had to do this twice with the ornament pictured above.
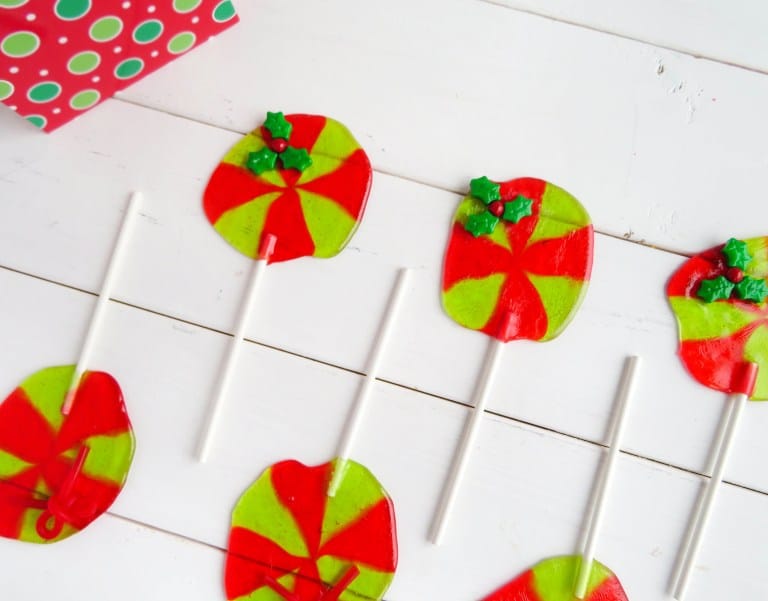
If you have leftover Jolly Ranchers, you can also make these Jolly Rancher Christmas Wreath Suckers.
More DIY Ornaments
If this project hasn’t frightened you away from making your own ornaments, you might want to tackle these other projects from a couple of my friends.
These monogrammed ornaments add a personal touch and are easy to make. You can find the instructions for these easy DIY ornaments at Organized 31.
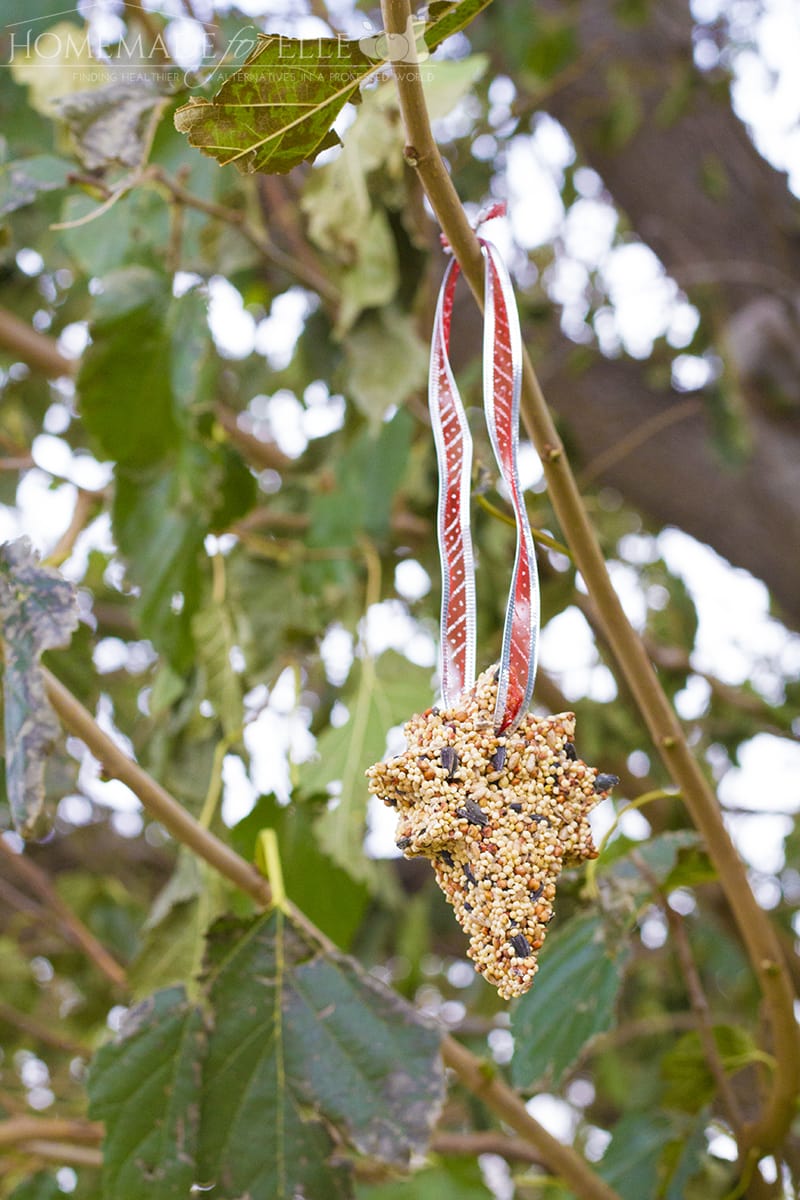
And how about an ornament that does double duty? This bird feeder ornament is both decorative and serves as a holiday treat for your feathered friends. Find out how to make your own bird feed ornament at Homemade for Elle.
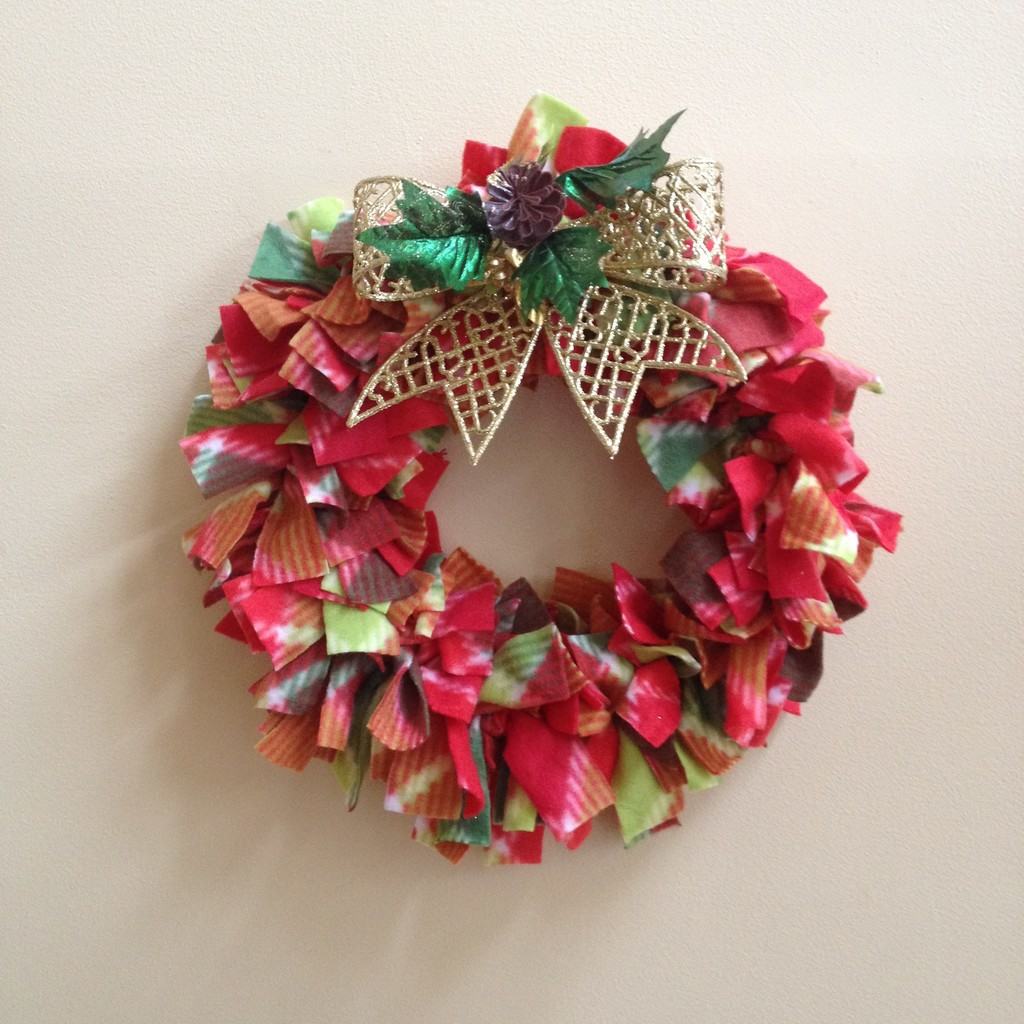
And if you’re really in the mood to craft, check out my post on a SUPER easy DIY fleece wreath. They are easy enough for kids (and me) to make! Better yet, it’s an inexpensive craft (under $5).
Thrive This Holiday Season
Need help getting ready for the holidays? Use one of these printable Christmas planners.
All three have helpful checklists and ideas to help you get and stay organized through the busy holiday season. Each one is a little different so that you can choose the one that works best for you.


Can you spray polyurethane on them to keep or are they one season only??
Libby, that is an excellent idea! I can’t see any reason why you couldn’t.
This turned out great! I love that you shared your challenges so that I can be prepared for when I make these (I am also NOT great at crafts!).
Thanks for the tips 🙂 Using the toaster oven is a great one. I love how colorful your ornament looks against the greenery of the tree.