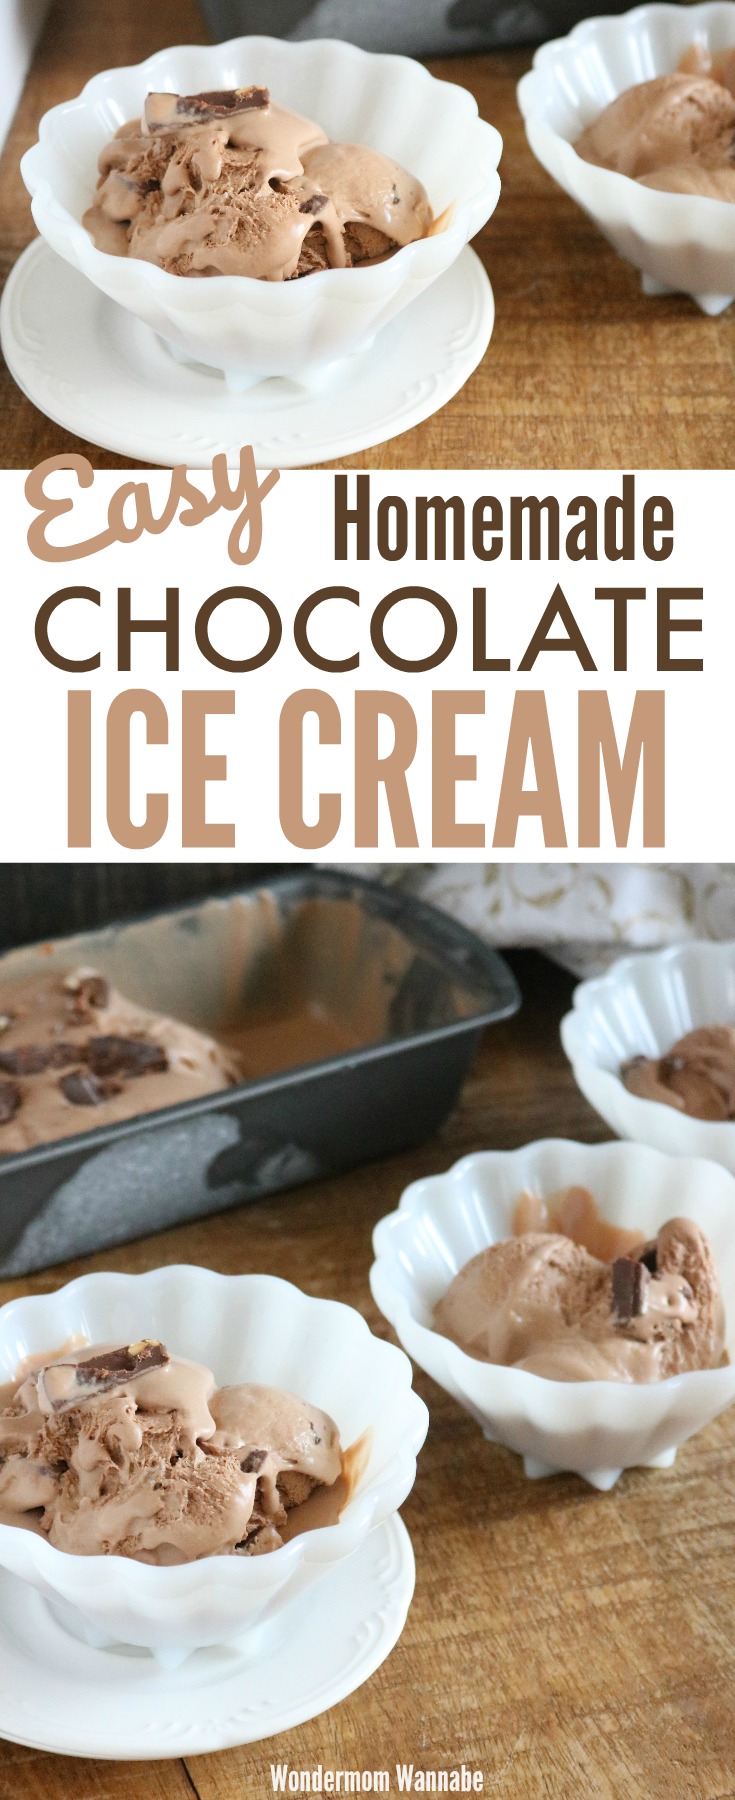
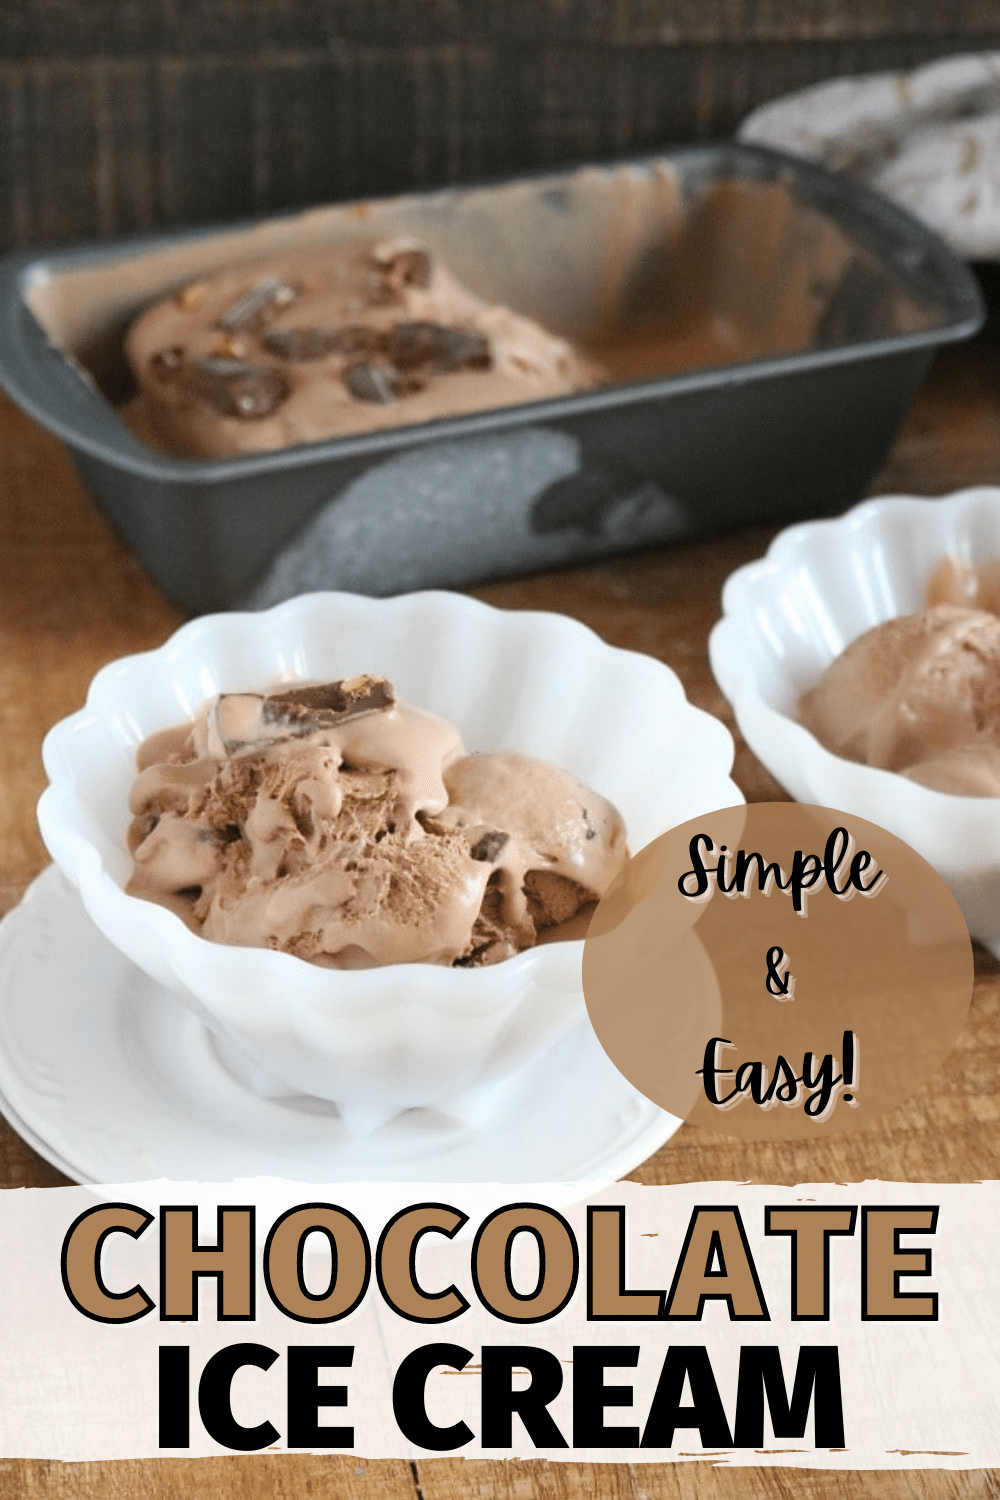
This is the Very Best Simple Chocolate Ice Cream recipe. It’s creamy, chocolatey and so easy to make!
As a Wondermom Wannabe, I love the idea of making homemade desserts for my family to enjoy after an (ideally) healthy, home-cooked meal. In reality, dinner itself is a major challenge and if I can only put my effort into one area, mom guilt dictates that it should be dinner.
So, if homemade dessert happens in my house, I can promise you that it is almost effortless. I’m also a diva though so just because something’s easy, doesn’t mean I want it to taste like I put no effort into it.
When I say this is the best homemade chocolate ice cream, I mean it! It’s just as creamy and delicious as gourmet chocolate ice cream, but it only takes minutes to prep.
Plus, since I TRY to refrain from buying a bunch of small appliances I have nowhere to store, you don’t need an ice cream maker for this simple chocolate ice cream recipe.
SAVE THIS RECIPE!
Enter your email below and I’ll send it straight to your inbox.
How to Make This Simple Chocolate Ice Cream
You’ve probably guessed by the name that this SIMPLE Chocolate Ice Cream is easy to make. You just need 4 ingredients to put it together: sweetened condensed milk, heavy cream, chocolate syrup and your favorite mix-in ingredient (I use crushed candy bars).
If you’re one of those people who needs to add vanilla extract to every dessert (no judgment, I have my own cooking “rules”) you can also add a teaspoon of vanilla without throwing off the taste, texture, or consistency of the chocolate ice cream.
Step 1: Make Whipping Cream
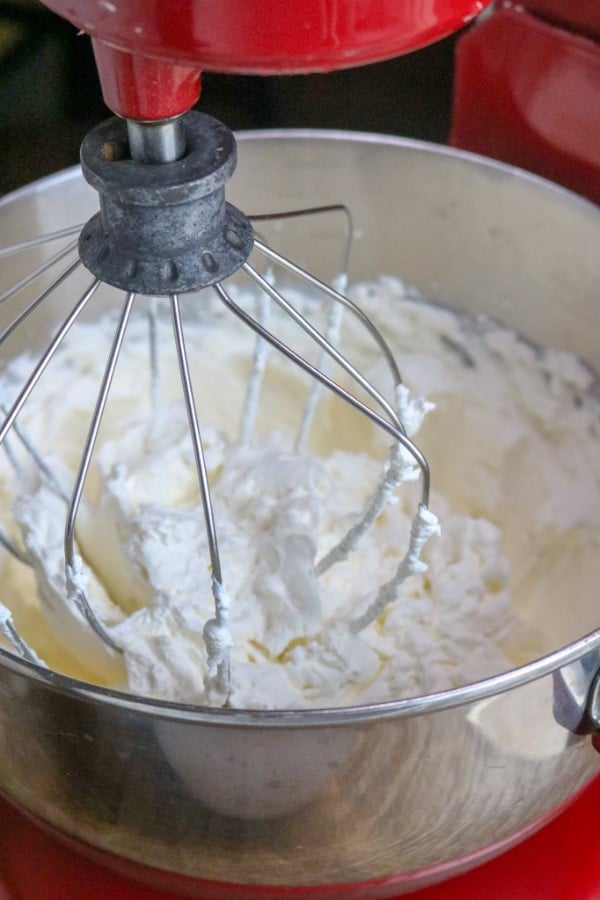
This is the most labor-intensive part of this recipe. And actually, if you have a Kitchen Aid mixer (one of the appliances I do own), it’s not even labor-intensive.
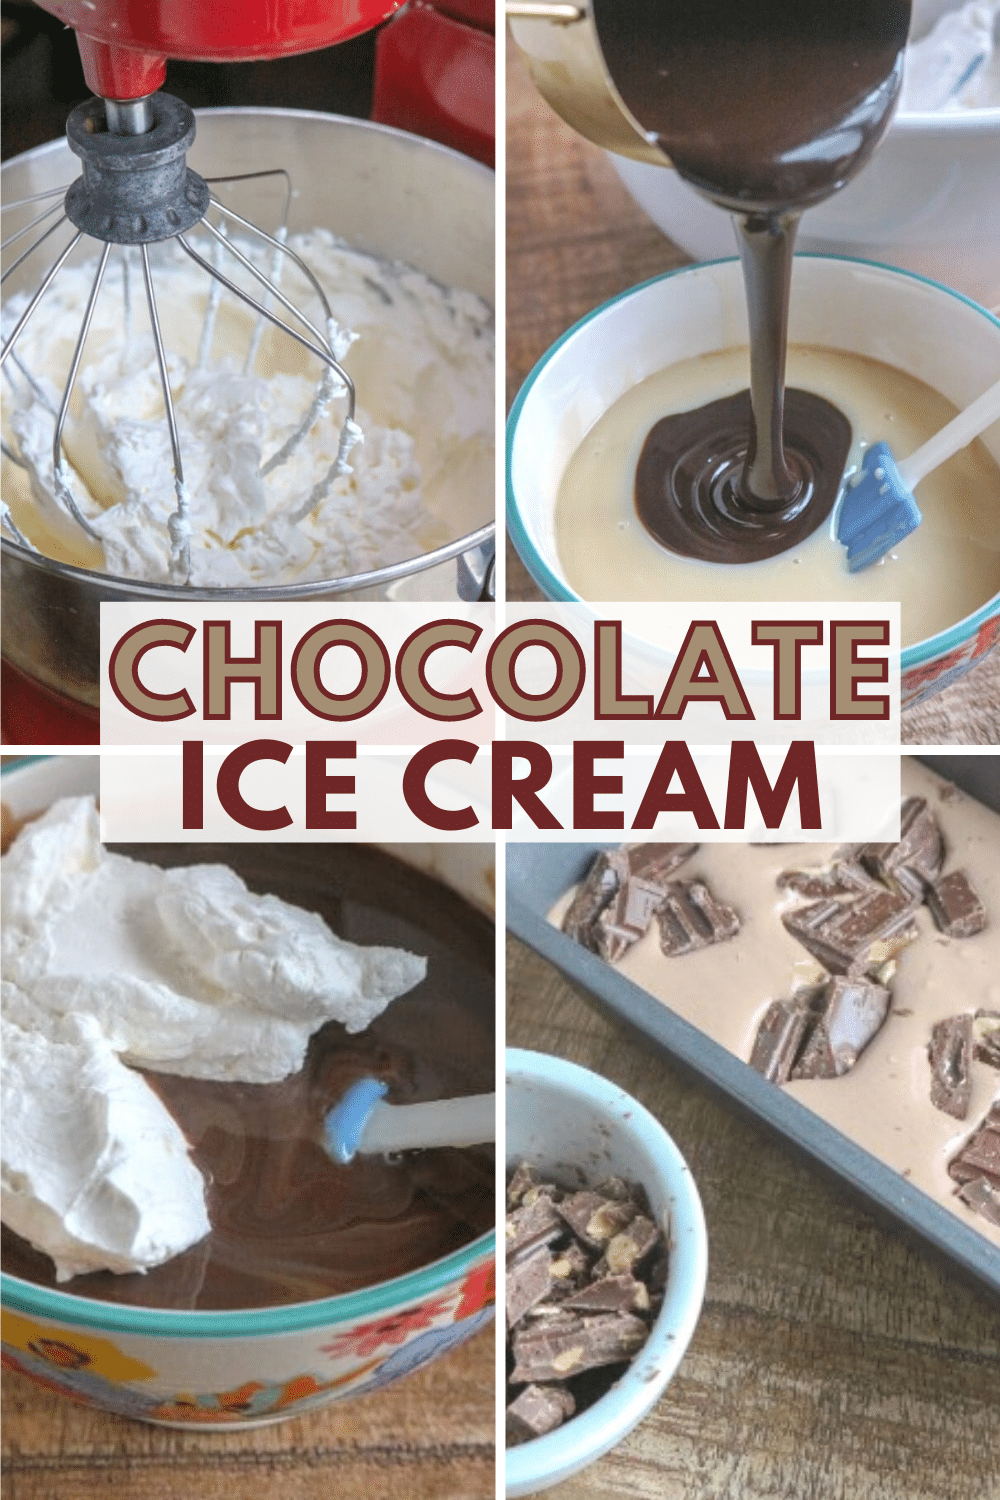
The heavy cream will need a couple of minutes of vigorous beating to turn into whipped cream.
Step 2: Prepare the Chocolate
Now it’s time to work the chocolate in. In a large bowl, add one cup of the whipped cream to the sweetened condensed milk. Then, measure a cup of chocolate syrup.
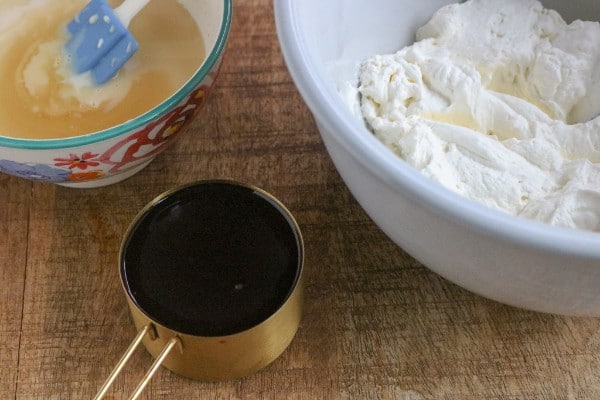
Slowly add the chocolate syrup to the sweetened condensed milk.
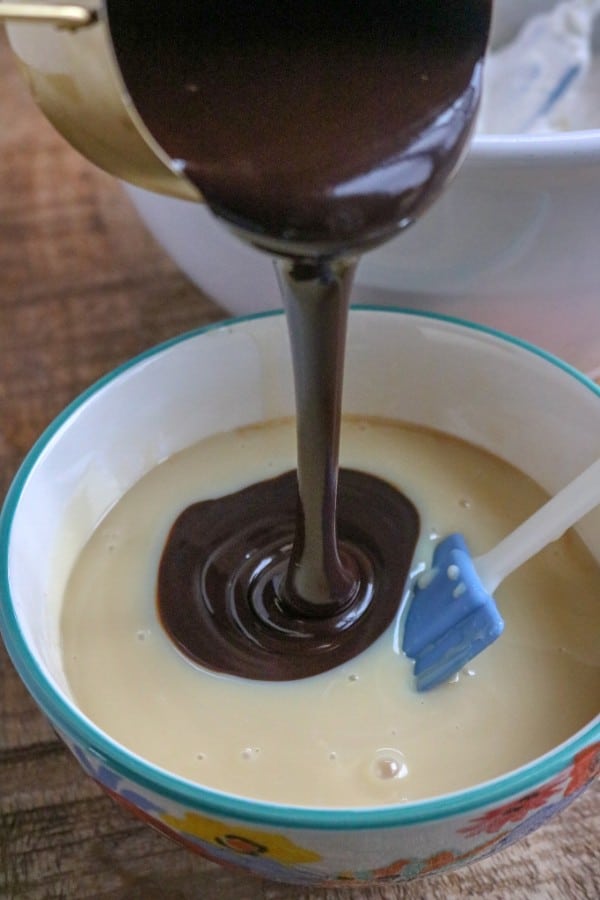
Mix well so the chocolate is completely incorporated into the milk.
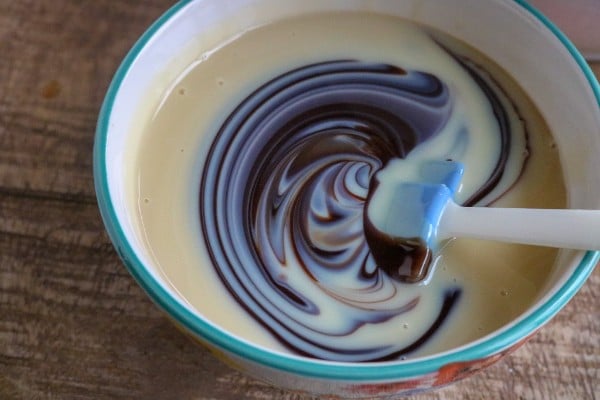
Step 3: Add the Remaining Whipped Cream
Next, gently fold the rest of the whipped cream into the chocolate mixture.
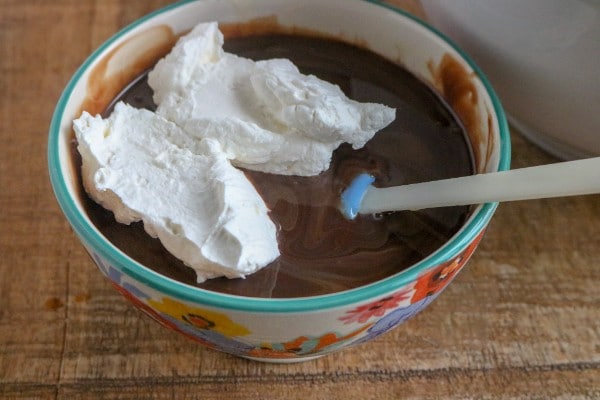
Continue folding gently until the ingredients are combined and the mixture is smooth and creamy.
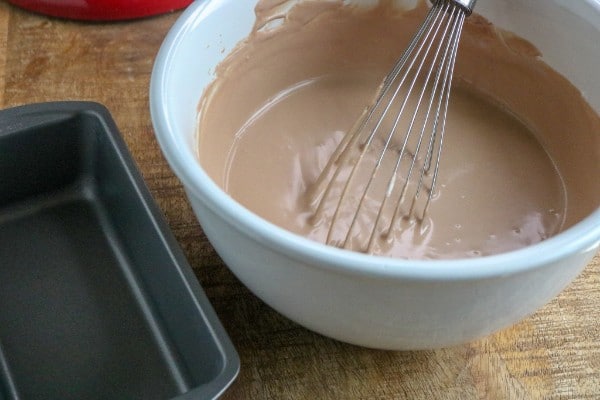
Step 4: Pour Into Container
To finish, we just need to add it to a freezer-safe container. Pour in half of the mixture.
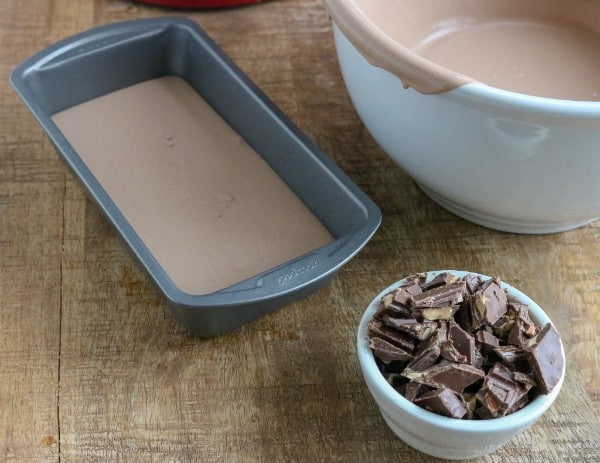
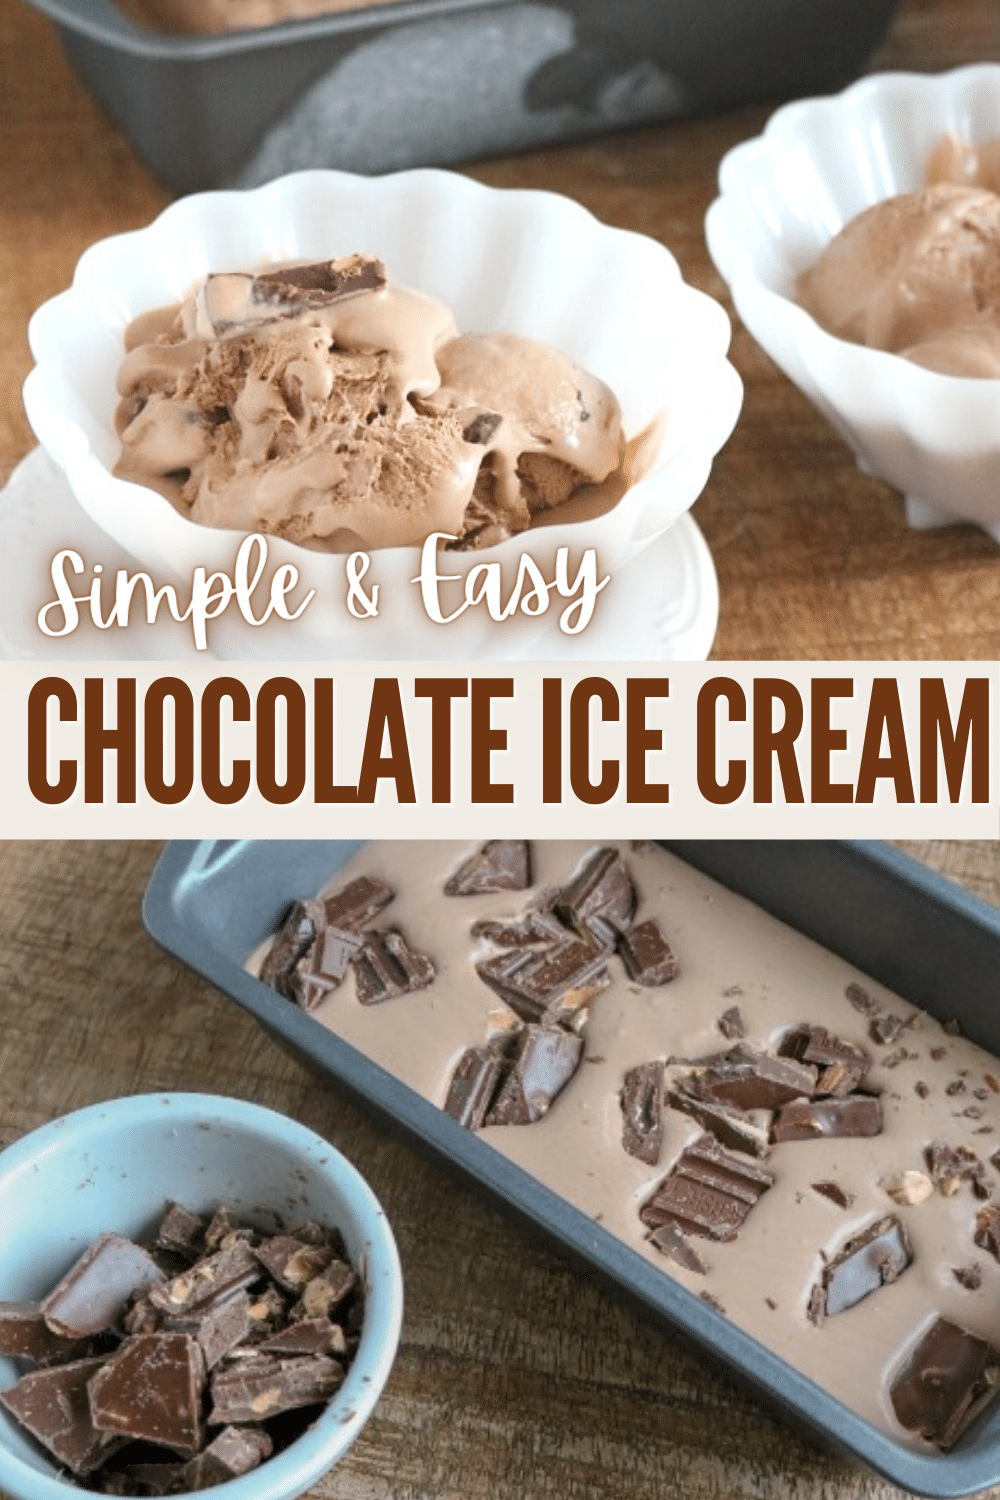
Then, sprinkle half of your favorite mix-in over the mixture in the container.
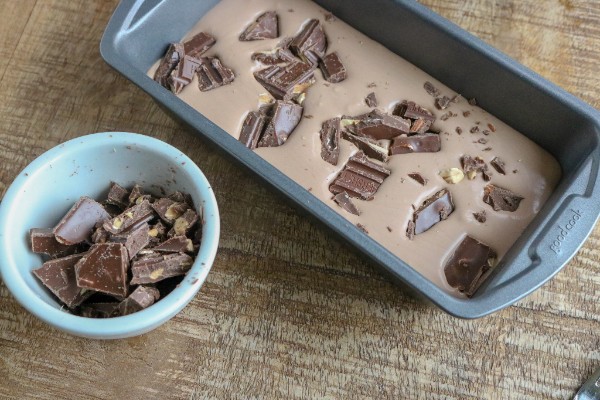
If you want, you can use a knife to swirl the mix-in pieces into the cream.
Next, add the rest of the chocolate mixture and top with the remaining mix-in.
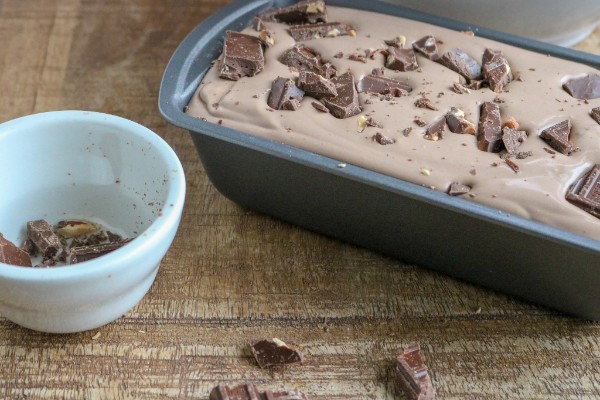
Step 5: Freeze
Put the container in the freezer and let it set for at least 5 hours. If you make it after lunch, it’s usually ready by dinner.
Just scoop servings into individual bowls and enjoy!
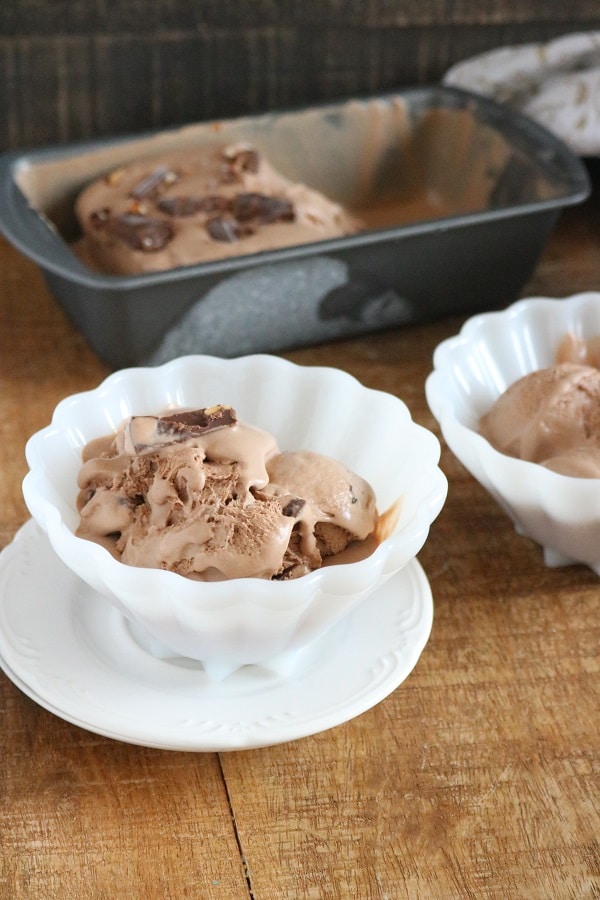
You can top with additional pieces of your mix-in ingredient, a drizzle of chocolate syrup and/or a dollop of fresh whipped cream if you want to be fancy. Honestly, the ice cream is pretty good without the extra trouble! If you love chocolate ice cream recipes, you should try this Wendy’s Frosty Recipe.
Prefer exact measurements? Want a printable version? Here’s the recipe card for this Simple Chocolate Ice Cream:
📋 Recipe
The Very Best Simple Chocolate Ice Cream
Ingredients
- 1 14- oz. can sweetened condensed milk
- 2 cups cold heavy cream
- 1 teaspoon vanilla optional
- 1 cup chocolate syrup
Mix-Ins
- 2 king size chocolate candy bars, broken into bits optional
- 6 crushed Oreos optional
- 6 ounces chocolate chips optional
- 1/4 cup chopped nuts optional
Instructions
- With a mixer, beat heavy whipping cream until thick. Fold a cup of it into a bowl with the sweetened condensed milk, add chocolate syrup and optional vanilla and mix until smooth.
- Pour sweetened condensed milk/whipping cream mixture back into the bowl with the heavy whipping cream and fold together until smooth and creamy.
- Next, pour half of the ice cream into a freezer safe container. Add half of the mix-in of your choice (if any), and use a spoon or a knife to swirl the mix-in together with the ice cream (optional).
- Top with remaining ice cream, and then top that with the remaining mix-in.
- Freeze for 5-6 hours or overnight. When it is time to serve, remove from freezer and let sit on the counter to soften for 5-10 minutes prior to serving.
Nutrition
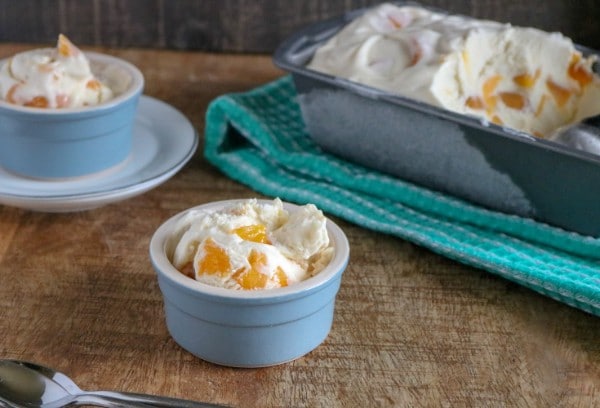
If you have family members who don’t like chocolate, forgive them and then try this No Churn Apple Pie Ice Cream or this easy peach ice cream instead. They’ll have a delicious dessert they’ll enjoy and you’ll have more chocolate ice cream for yourself!


I’ve tried the churn ice cream with sweetened condensed milk and my family loved it. I will definately try the no churn recipes. Thanks
Thanks. Would a hand mixer work as well?
Yes, you should be able to use a hand mixer to make this recipe.
Chocolate is always our top choice for an ice cream flavor. Will definitely try this one!
I hope you enjoy this creamy chocolate ice cream. Thanks for commenting.
I love that it’s simple to make yet you can overload it with chocolate! My two favorites in one recipe.