
Last Updated on September 16, 2024
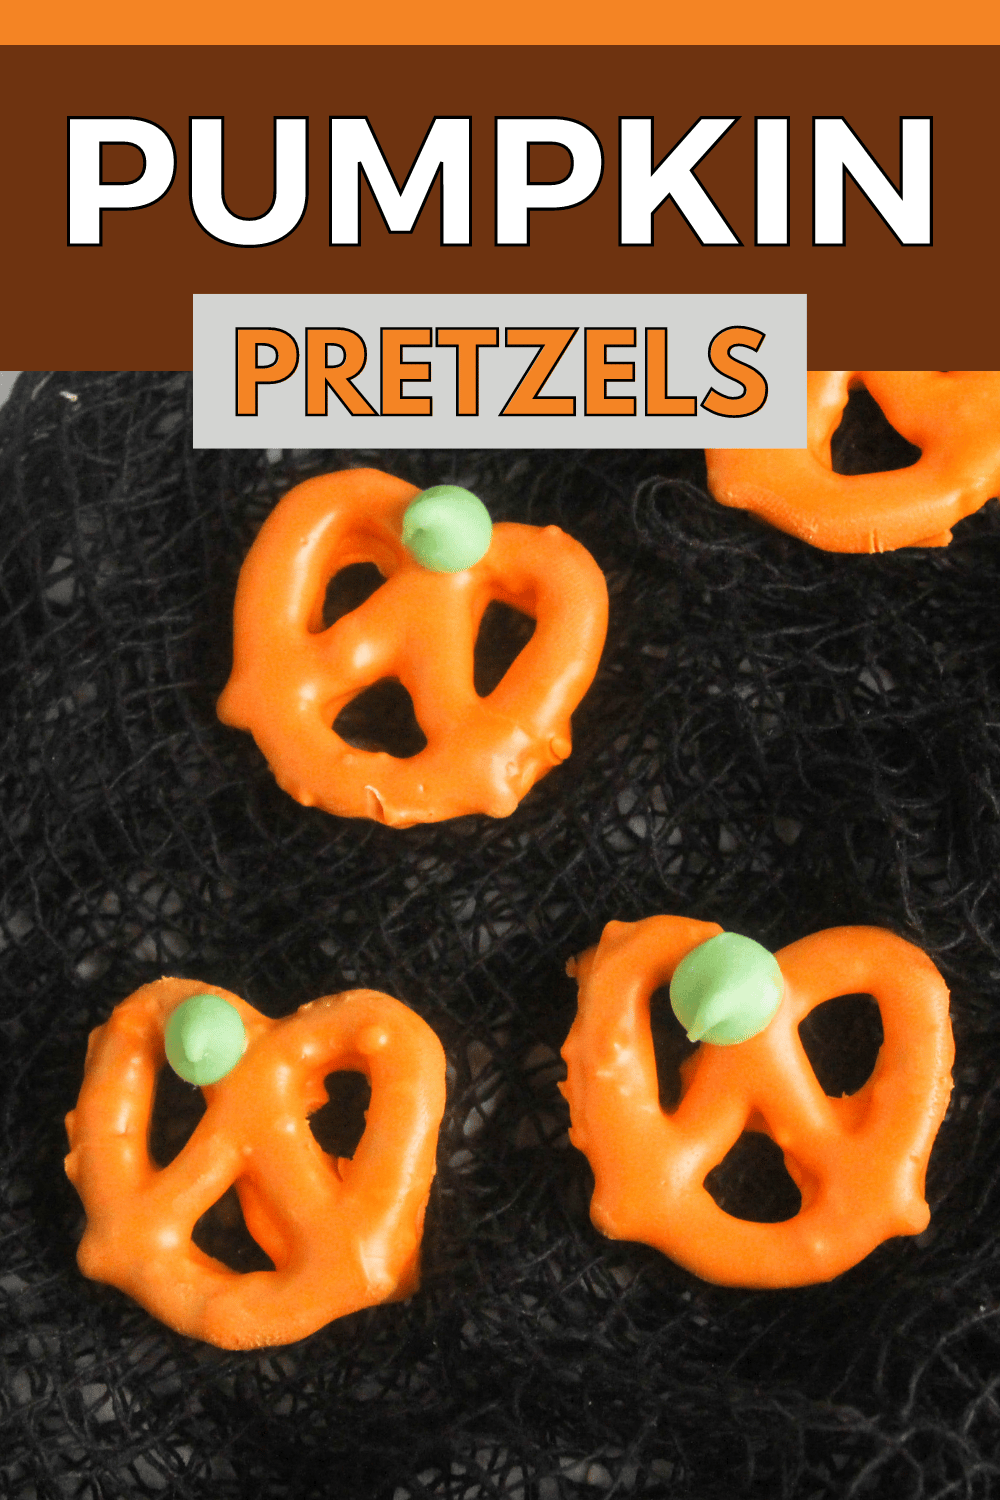
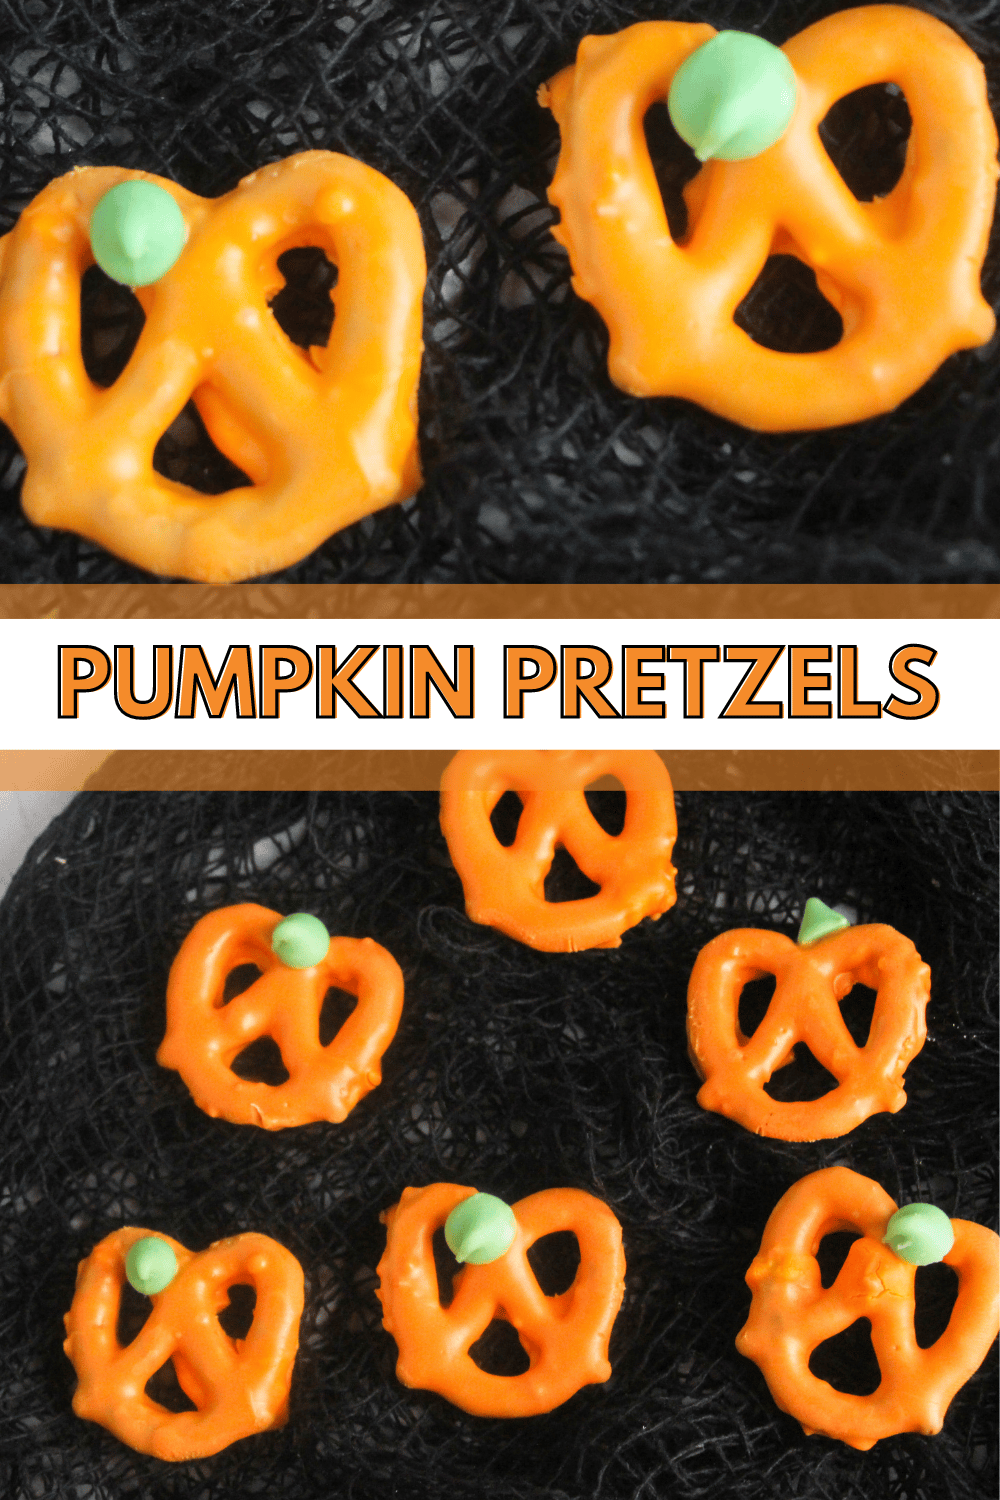
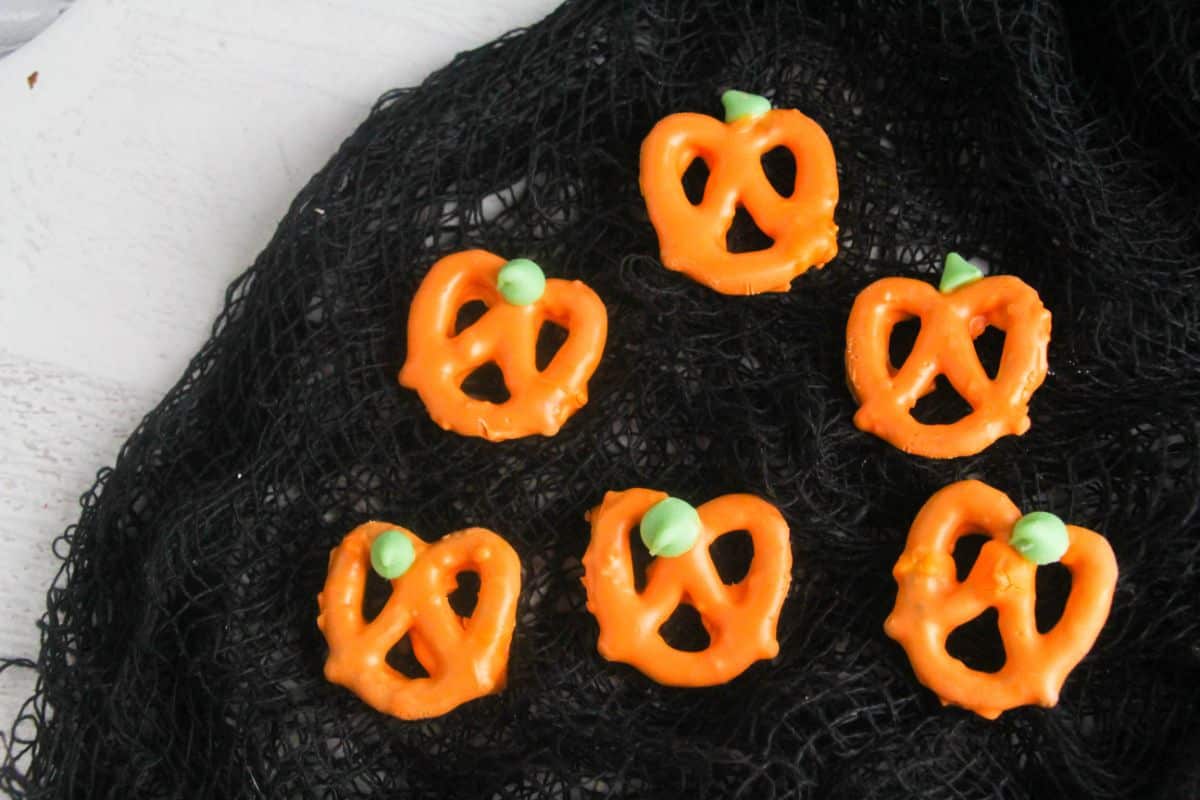
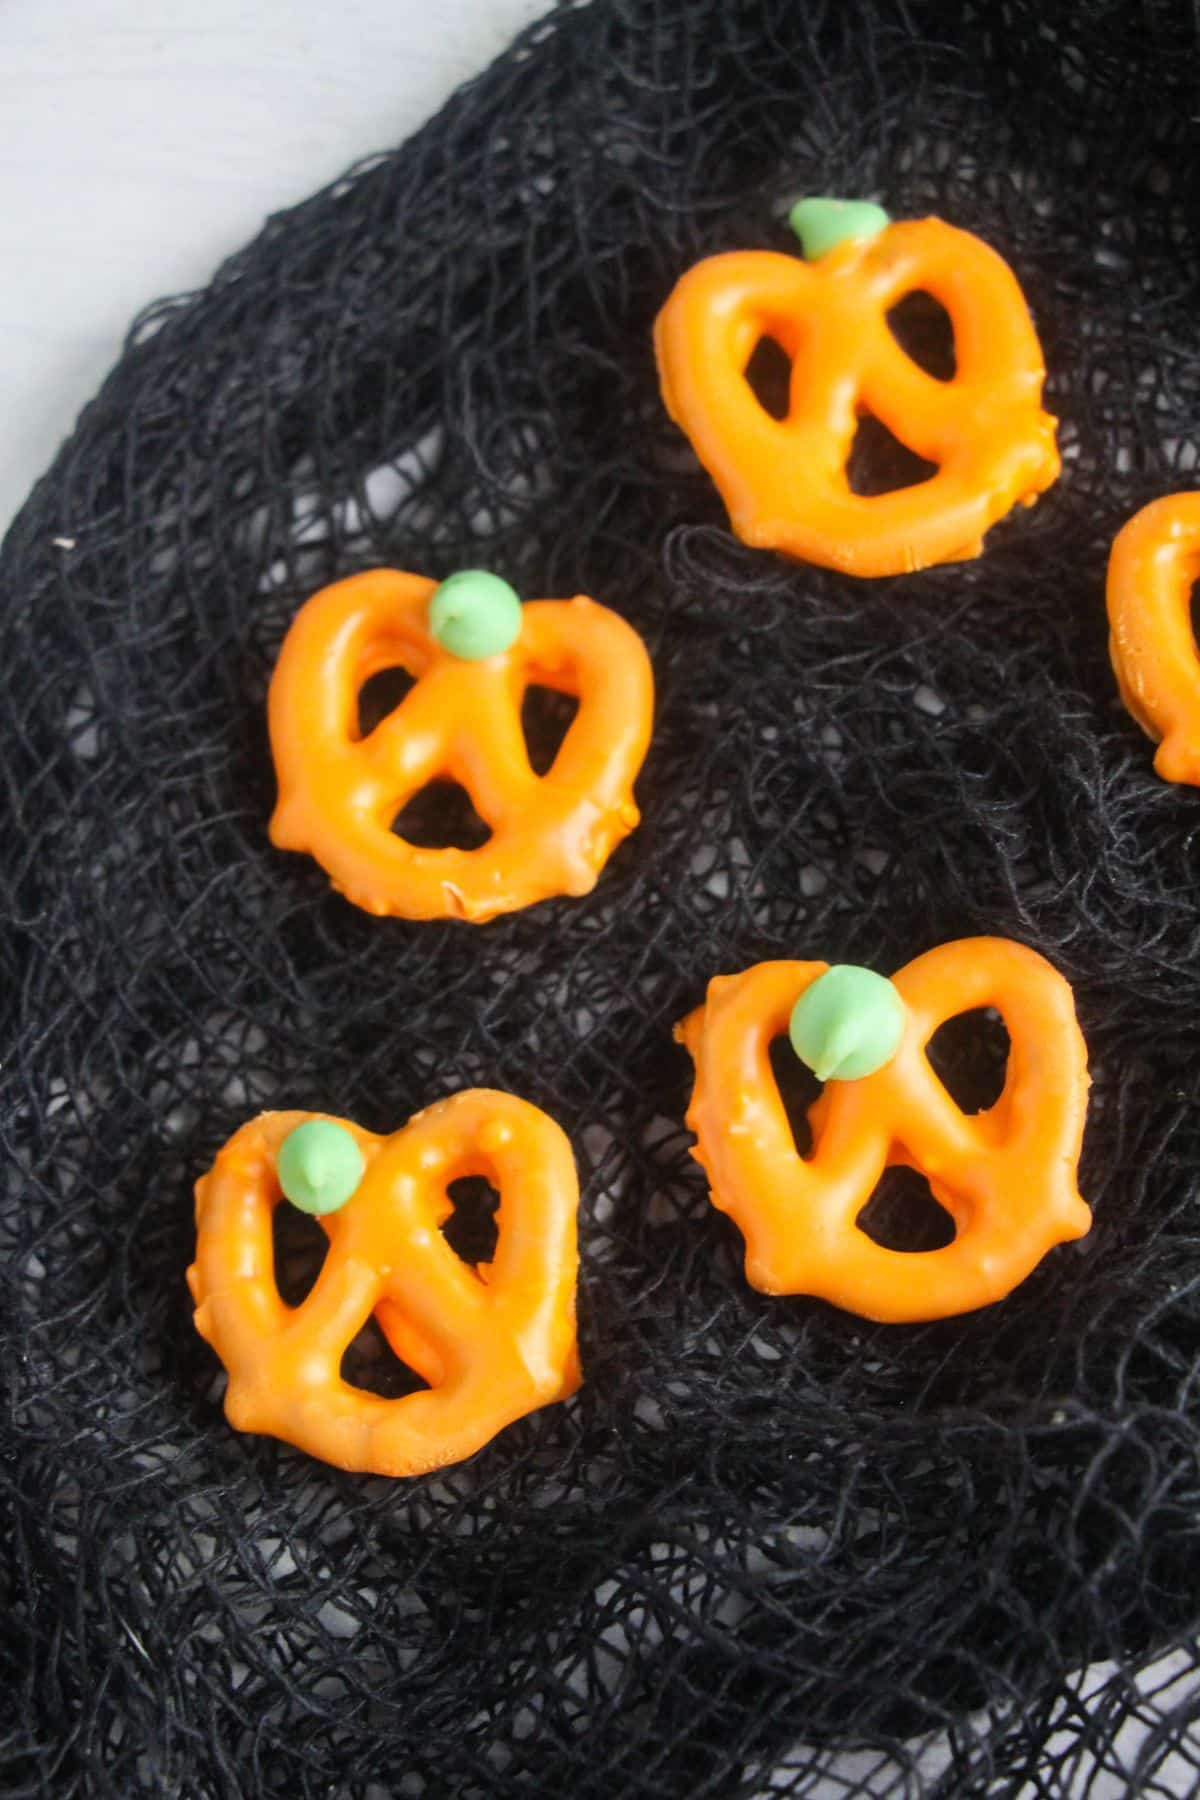
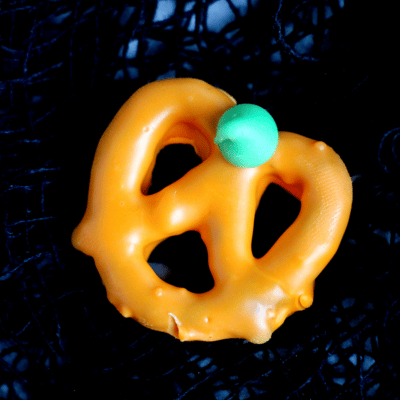
Pumpkin Pretzels are the perfect snack for any season! These pretzels are crispy, flavorful, and satisfying. Enjoy them as a snack or use them as a topping for your favorite fall dishes.
If you love fall sweet and salty snack recipes then this is the recipe for you. The pretzels are crispy, and the candy coating gives a sweet crunch making this a delicious festive snack.
Jump to:
Pumpkin Pretzels
Pretzels are actually hollowed-out knots of dough that have been baked until they’re hard and brown. The pretzel shape is usually a twist, however, in modern times they have started being formed into many different shapes.
Why I Love This Recipe
Pumpkin Pretzels are a delicious and healthy snack that will keep you satisfied through any season. They’re crispy, and flavorful with just enough sweetness to make them addicting!
- Ready in under 30 minutes
- Easy to make
- Fun to make
- Always a hit at parties
- Perfect for picky eaters
If you love Halloween recipes, give this Candy Corn Fudge recipe a try next time.
Ingredients
You only need a few simple ingredients to help you make this easy recipe. After one quick trip to your local grocery store or craft store, you will be ready to make this easy pumpkin recipe.
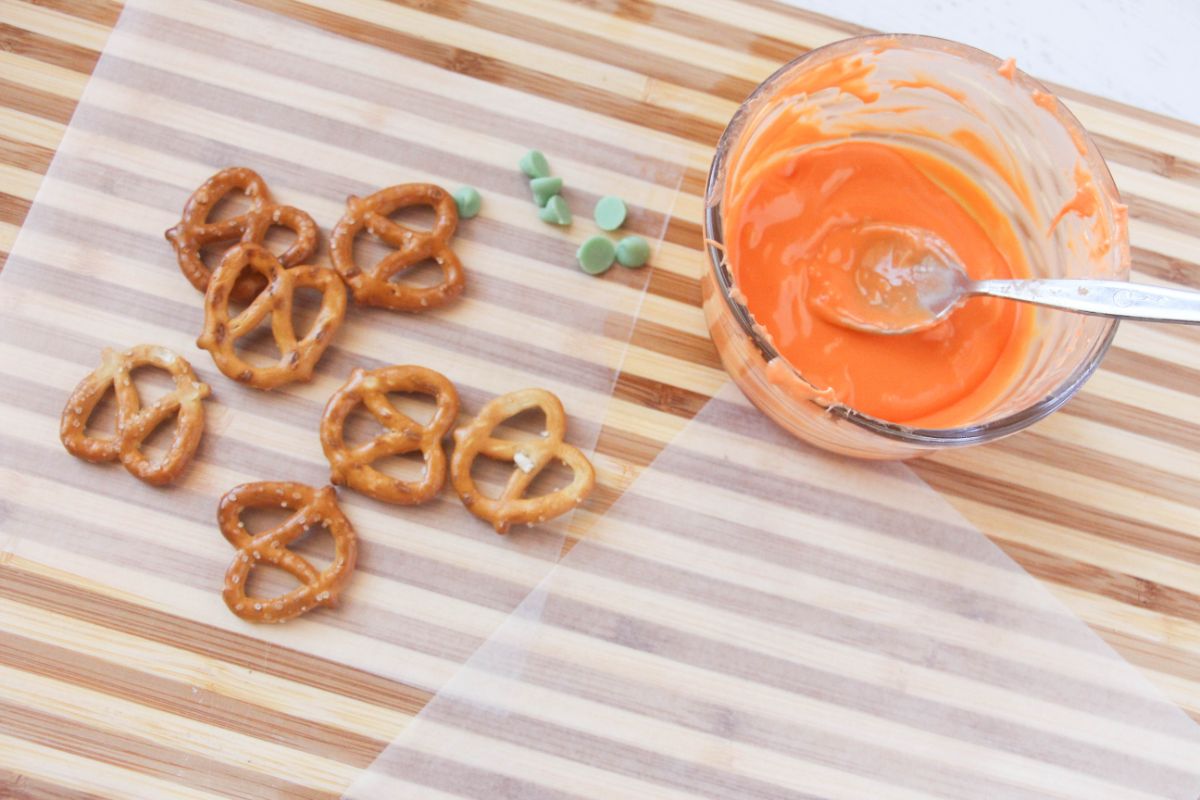
- Pretzels
- Orange Candy Melts
- Green Chocolate Chips (or can use green sixlets or green jelly beans cut in half)
Substitutions
Candy melts: You can also use pumpkin flavored candy melts for this recipe.
M&M’s: Instead of green chocolate chips, green M&M’s can also work to make the stem of the pumpkin.
Equipment Needed / Helpful Tools
You only need a few basic kitchen tools to help you make this easy recipe. Gather these tools and get ready to enjoy this kid-friendly fall snack recipe.
- cutting board or baking sheet
- parchment paper or silicone baking mat
- medium bowl
- fork
How to Make Pumpkin Pretzels
Making these easy pumpkin pretzels is easy. Just follow the instructions below and you will have a delicious snack in no time!
Step 1: Cover a baking sheet
Line baking sheets with parchment paper or a silicone baking mat.
Step 2: Melt the candy melts
Place the candy melts in a microwave-safe bowl and heat for 20 seconds. Stir well and reheat as needed, until smooth and completely melted.
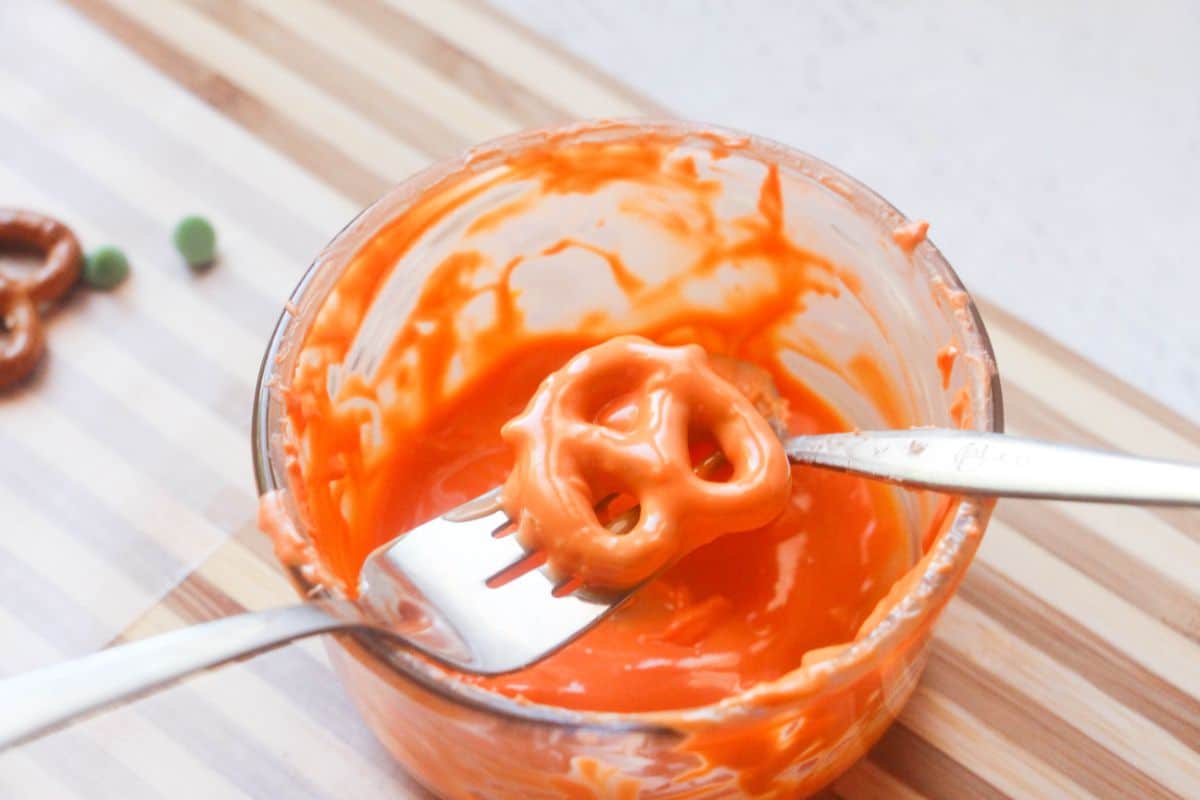
Step 3: Use a fork to dip each pretzel
Use a fork or candy coating tool to individually dip a pretzel into the melted candy coating.
Would you like to save this?
Step 4: Remove the excess
Allow the excess candy coating to drip back into the bowl before placing the pretzel on the prepared cutting board. Repeat with all pretzels.
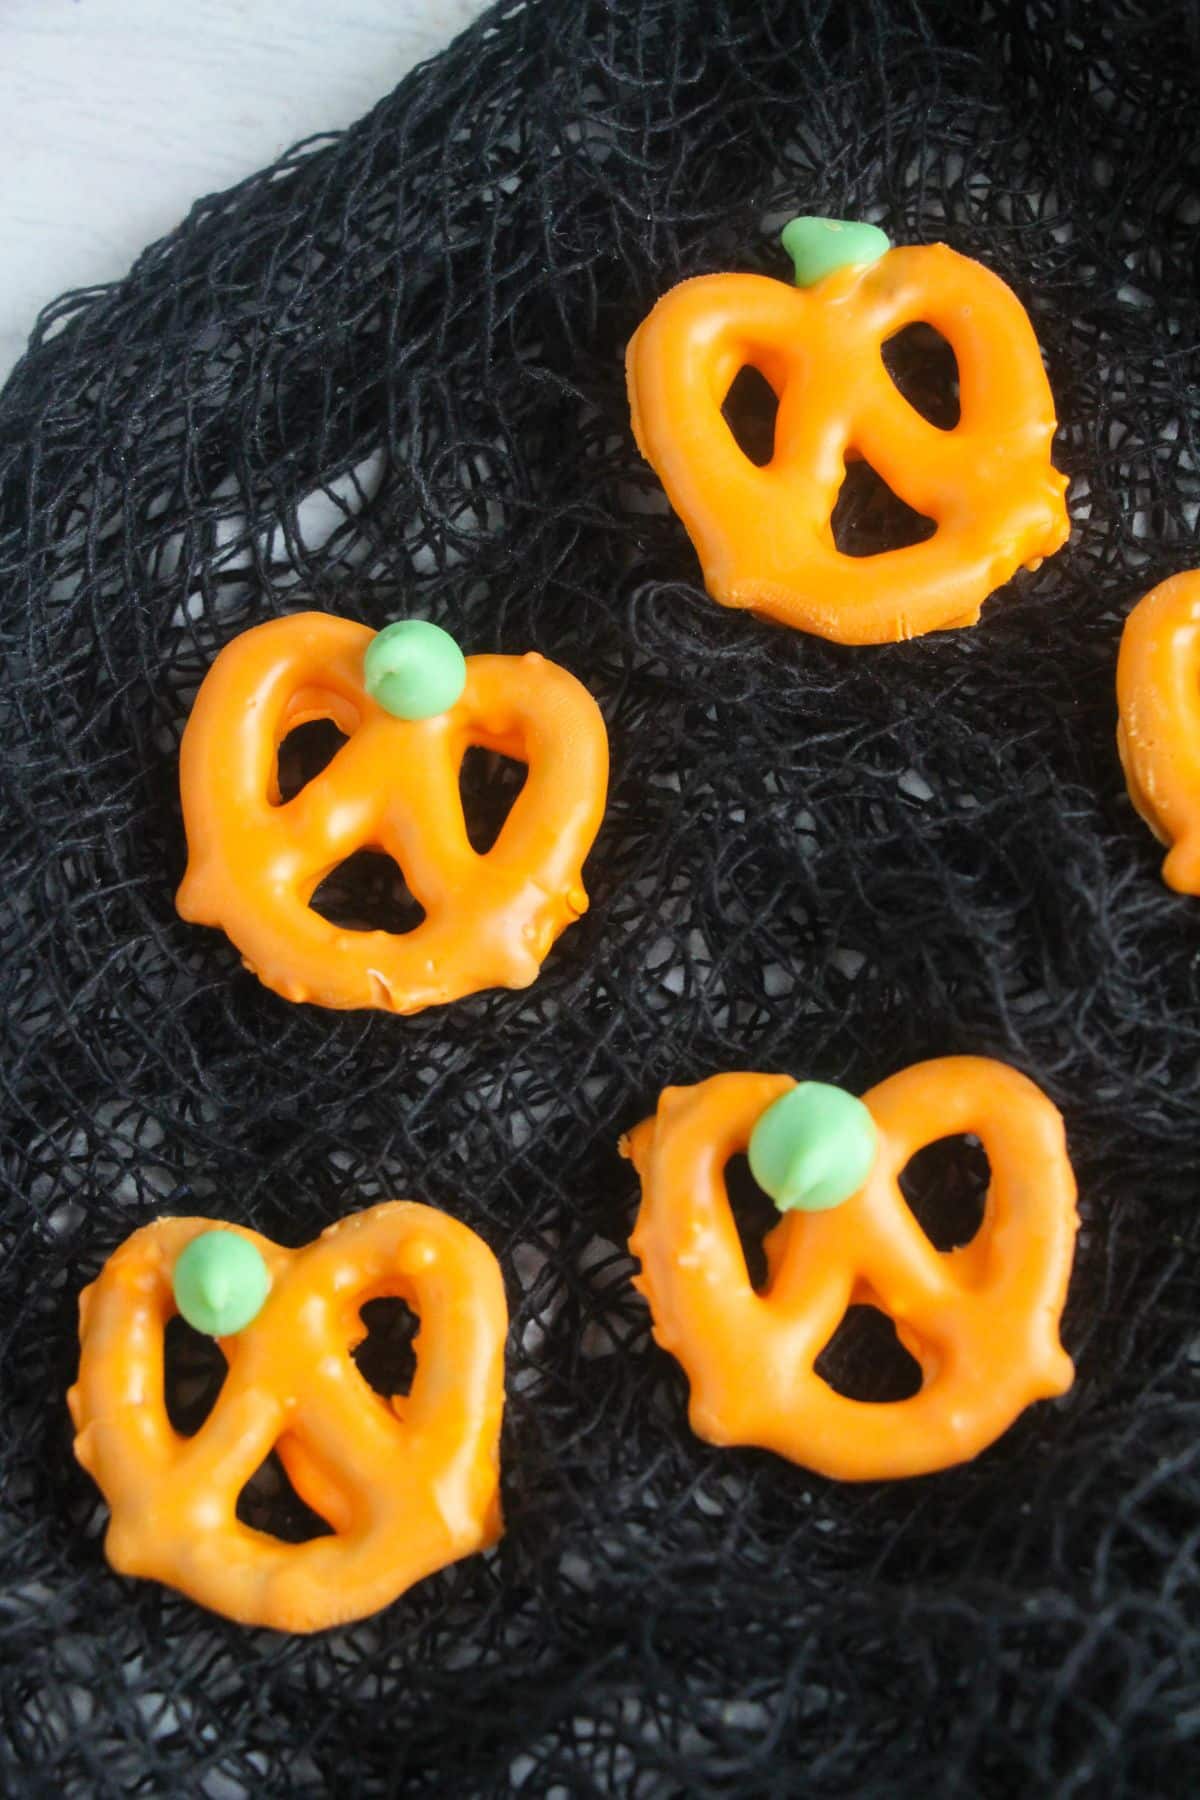
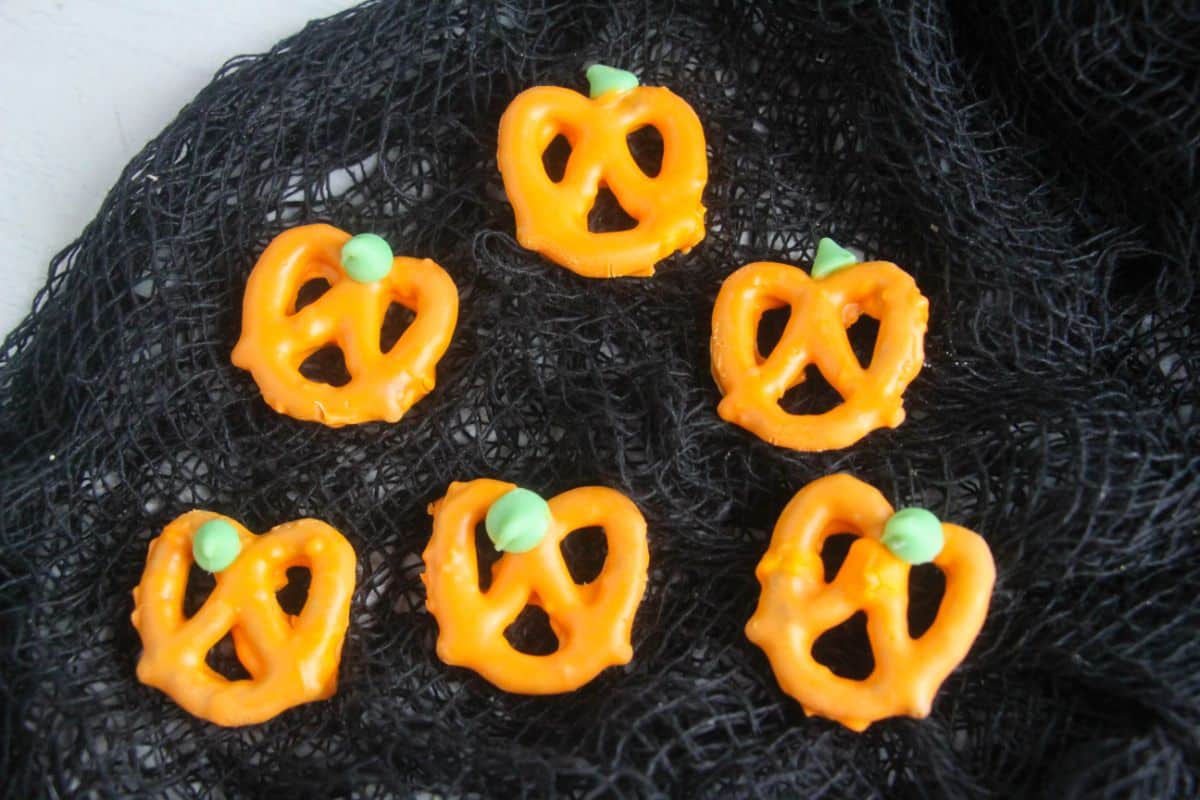
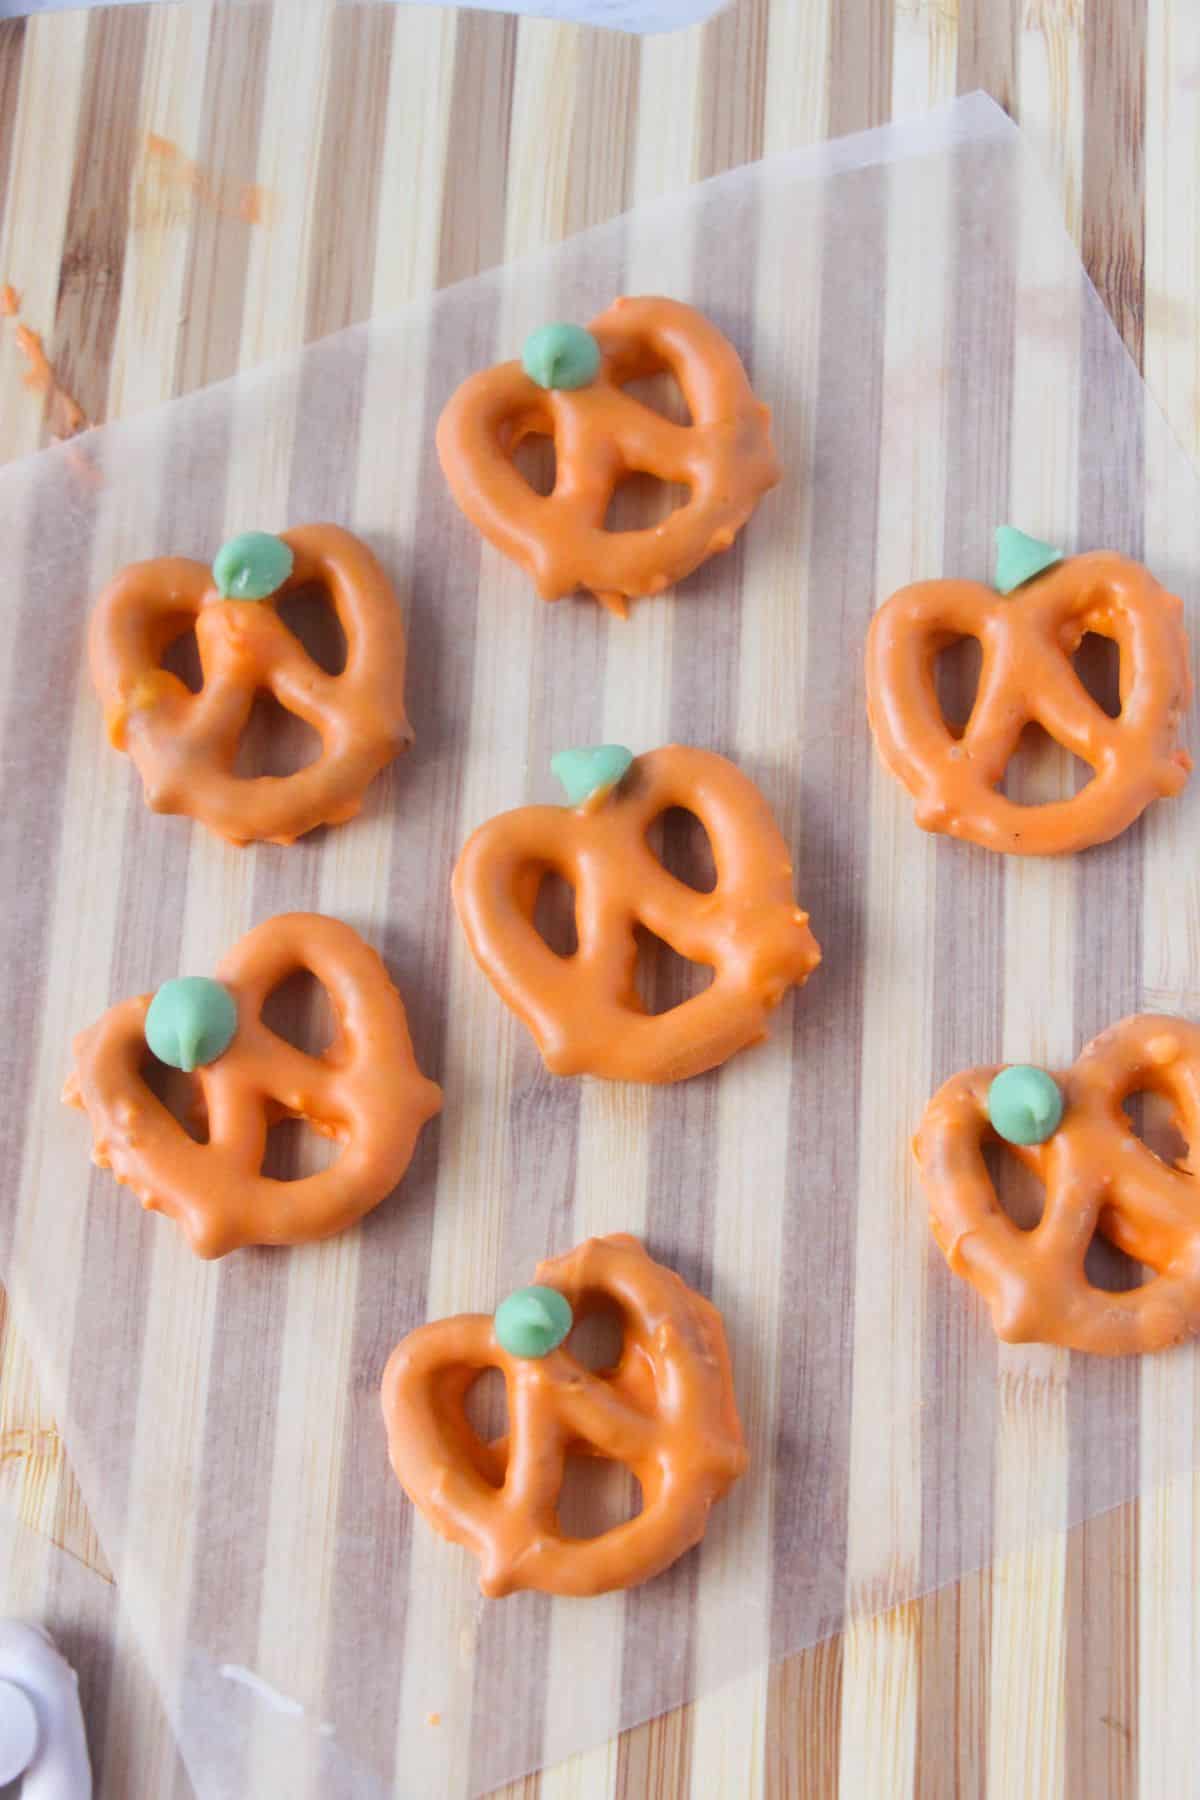
Step 5: Add the green chip
Place the green chocolate chip at the top of the pretzel where the two arches meet.
Step 6: Allow the coating to harden
Allow candy coating to dry completely before serving or storing, about 30 minutes to one hour.
Variations / Options / Add-Ins
Here are a few ways that you can change up this delicious fall snack recipe.
Chocolate: If you don’t have candy melts, you can use white chocolate chips that you melt and add orange food coloring gel to it. If you are using white chocolate I recommend adding a small amount of coconut oil to the chocolate to help it dry smoothly.
Sprinkles: While the candy coating is still wet you can sprinkle the pretzels with some orange sugar crystals.
Pumpkin Seeds: Another fun option is to sprinkle the top of the pretzels with some roasted pumpkin seeds.
Tips
Here are a few tips to help you make this sweet treat recipe perfectly.
- If your candy coating is too thick, add a little bit of shortening or vegetable oil to thin it out. Be sure to stir well until completely combined.
- If your candy coating is too thin, place it in the fridge for 5-10 minutes to allow it to thicken up slightly.
- If your candy coating seizes up, place it in the microwave for 10 seconds and stir well. Repeat as needed until smooth.
- I recommend using a fork to dip the pretzels into the candy coating. This will help minimize the mess and make the process go much faster.
- Be sure to allow the excess chocolate to drip off the mini pretzel before you add it to the baking sheets.
- Candy melts are typically vanilla flavored which gives these pretzels a sweet coating.
FAQs
Do you have questions about this Halloween treat recipe? Here are the answers to the most commonly asked questions for this recipe.
These pretzels can be stored in an airtight container at room temperature. They are best if enjoyed within 2-3 days.
Yes, you can use white chocolate chips that you melt and add orange food coloring gel.
Microwave the candy melts again and stir until you get the thin consistency that you need to dip the pretzels.
More Halloween Recipes
If you like Halloween, give these recipes a try:
Get Crafty This Halloween with Easy DIY Ideas
Looking for simple, creative ways to make this Halloween extra special? Check out my Easy Halloween Crafts eBook! It’s packed with fun, low-cost ideas that are perfect for families.
Whether you’re planning a spooky party or just want to keep the kids entertained, these crafts will add a festive touch to your Halloween celebrations. Grab your copy here and get ready for some ghoulishly good fun!
Ready to get cooking? Print off the recipe card below or toggle on Cook Mode to keep your screen from going dark while you follow along on your phone or tablet.
📋 Recipe
Pumpkin Pretzels
Video
Would you like to save this?
Ingredients
- 24 Pretzels
- ½ cup Orange Candy Melts can use orange-colored pumpkin spice chips
- 24 Green Chocolate Chips or can use green sixlets or green jelly beans cut in half
Instructions
- Cover a cutting board or cookie sheet with parchment paper or a silicone baking mat.
- Place the candy melts in a microwave-safe bowl and heat for 20 seconds. Stir well and reheat as needed, until smooth and completely melted.
- Use a fork or candy coating tool to individually dip each pretzel into the melted candy coating. Allow the excess candy coating to drip back into the bowl before placing the pretzel on the prepared cutting board. Repeat with all pretzels.
- Place the green chocolate chip at the top of the pretzel where the two arches meet.
- Allow candy coating to dry completely before serving or storing, about 30 minutes to one hour.
Nutrition
Need to run to the store for a few ingredients first? Don’t forget to pin this recipe so you can find it when you’re ready to cook!