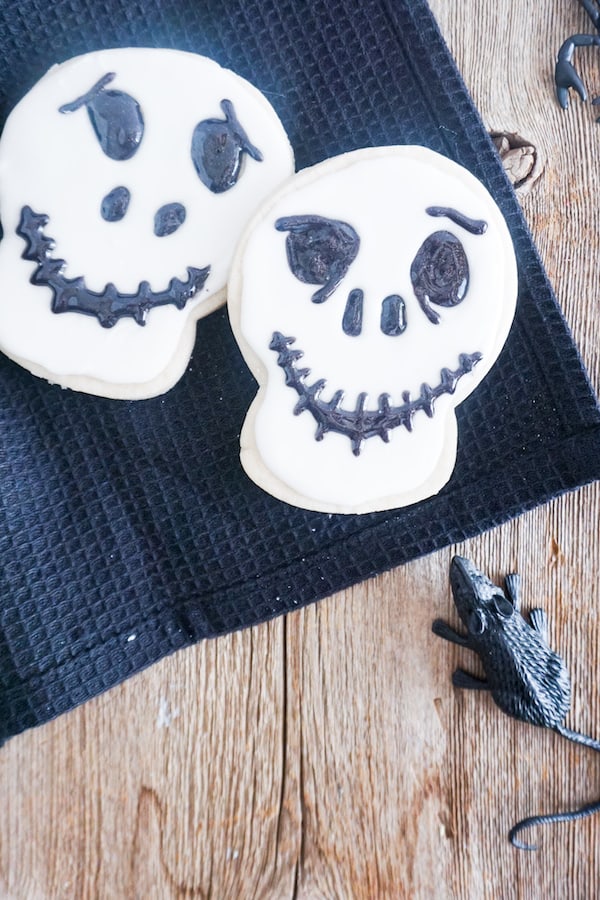
These easy Jack Skellington cookies are so simple, but really fun. And, the best part, there are plenty to go around to share on Halloween — or Christmas.
But if you need more reason to make them, let me tell you–they’re so ridiculously tasty. I absolutely loved this recipe and can’t wait to make them again, because, oh my yum!
Jump to:
Because the Nightmare Before Christmas is so versatile, you can absolutely make these cookies for Halloween or for Christmas, too. So, I’m running with that and planning to make these cookies for the kids’ school halloween and Christmas parties. I mean, why not?!
And the kids loves them. A lot. Like a lot a lot. So, I doubt that’s going to bother them.
Although, I might come up with some fun Grinch cookies to take for the holiday party…

What You’ll Need to Make Jack Skellington Cookies
You won’t need anything fancy for these cookies. Odds are, you have all the ingredients in your kitchen already except perhaps the decorator icing.
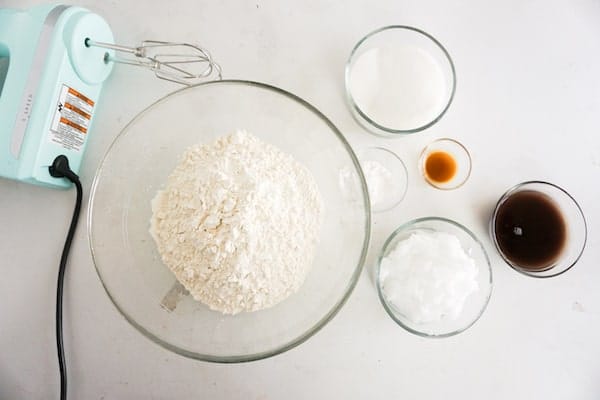
For the cookies you need:
1 cup coconut oil at room temperature
2 eggs
1 cup sugar
1 1/2 teaspoons vanilla extract
2 teaspoons baking powder
3 cups flour
To make the icing you’ll need:
6 cups powdered sugar
2 egg whites
1/2 teaspoon vanilla extract
Black gel decorating icing
How to Make Nightmare Before Christmas Cookies
Step 1
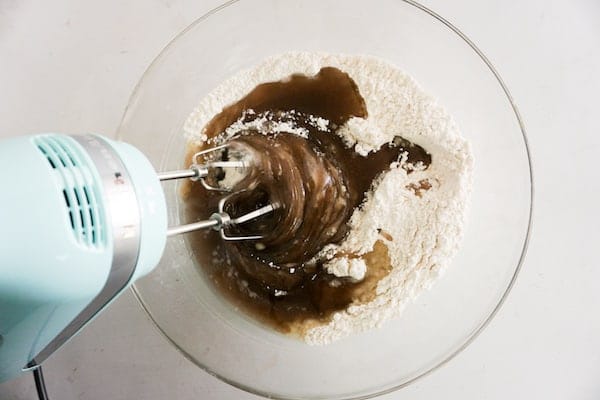
Preheat the oven to 350-degrees, then cream sugar and oil with your mixer, then add eggs and your vanilla extract, mixing thoroughly. Set aside.
Whisk together the flour and baking powder in a second bowl. Combine with the sugar/butter mixture in 1/3 increments.
Step 2
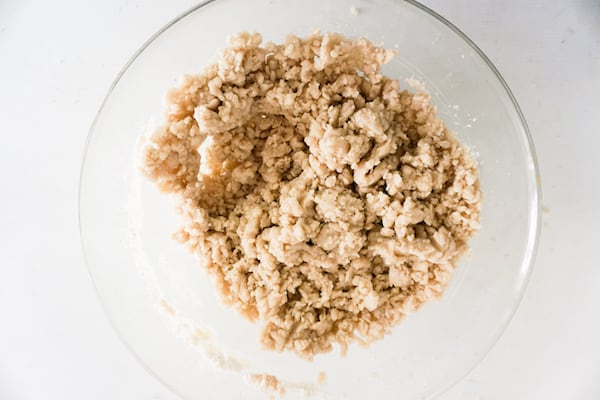
The cookie dough will be kind of crumbly, but turn it out onto parchment paper (parchment paper is important, so don’t skip this) and work with it as-is. You don’t need to dust the parchment paper with flour, the dough won’t stick to it.
Step 3
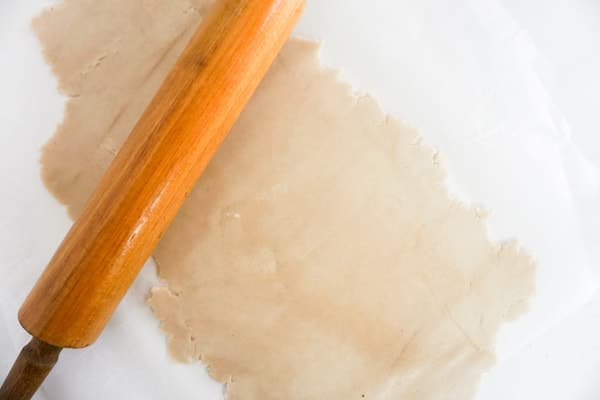
Roll the dough to about 1/4-inch thick, but do not work with the cookies any thinner than that as they’ll break too easily.
Cut out your cookies.
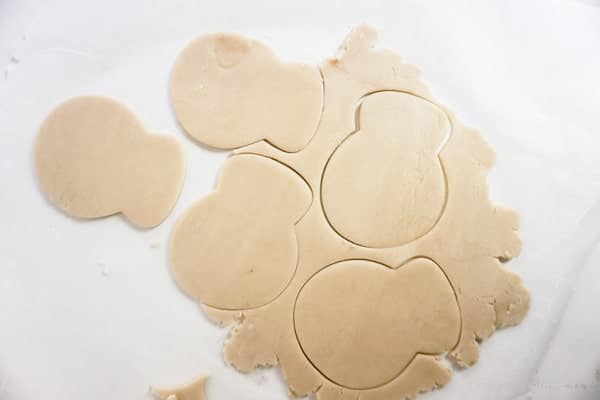
Do not move the cookies individually, but move the whole parchment paper sheet to the cookie sheet.
Step 4
Bake the cookies in the oven for 10 minutes. They will not brown, but you don’t want them to. If they brown, they will not be soft in the middle. So, just pull them out at 10 minutes.
Leave the cookies on the parchment paper and transfer them to a rack, allowing the cookies to cool completely before you frost them.
Step 5
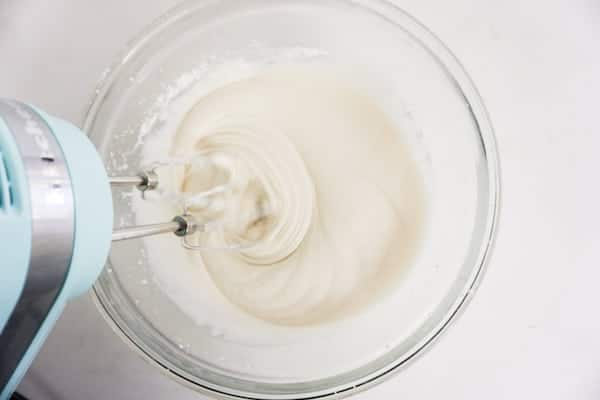
In order to make the icing, combine all of the icing ingredients in a small bowl and beat on low speed until smooth.
Step 6
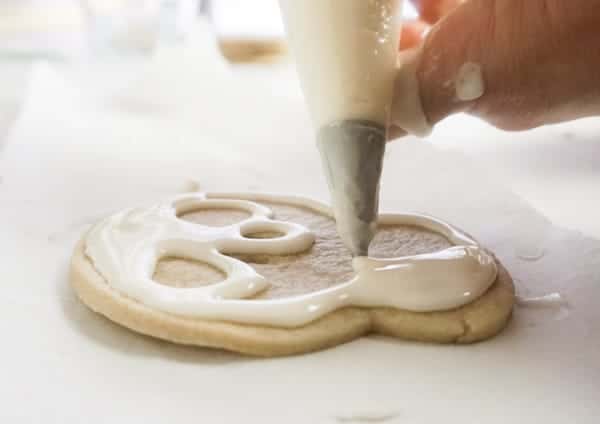
Place the icing in a decorating bag with your smallest round tip.
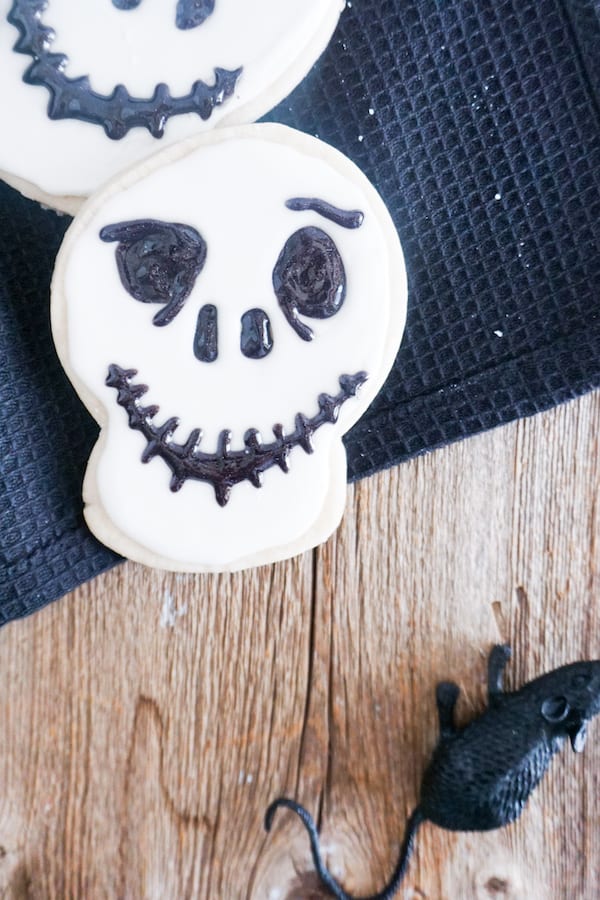
Pipe a couple of odd shapes for eyes, different on each cookie. Remember Jack’s eyes are not round circles, but oblong, expressive shapes.
Step 7
Pipe a couple of oblong shapes for the nose holes. Jack’s nose holes are really just slits, but try to leave a fair size hole area. You can always fill it in with more white later.
Step 8
Pipe an edge line all the way around the outer edge of each cookie and immediately fill it in, covering the skull’s whole face, with the exception of the eyes and nose slits.
Allow this layer of icing to dry for 2-3 hours.
Step 9
With the black gel icing, fill-in the nose slits and eye holes, adding eyebrow shapes.
Step 10
Enjoy!
Seriously. That’s it. You can chow down on a cookie or pack them up in an air-tight container to take to your holiday cookie exchange party.
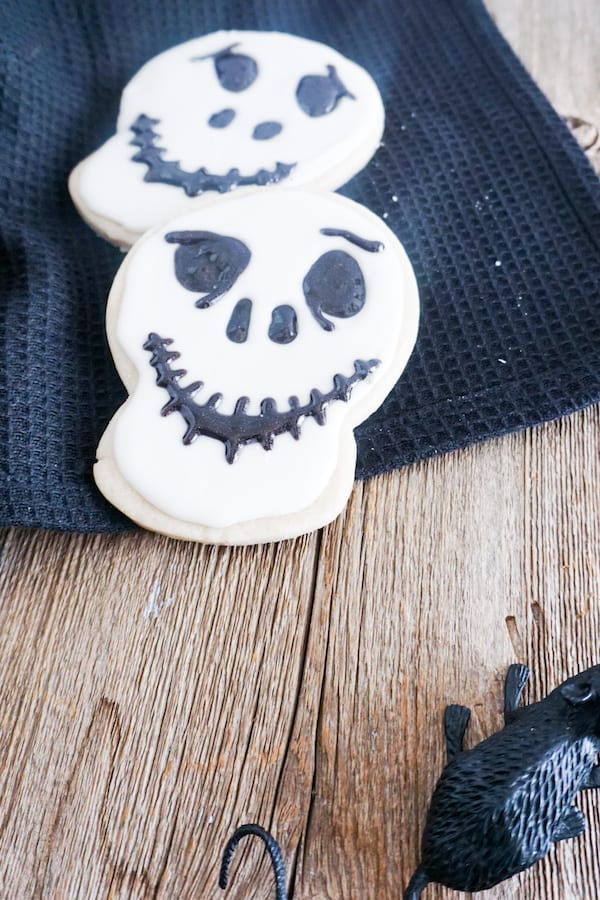
Easy Jack Skellington Cookies Recipe
Ready to make some Nightmare Before Christmas cookies? Here are all the details in a simple recipe card.
After you’ve tried the recipe, please come back and let me know what you think!
📋 Recipe
Easy Jack Skellington Cookies
Ingredients
Cookies
- 1 cup coconut oil room temperature
- 2 eggs
- 1 cup sugar
- 1 1/2 teaspoon vanilla extract
- 2 teaspoon baking powder
- 3 cups flour
Icing
- 6 cups powdered sugar
- 2 egg whites
- 1/2 teaspoon vanilla extract
- Black gel decorating icing
Instructions
- Preheat the oven to 350-degrees. Set aside.
- Cream sugar and oil with your mixer, then add eggs and your vanilla extract, mixing thoroughly. Set aside.
- Whisk together the flour and baking powder in a second bowl. Combine with the sugar/butter mixture in 1/3 increments.
- The cookie dough will be kind of crumbly, but turn it out onto parchment paper (parchment paper is important, so don’t skip this) and work with it as-is. You don’t need to dust the parchment paper with flour, the dough won’t stick to it.
- Roll the dough to about 1/4-inch thick, but do not work with the cookies any thinner than that as they’ll break too easily.
- Cut out your cookies.
- Do not move the cookies individually, but move the whole parchment paper sheet to the cookie sheet.
- Bake the cookies in the oven for 10 minutes. They will not brown, but you don’t want them to. If they brown, they will not be soft in the middle. So, just pull them out at 10 minutes.
- Leave the cookies on the parchment paper and transfer them to a rack, allowing the cookies to cool completely before you frost them.
- In order to make the icing, combine all of the icing ingredients in a small bowl and beat on low speed until smooth.
- Place the icing in a decorating bag with your smallest round tip.
- Pipe a couple of odd shapes for eyes, different on each cookie. Remember Jack’s eyes are not round circles, but oblong, expressive shapes.
- Pipe a couple of oblong shapes for the nose holes. Jack’s nose holes are really just slits, but try to leave a fair size hole area. You can always fill it in with more white later.
- Pipe an edge line all the way around the outer edge of each cookie and immediately fill it in, covering the skull’s whole face, with the exception of the eyes and nose slits.
- Allow this layer of icing to dry for 2-3 hours.
- With the black gel icing, fill-in the nose slits and eye holes, adding eyebrow shapes.
- Enjoy!
Nutrition
If you love this Jack Skellington Cookies Recipe, but you’re not quite ready to turn the oven on, just pin this to your favorite cookie decorating ideas board on Pinterest so you can find it quick later!



1 thought on “Easy Jack Skellington Cookies”