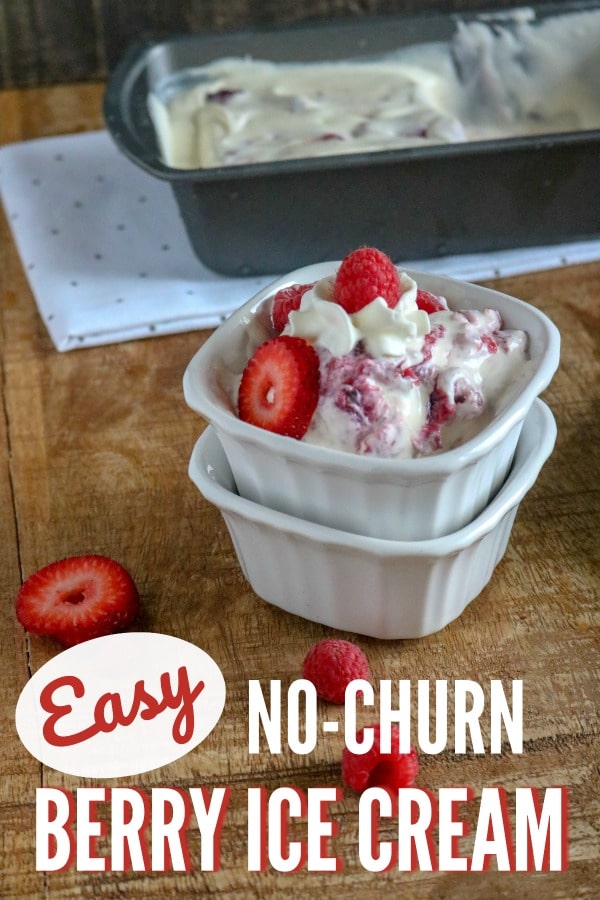
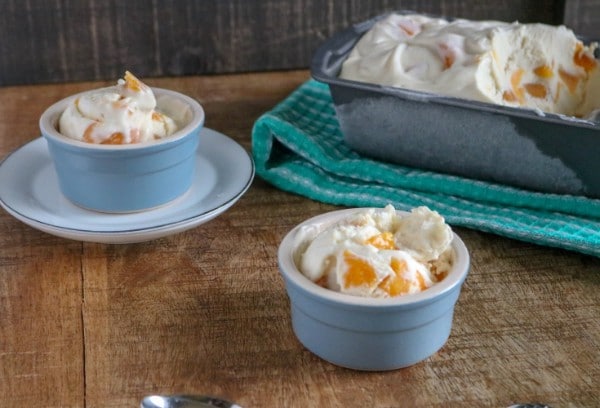
This Homemade No-Churn Berry Ice Cream recipe is the perfect summertime dessert. It’s sweet, cool, and refreshing and will definitely satisfy your sweet tooth!
With the exception of me, everyone in my family is fanatical about ice cream. This is good news for my waistline since it’s a dessert I can always keep on hand that doesn’t tempt me.
Even better, once I cracked the code on how to make ice cream at home with just a few simple ingredients WITHOUT an ice cream maker, keeping ice cream in the freezer got way easier. This Berry Ice Cream is the third variation I’ve tried and I have lots more planned!
SAVE THIS RECIPE!
Enter your email below and I’ll send it straight to your inbox.
How to Make Homemade No-Churn Berry Ice Cream
You only need four ingredients to make this homemade no-churn berry ice cream. So, grab some sweetened condensed milk, heavy cream, berry pie filling and vanilla extract.
Step 1: Make Whipping Cream
First, you need to whip the heavy cream to make whipping cream. Pour the sweetened condensed milk into a small bowl and add a teaspoon of vanilla too.
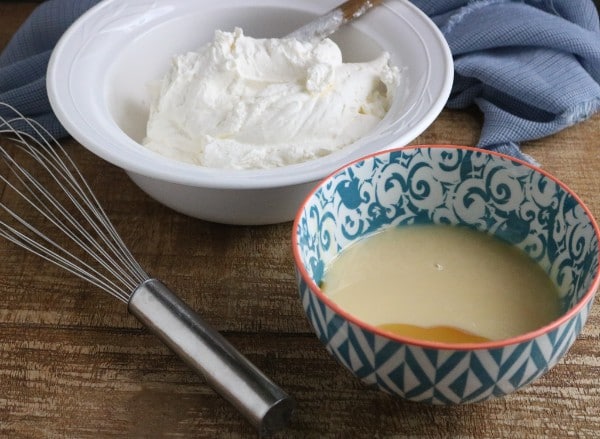
Then, take a cup of the whipping cream and fold it into the sweetened condensed milk. Mix them together until smooth.
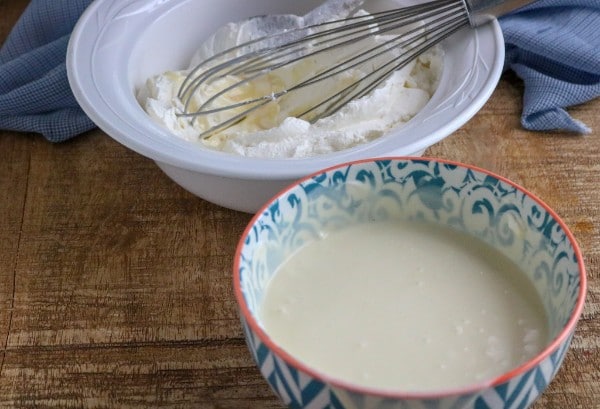
Step 2: Make the Cream
Now it’s time to finish the cream by pouring the sweetened condensed milk mixture back into the larger bowl of whipped cream.
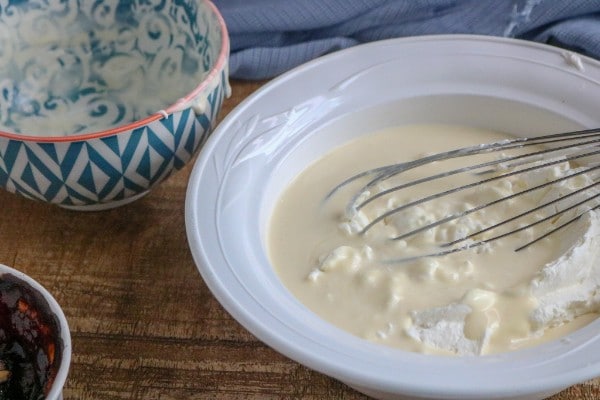
Fold the two together carefully until the cream is smooth. Then, pour half of it into a freezer safe container.
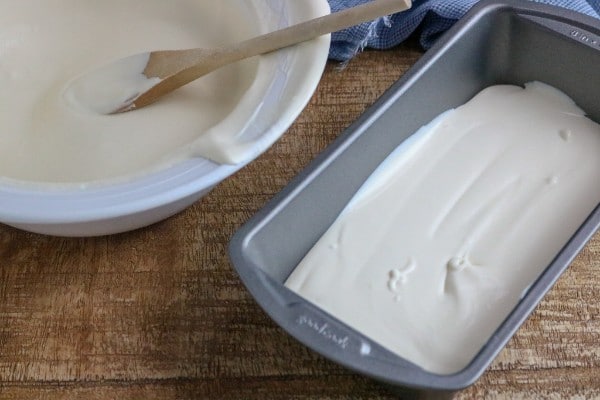
Step 3: Add the Berries
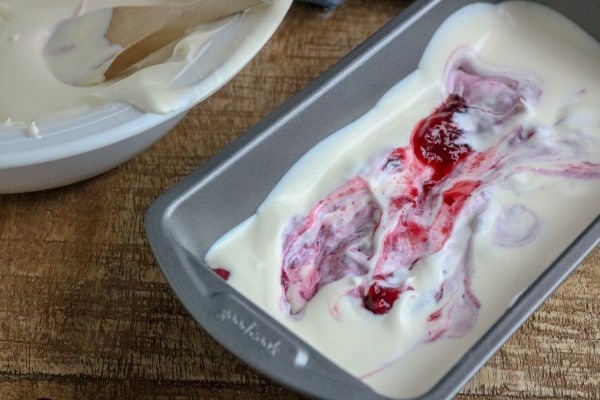
To make this Berry Ice Cream, instead of just vanilla ice cream, we need to add some berries! I use pie filling instead of fresh or frozen berries because the texture of the berries after the ice cream is frozen is better.
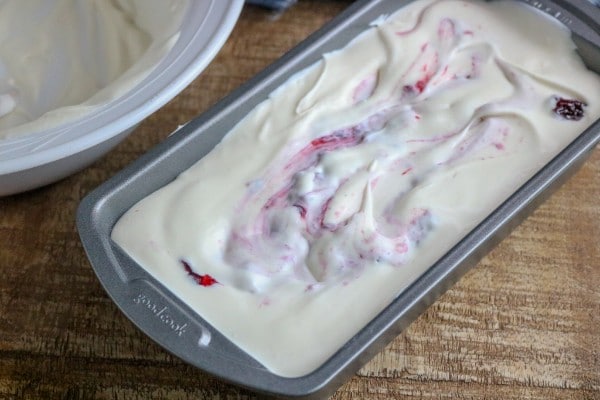
After you pour the pie filling over the cream, swirl the two together with a butter knife.
Pour the rest of the cream mixture over the berry layer. Then, top with more berry pie filling.
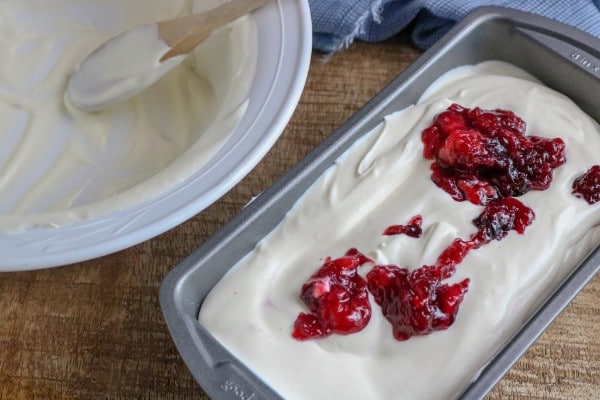
Use the butter knife to swirl in the pie filling again.
Step 5: Freeze
It’s finally time to get this dessert into the freezer! Let it set for at least 5 hours.
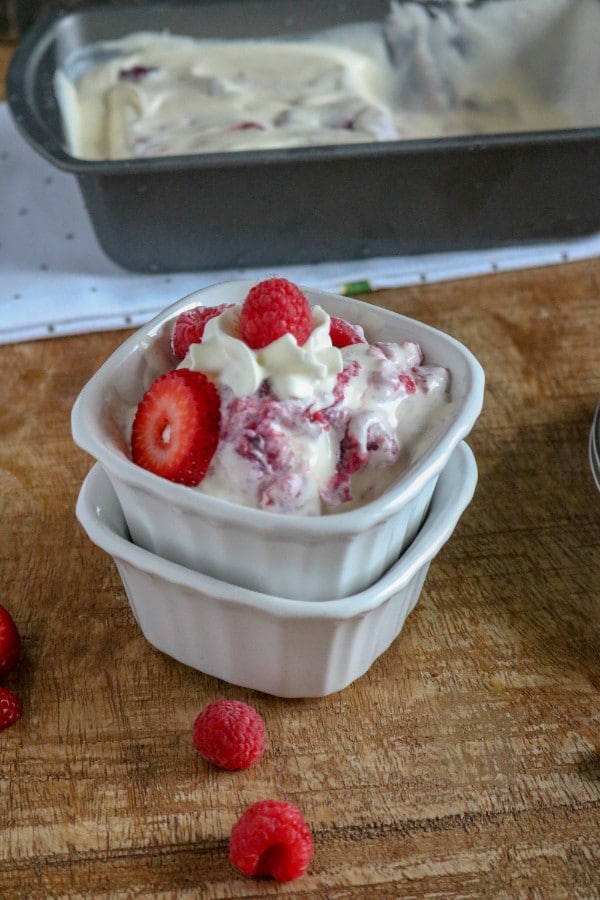
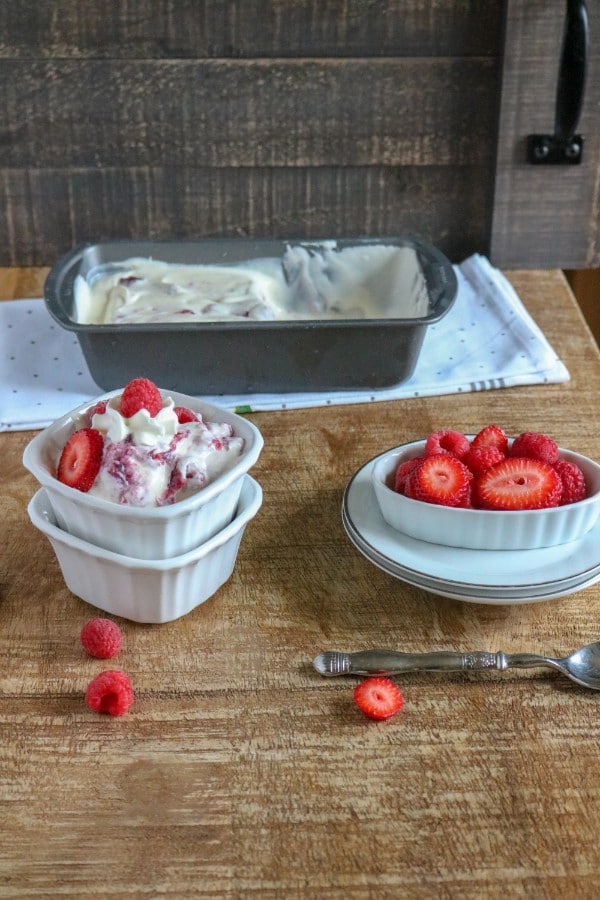
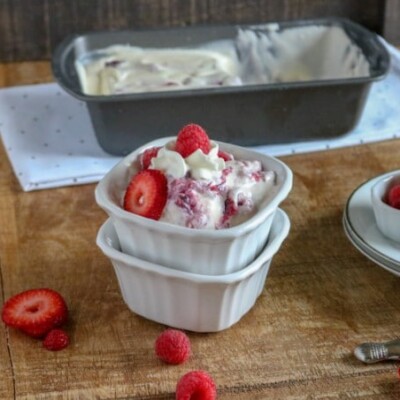
Just scoop servings into individual bowls and enjoy! I like to top it with fresh berries for added flavor, texture and color.
Prefer exact measurements? Want a printable version? Here’s the recipe card for this Homemade No-Churn Berry Ice Cream:
📋 Recipe
Homemade No-Churn Berry Ice Cream
Ingredients
- 1 14- oz. can sweetened condensed milk
- 2 cups cold heavy cream
- 1 teaspoon vanilla [optional]
- 1 cup berry pie or cherry pie filling or 1 cup pie or cobbler from bakery
Instructions
- With a mixer, beat heavy whipping cream until thick. Fold a cup of it into a bowl with the sweetened condensed milk, add optional vanilla and mix until smooth.
- Pour sweetened condensed milk/whipping cream mixture back into the bowl with the heavy whipping cream and fold together until smooth and creamy.
- Next, pour half of the ice cream into a freezer safe container. Add half of the berry pie filling and use a spoon or a knife to swirl the mix-in together with the ice cream (optional).
- Top with remaining ice cream, and then top that with the remaining berry pie filling.
- Freeze for 5-6 hours or overnight. When it is time to serve, remove from freezer and let sit on the counter to soften for 5-10 minutes prior to serving.
Nutrition
More Homemade Ice Cream Recipes
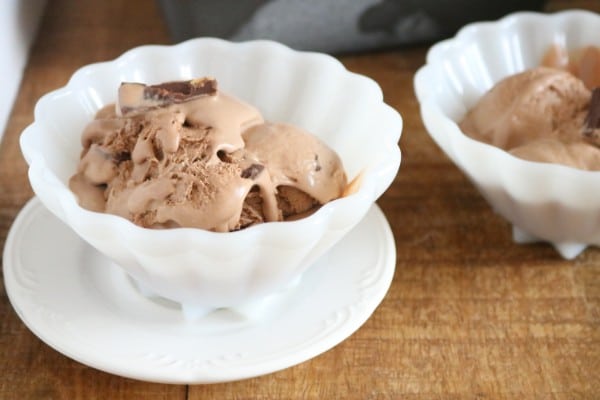
If you liked this recipe for Homemade No-Churn Berry Ice Cream, you might enjoy these other (equally easy) ice cream recipes:


I love that you can put those strawberry bites into this ice cream and not just a “flavored” ice cream. Thanks for sharing!
This reads better than the last one I came across. Adding the fruit sounds even better than plain vanilla ice cream.
I’m glad you think it sounds good. The berries do add a nice flavor. Thanks for commenting.