
Last Updated on March 11, 2024
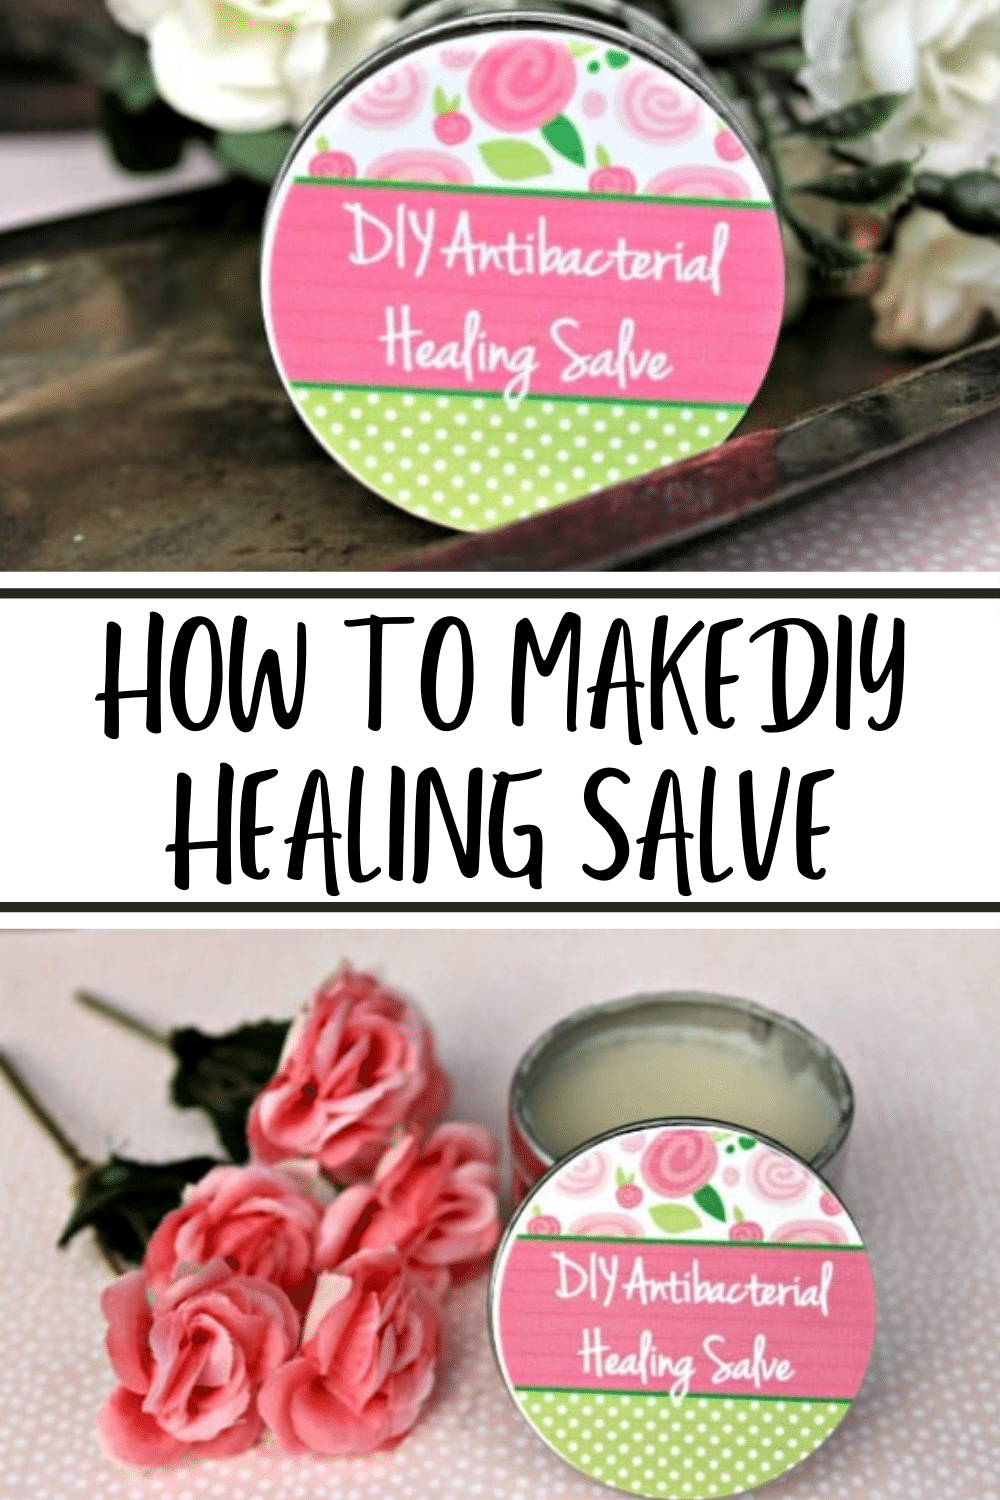
This DIY Healing Salve is made with all natural products and works well for so many things! The soothing ingredients in this healing salve will nourish your skin and the essential oils used each have distinctive healing properties.

How to Use DIY Healing Salve
Because I’m a compulsive hand washer, I use this DIY healing salve to nurture my dry, cracked skin. I just rub some into the backs of my hands after washing dishes and at night before bed.
This DIY healing salve is far more than a hand cream though! Because of the antibacterial and anti-fungal qualities of the oils in this salve, you can use the salve for soothing minor cuts and scrapes and minor burns.

This balm also works great on insect bites and bee stings. The tea tree oil, eucalyptus and lemon oil also keep bugs at bay so smooth some on as a natural bug repellant that also happens to moisturize your skin!
Finally, due to the antiviral properties of some of the oils, this salve can also help treat warts and cold sores.
About the Oils Used in This Recipe
I’ve chosen specific oils for this recipe based on their distinctive properties. Here are the essential oils I used and why I included them:
Tea tree oil: Contains terpinen-4-ol which has been shown to have antibacterial, antiviral, and antifungal properties (Healthline) also used to repel insects
Lavender oil: Antiseptic properties, aids in the healing of minor burns and bug bites (Medical News Today)
Frankincense coil: Astringent properties and an anticoagulant to help stop bleeding (Organic Facts)
Lemon essential oil: Reduces cell and tissue damage, effective against blisters, insect bites, cuts, and viral infections (Dr. Axe)
Eucalyptus essential oil: Anti-inflammatory, antiseptic, antibacterial, and antiviral and insecticidal properties to repel bugs, reduce pain, and moisturize skin (Up Nature)
If you’re interested in growing any of these plants yourself so you can use their oil, check out the Top 10 Medicinal Plants and Herbs to Grow at Home.
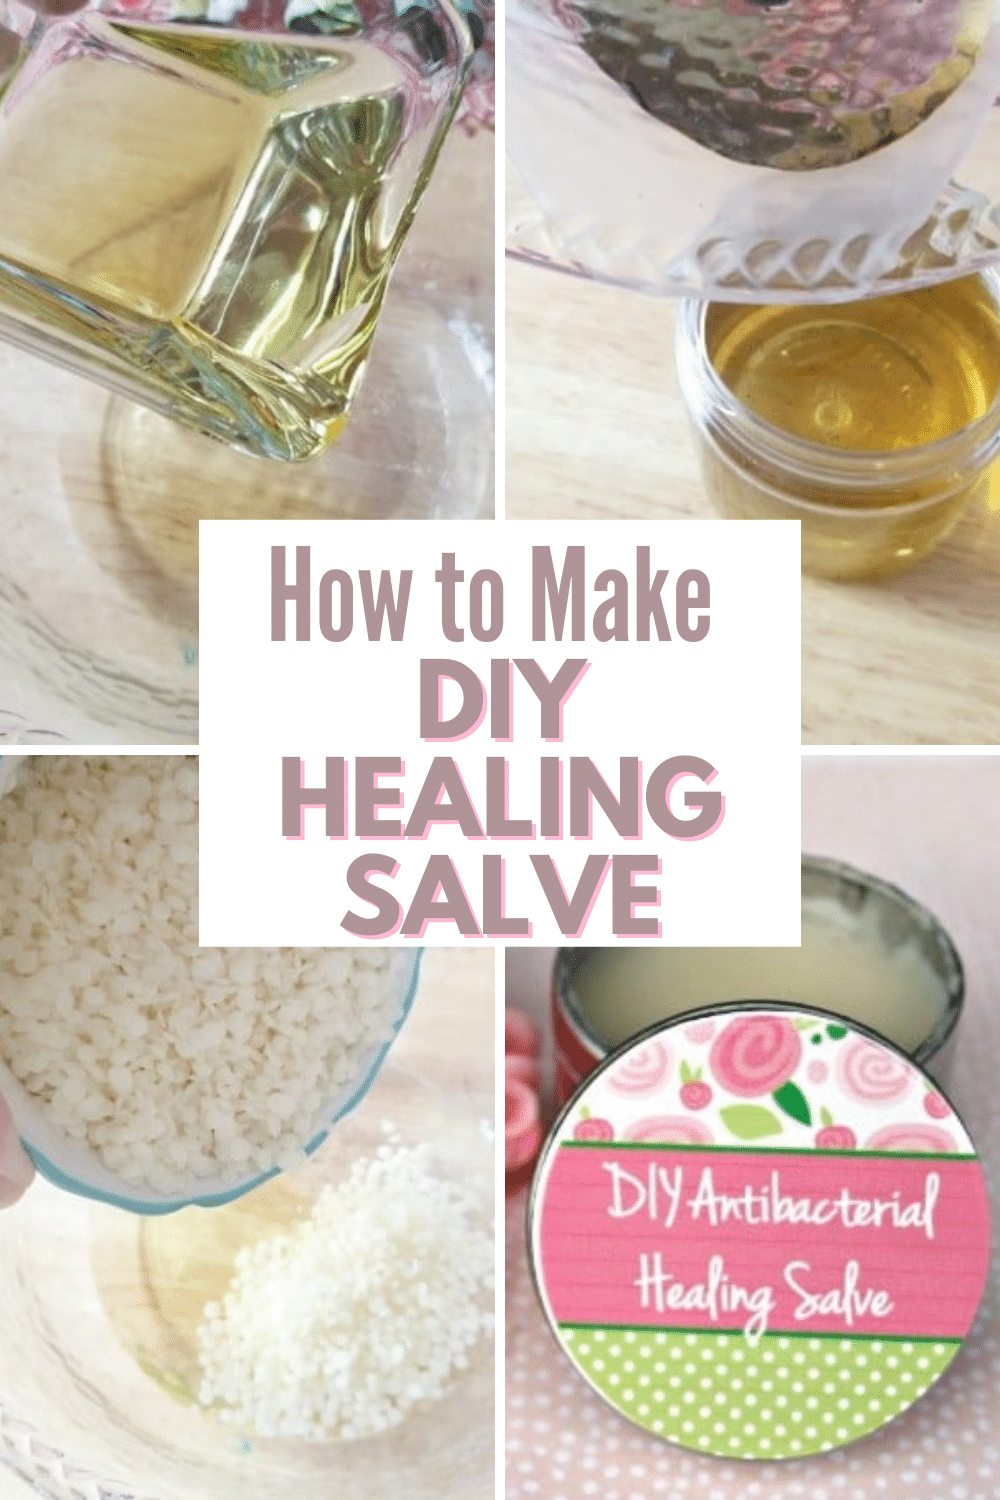
How to Make DIY Healing Salve
What You’ll Need
- ½ cup coconut oil
- ½ cup olive oil
- ¼ cup beeswax pellets
- 2-3 drops tea tree oil
- 2-3 drops lavender essential oil
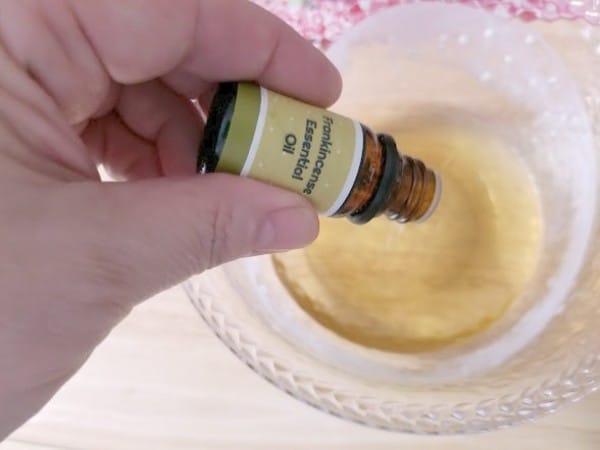
- 2-3 drops frankincense essential oil
- 2-3 drops lemon essential oil
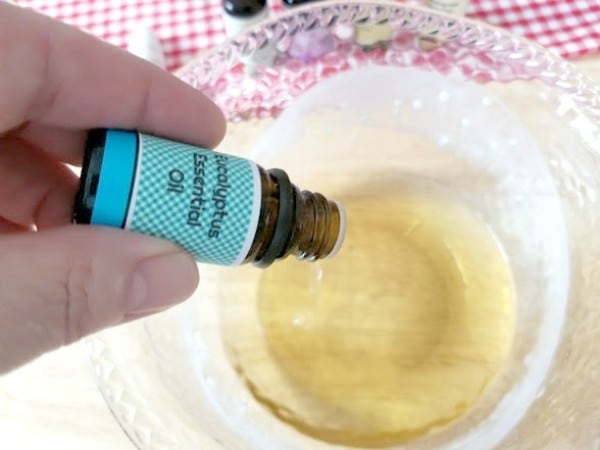
- 2-3 drops eucalyptus essential oil
- Small metal or glass containers

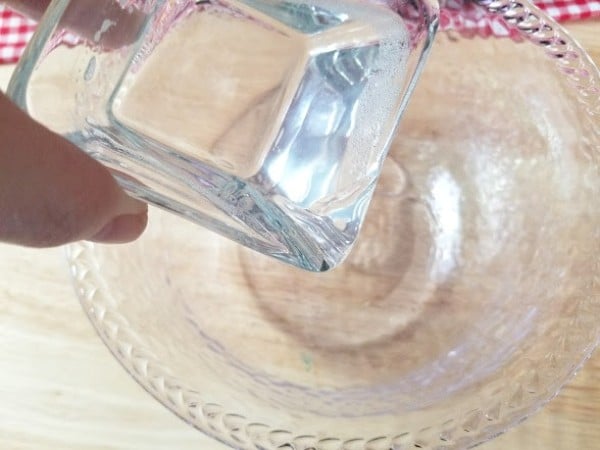
Step 1: Coconut Oil
Add half a cup of coconut oil to a medium glass bowl.
Would you like to save this?
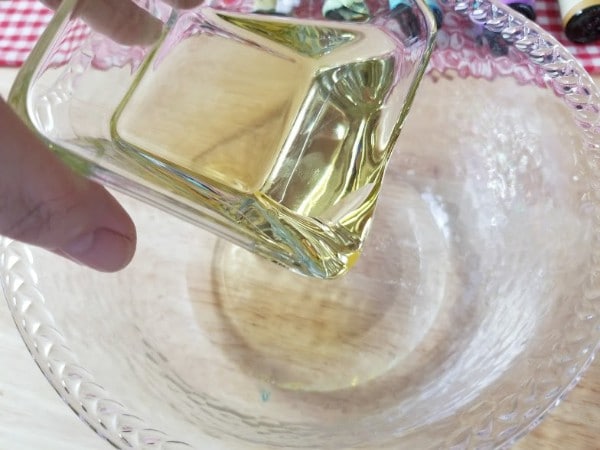
Step 2: Olive Oil
Next, add half a cup of olive oil to the bowl with the coconut oil.
Step 3: Beeswax
Add ¼ cup of beeswax pellets to the bowl.
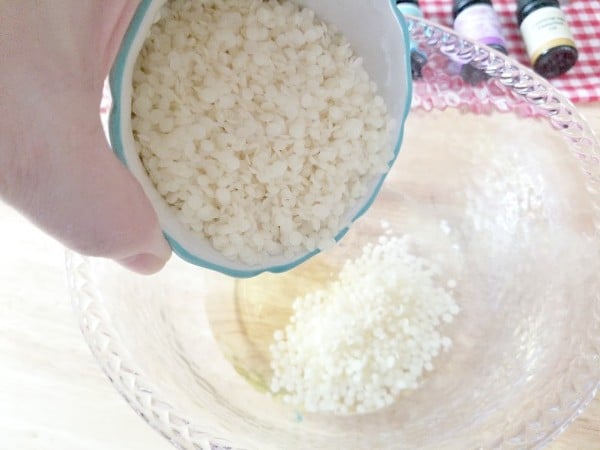
Place the bowl in the microwave and heat in 30-second increments until the pellets have melted. Stir the ingredients together.
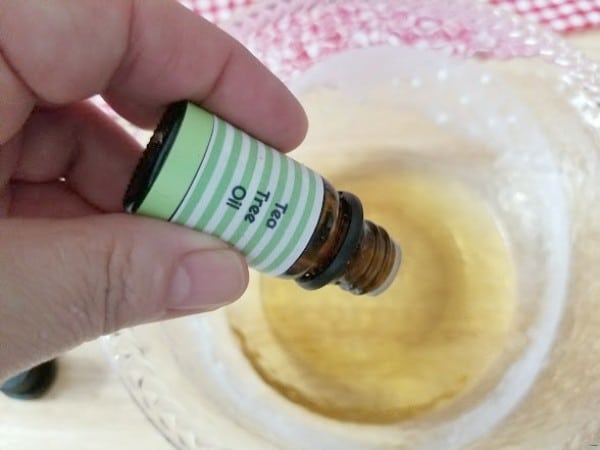
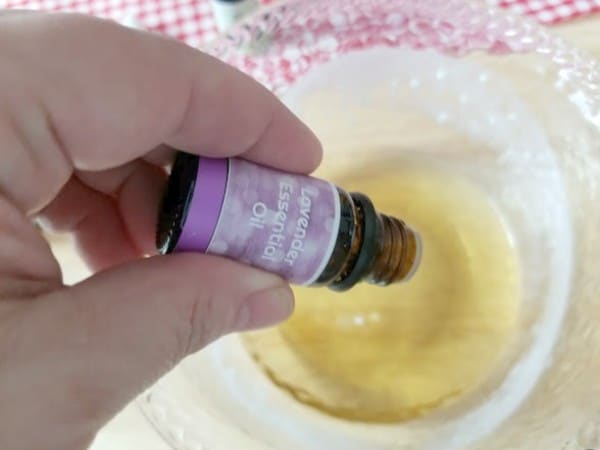
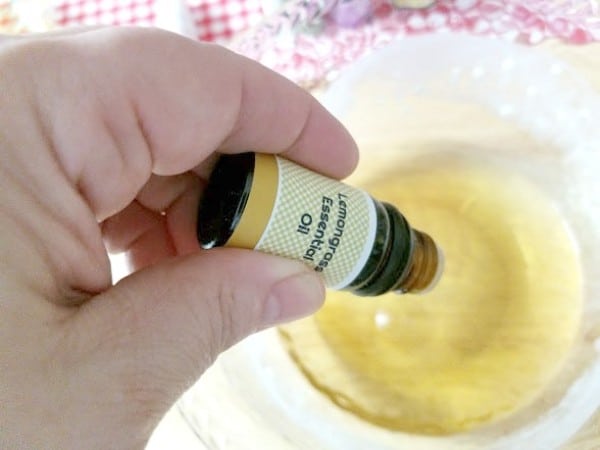
Step 4: Essential Oils
Add 2 to 3 drops of each essential oil to the bowl.
Step 5: Package
Now it’s time to pour the salve into containers. You can pour it all into one larger container if you want to keep a jar in a central location where it can be easily found.
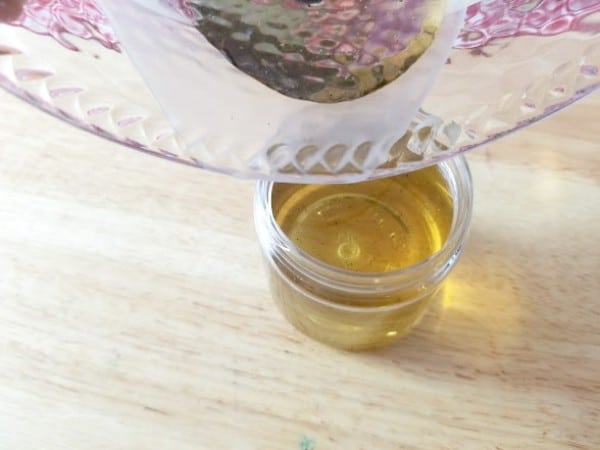
I prefer to portion it into several smaller containers so I can keep one in my purse, one in the car, another in my bathroom, etc.
Don’t worry that the salve is a liquid. It will solidify as it cools.

Since the salve will melt and return to a liquid if it gets too warm, store it in a cool place. If it does melt, just pop it in the refrigerator to cool it down again and it will solidify quickly.
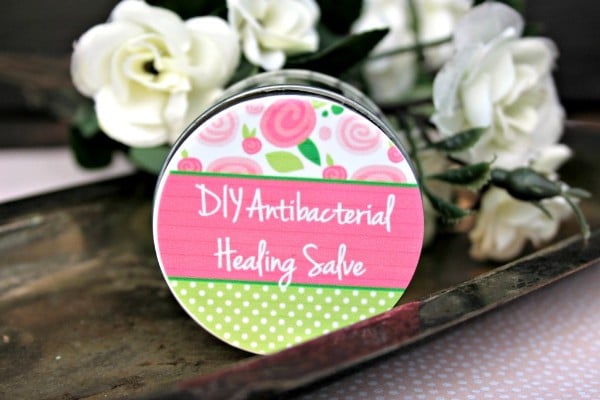
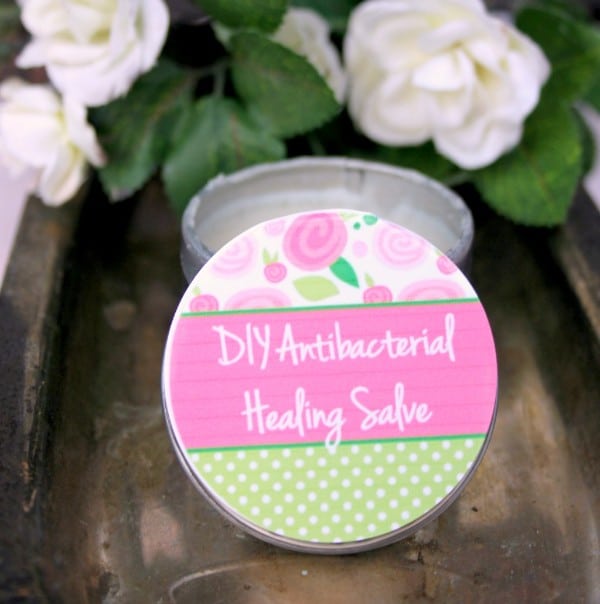
Free Printable DIY Healing Salve Label
If you’re giving this DIY Healing Salve as a gift, or simply want to dress up your own container, you can use these free printable labels.
First, open the file –>> DIY Healing Salve Labels
Save the file if you want to keep a copy on your computer. Then, you can print the labels on sticker paper.
Simply cut out each label, remove the protective backing, and stick one label on each lid. Or, skip the sticker paper, print on regular paper and then glue each label onto the lids.
The labels fit perfectly on 4 ounce cosmetic jars.

Thanks for sharing at Home Sweet Home!