These Chocolate Covered Cherry Mice are always a hit when we give them to neighbors and friends. They’re a blast to make as a family too!

Every year when we do our holiday baking, my kids look most forward to making the chocolate covered cherry mice. We discovered this recipe courtesy of Family Fun magazine and it has been a hit with everyone we share them with each year.
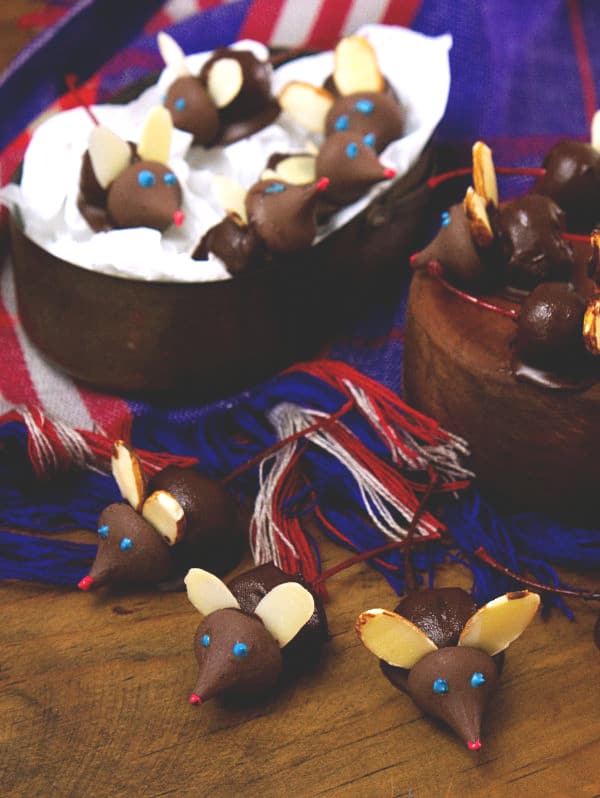
How to Make Chocolate Covered Cherry Mice
Normally, I’m all about the easiest recipes possible. I’m a big fan of 3-ingredient dump cakes that only take 5 minutes of hands-on time.
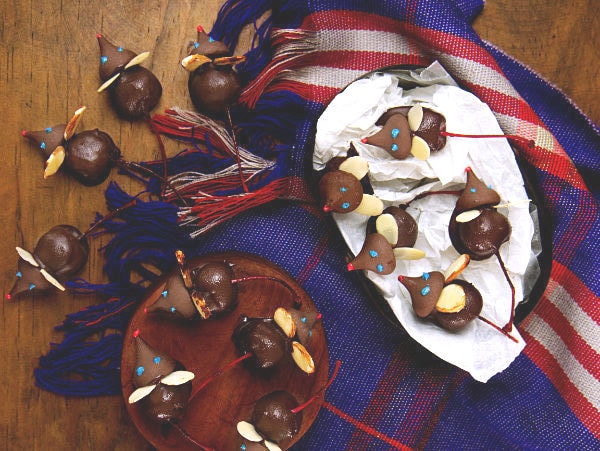
But, I make an exception for these mice because the kids love making them, everyone loves to receive them, and they’re simply adorable! If you like cherry desserts, you should try these Cherry Cheesecake Dessert Wontons too.
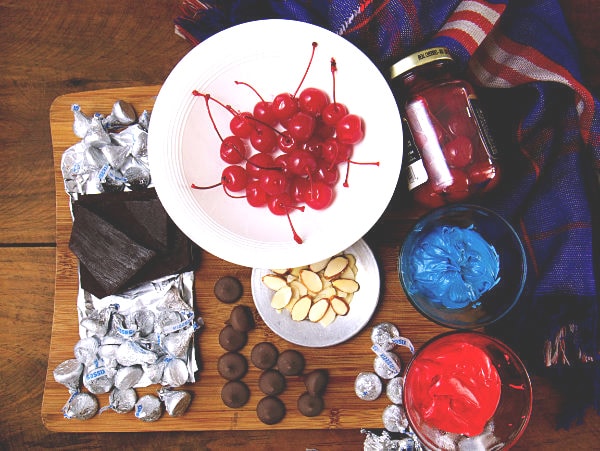
Thankfully, you only need a few simple ingredients to make them. You’ll need maraschino cherries, melting chocolate, sliced almonds, Hershey’s kisses, and some frosting.
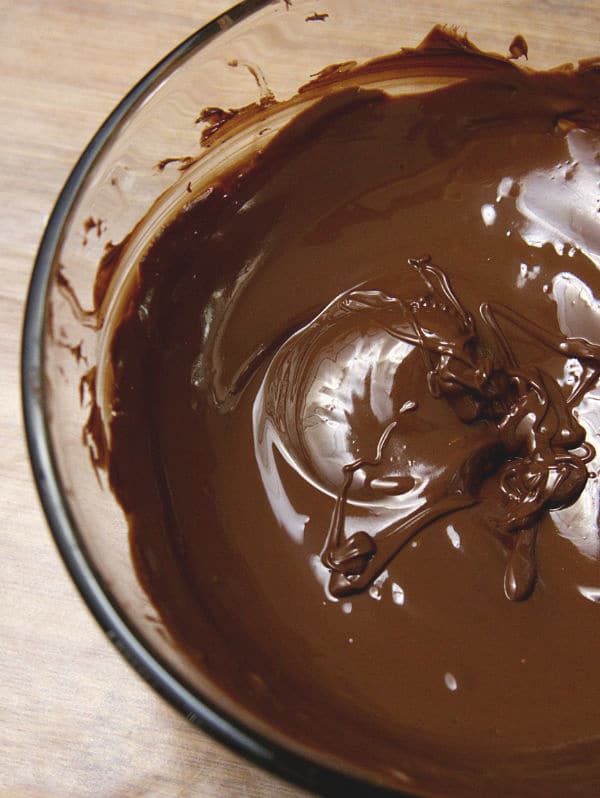
Step 1: Melt the Chocolate
To start, we have to melt the chocolate. I usually melt mine in the microwave. Be very careful not to overheat it, otherwise it gets thick and goopy.
Step 2: Coat Each Cherry
Next, you’ll dip each cherry into the chocolate (holding onto the stem).
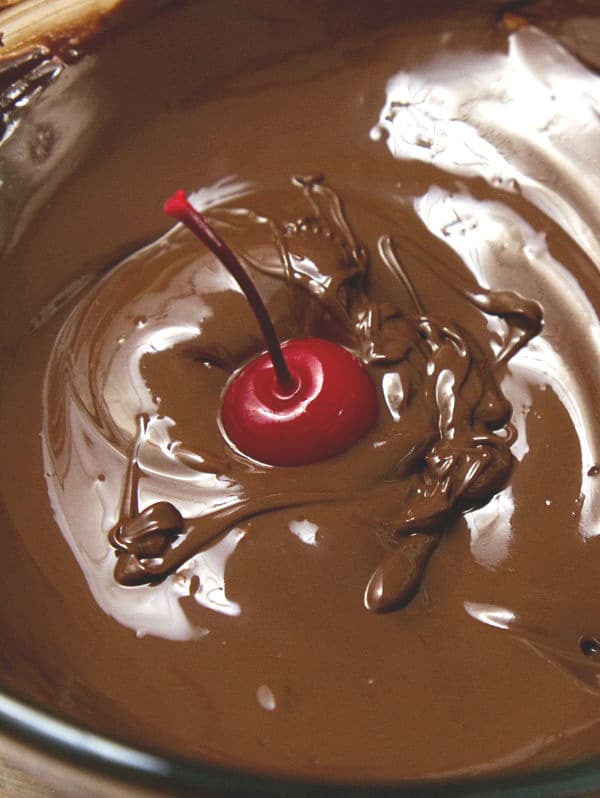
Make sure the cherry is coated completely in chocolate.
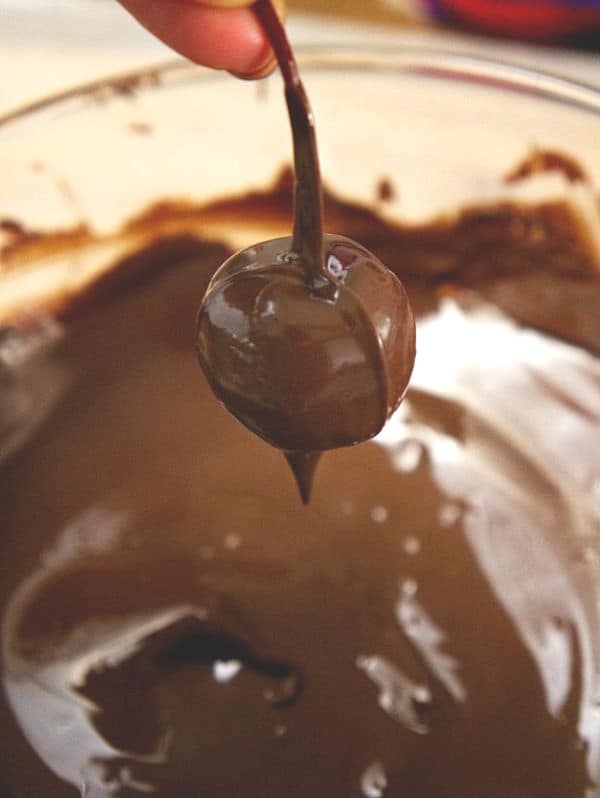
Step 4: Attach the Head
The cherry is the mouse’s body. Now we need to attach the Hershey’s kisses for the mouse’s head.
Lay the chocolate covered cherry down on wax paper with the stem out to the back and press a Hershey’s kiss onto the opposite side.
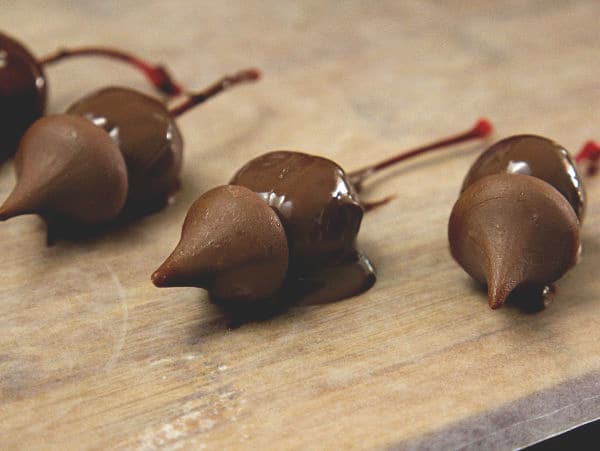
Step 5: Add the Ears
Quickly, before the chocolate sets, add two sliced almonds to each mouse as its ears. The almonds should slide between the Hershey’s kiss and the cherry. Once the chocolate hardens, it will hold the ears and head in place.
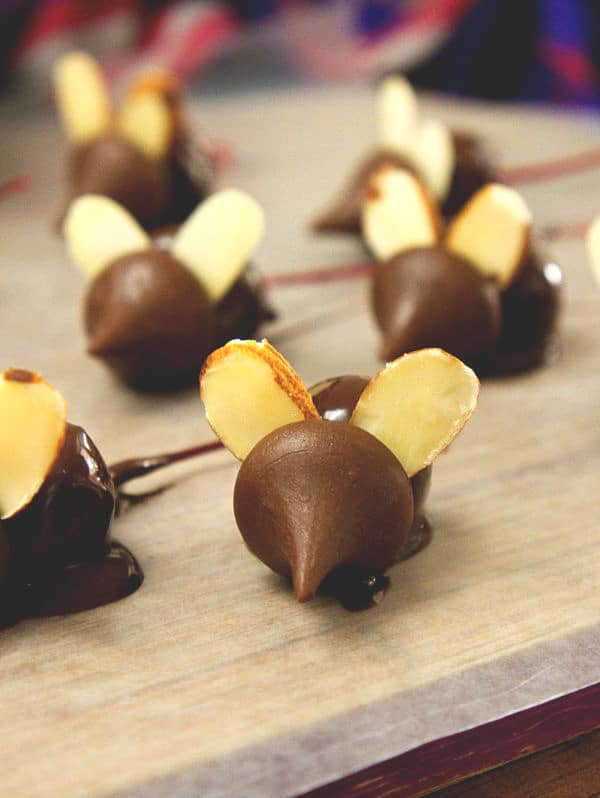
Step 6: Finishing Touches
Finally, we just need to add a couple of finishing touches. Add two dots of blue or green frosting to give each mouse a pair of eyes. And add a small dot of red or pink frosting to the tip of the Hershey’s kiss for the nose.
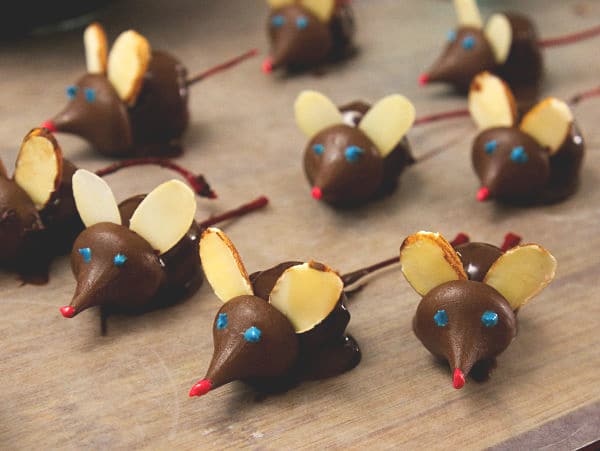
How cute are these little guys? As soon as the chocolate sets, you can safely move them to a storage container or serving plate.
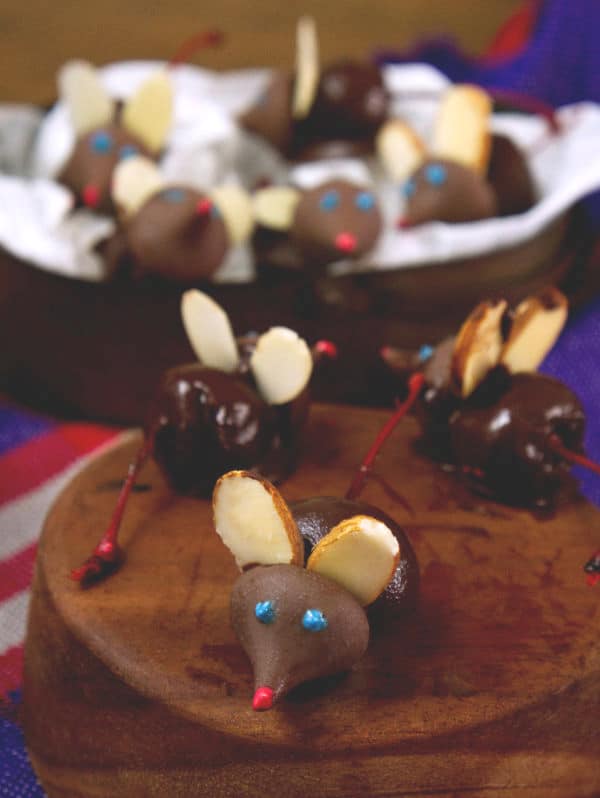
Chocolate Covered Cherry Mice Recipe
Here’s the recipe card for the chocolate covered cherry mice recipe so you can print it off to follow along if you prefer.
📋 Recipe
Chocolate Covered Cherry Mice
Ingredients
- 8 oz almond bark
- 2 jars maraschino cherries preferably WITH stems
- 12 oz bag Hershey's kisses
- 4 oz bag sliced almonds
- red decorator's frosting
- blue decorator's frosting
Instructions
- Unwrap Hershey's Kisses and set aside.
- Drain cherries and pat with paper towels to dry.
- Melt almond bark according to package directions.
- Dip cherries in chocolate one at a time and set on wax paper.
- Immediately press a Hershey's kiss against the front of the dipped cherry (the side opposite the stem) and insert 2 sliced almonds between the kiss and the cherry.
- After all of the mice are assembled, dab a dot of red decorator's frosting on the tip of each kiss to make the nose and add two dots of blue to make the eyes.
Notes
Nutrition
Thrive This Holiday Season
Need help getting ready for the holidays? Use one of these printable Christmas planners.
All three have helpful checklists and ideas to help you get and stay organized through the busy holiday season. Each one is a little different so that you can choose the one that works best for you.


these are sooooo cute! My kids would love to make these for sure. They would make a great classroom gift.
Awe so cute! Looks fairly quick and easy to make. These must be really popular with kids as they look so yummy!
How cute! That is a very clever idea & great for parties!
When I first saw this, it was shared on someones page and I just saw the title. My first thought was – Wow I thought chocolate covered bugs were gross. Then I came to see the post and these are so cute.
Those are too cute! I can attest to the fact that it is easier to dip the cherries with the stem on, but those turned out great!
Oh how cute are those, I’m not sure I would want to eat them they look so nice, but they do also sound like they taste delicious.. x
These are adorable! Love the little blue eyes. I think my daughter would get a kick out of them.
These are so cute! I planned to make these for my children but bought chocolate covered cherries from the store. I think the homemade ones will be much prettier. Thanks for the tip!
Those are almost too cute to eat lol! My boys would absolutely LOVE these and they sound easy enough for even me to make 🙂
That’s one cute idea….I would love to do this one for sure!
http://flavourme.blogspot.com/
These little mice are too cute to eat! (But I’m sure everyone else in my family would be happy to eat these cute chocolate covered cherries right up). I love making frosted cut-out cookies each year with my kiddos at Christmas time.
Hi Corinne – Oh my goodness – these little guys are too adorable! I love how you have this family tradition, and I’m sure your kids will carry on when they get older. Hugs, Holly
I love these little mice! I bet they taste good and don’t last long in the house. I can see where having the “tail” would be easier, but I am glad you worked with what you had. When my daughter was young, I used to get Family Fun magazine – we still use recipes and ideas from it!