
Last Updated on April 28, 2022
Just a few months ago, I figured out How to Plan a Retreat. On a whim, I decided to put together a blogger mastermind retreat to get some of my favorite female influencers together for some serious brainstorming and collaboration.
If you’re not a blogger, I hope you didn’t click away already because most of what I learned in putting together this retreat are lessons that apply to any type of group event. So whether you’re planning a multi-day get together with distant friends, a training event for volunteers or staff, or a mastermind retreat, many of the steps will be identical.
For simplicity, I’m going to start with the 5 W’s – Who, What, Where, When, and Why (but not in that order). For each of these topics, I’m going to talk about HOW so that you can breeze through these steps without making some of the mistakes I did.
Step 1 – Identify Why
We start with the why because it’s going to affect everything else and thus, is the most important thing to nail down early. What is the purpose of your retreat?
In my case, I wanted to get together with people who do what I do so we could share ideas and use our collective brainpower make substantive progress on our business goals in a short amount of time.
I love to hang out with my friends, but this event wasn’t going to be primarily social. Relationship building was a side effect of our main effort, which was to grow our businesses.
Step 2 – Identify What
Once you know your why, the what is pretty obvious. Think about what type of event is going to best help you achieve the goal of your why.
To make real progress on our businesses, I knew we’d need at least two full days together. I also knew that to get the collaborative atmosphere I wanted, we’d need at least a half dozen attendees and no more than 20.
After you know WHAT you are doing, you should decide on a name. I failed to do this until much later in the process, which was a mistake.
In retrospect, I should have chosen the name early on to make it easier to talk about and explain at later stages.
To make sure we couldn’t leave without doing something substantive, I decided to create a workbook. I ended up creating an 80-page workbook because apparently I don’t know how to stop myself once I start something like that.
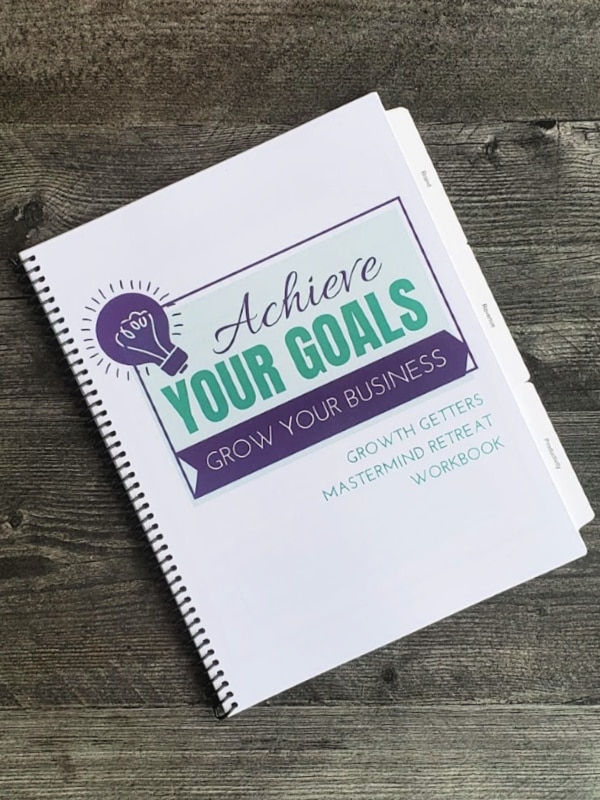
For a 2-3 day retreat, you definitely don’t need a dissertation-length workbook. However, some materials you probably should provide are:
- Agenda
- List of attendees (and possibly their contact information)
- Relevant resources
I had my workbook printed and bound at Staples. It was super easy to upload the file online and format the workbook (e.g. choosing a cover & type of binding plus adding divider tabs).
Step 3 – Identify When
By this point, you’re pretty excited about the event. You have a vision in your mind of what it looks like so you’re going to be eager to start making concrete plans.
The “when” of your event is going to be one of the hardest things to pin down, but will be critical to the rest of the planning process. Because you’re the organizer, start with your schedule first without worrying if the dates will work for anyone else.
Choose 2-4 options that work for your schedule. Remember to take into consideration that the weeks leading up to the retreat will require more of your time so don’t just look at your free days, consider your workload in the month leading up to them.
If you’re super confident people will show up at your retreat whenever you host it, go ahead and settle on a single date.
In my case, this was my first time ever organizing a retreat and I had no idea who (if anyone) would show up. So I moved onto the next step before making my final decision on when the retreat would take place.
Step 4 – Identify Who
A retreat is very different than other events like conferences or concerts, because more isn’t necessarily better. Depending on the goal (the why you established at the beginning), you may want only a certain number of people and/or a specific group of people to be included.
I knew that I wanted professional bloggers (they had to be making income from their blogs with the intention of growing their business). I’d also decided that more than 20 attendees would change the dynamic of the group into one that was less personal and thus, I was going to limit attendance.
Now, anyone who has ever invited a group of people to attend ANYTHING knows that no matter how many people you invite, at least half of the invitees won’t attend. So when you make out your invitation list, make it at least twice as long as your maximum group size.
I was hoping for 10-12 attendees, but was willing to accommodate up to 20, and when I made my list, I had 30 people.
Once I had my list, I invited them all to a private Facebook group. This is NOT a necessary step but for me, it was an easy way to poll the group, share details and collaborate before the event. Later, I’ll talk about other options for inviting and organizing your attendees.
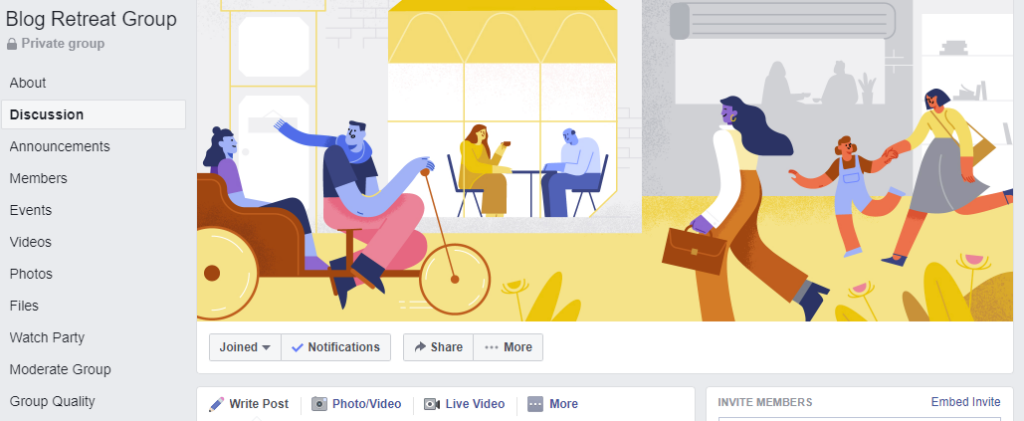
I polled in the group to finalize the retreat date. And I also let invitees invite their own friends, knowing that out of my 30 invitees, I might have a hard time reaching my ideal 10-12 attendees.
If you don’t need to coordinate a lot of details with your group, a simple Evite invitation is another great option. You can input all the key details, keep track of who is attending and who isn’t, and you also have the option to let invitees post comments and replies.
Step 5 – Identify Where
Choosing where to have your retreat can be a challenge. Before deciding, you should consider:
- Proximity and ease of access for you
- Proximity and ease of access for attendees
- Seasonal concerns (e.g. weather, holiday travel)
- Cost
- Accommodations
- Nearby activities and food
I knew I’d be bringing a lot of things with me and thus, flying was out of the question. I had to choose a location that was in easy driving distance.
Though I live close to Washington DC, I was concerned that in February icy roads might pose a problem so I looked for options south of me. Richmond is close, but isn’t a hub for any airlines and as a result, is hard to get direct flights to. That’s how I settled on Raleigh-Durham for my retreat.
Once you know the city, you’ll need to find the exact location. For an intimate retreat, consider an AirBNB or VRBO (Vacation Rental By Owner).
Things to remember if you go this route:
- You’ll have to reserve the space before you have a final head count so you may end up paying for rooms/beds you don’t need
- You’ll need to plan food and beverages more carefully to ensure it’s onsite for your guests
- You’ll have some cleaning responsibilities at the end of the event
Because I was trying to minimize my workload, I opted against a home rental and decided to book at a hotel instead.
Would you like to save this?
The easiest way to compare hotel options for a retreat is to contact the destination city’s tourism and visitor bureau (just do an internet search for “[city name] tourism and visitor”). Then, navigate to their meetings/conventions section.
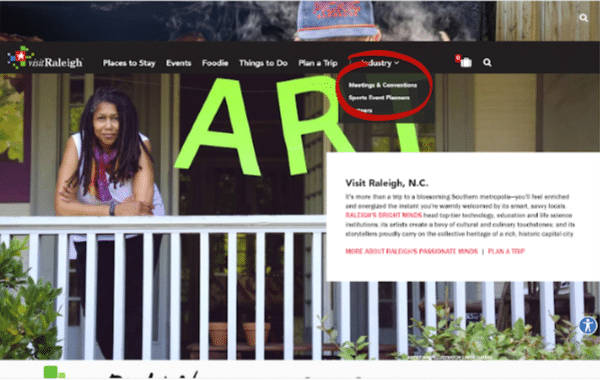
If possible, find a staff member you can call or email directly. They’re very friendly and try to be as helpful as possible!
You’ll fill out an RFP (request for proposal) with all the details of your event and interested hotels will reply with different offers.
Step 6 – How Much?
After you’ve made all the decisions above, you finally have enough information to calculate costs.
Setting the Budget
Here are some of the things you’ll need to plan and budget for:
- Venue: Do you need a meeting space? Are you including accommodations in your attendance fee or will attendees take care of that on their own?
- Food: Will you cover any meals? Do you need coffee, water or other beverages? What about snacks?
- Printed Materials: Even if you print them yourself at home, don’t forget to include the cost of supplies.
- Transportation: How much are you spending on gas and wear and tear on your vehicle? Are you covering shuttle expenses? Will you need to Uber or Lyft to different locations during the retreat? Will a rental vehicle be necessary?
- Gift Bags: Are you planning to provide mementos or swag bags for attendees? Remember to include costs for the bags and packing materials as well as the items that go in the bag.
- Other Supplies: Walk through the retreat in your mind and determine if you’ll need any other supplies during the event — paper and pens, posters, tape, power strips, name badges, decorations, etc.
After you’ve calculated all the expenses, set your budget so that you can cover all the costs and have a small amount left over to cover unanticipated expenses. I added a 10% pad when I planned this retreat.
Covering Your Expenses
Now is the tricky part. You have to figure out how you’re going to cover the cost of the event long before you know exactly how many people are going to attend and what your final costs will be.
I recommend being conservative in all your estimates (assume the higher range of any costs) and limiting your fixed costs. This way if your costs increase per attendee, you can cover them in ticket sales.
If your event will include attendance fees, you can collect payments with a free PayPal.me profile if your group is made up of close friends. For increased sales tracking, as well as buyer AND seller protection, you may want to use Eventbrite for your ticket sales.
I also encourage you to seek sponsors. And no, you don’t have to be a blogger or influencer to get sponsors! Read my post on How to Solicit Donations for some tips.
Thanks to our generous sponsors, our retreat was even better than I could have imagined.
Our primary sponsor was Mediavine, an ad network for publishers. Their generous support enabled me to cover lunches and dinners for all attendees both days.
They even sent one of their staff members to teach one of our sessions. Here’s Sam Ellis sharing her wisdom with us:

When approaching sponsors, consider offering them speaking parts at your event. For some companies, it is a major benefit not just to pitch their services or products, but to get face time and feedback with potential customers.
For other companies, like Mediavine, it’s simply an opportunity to further their mission. In Mediavine’s case, they strive to help content creators create sustainable businesses.
We also had several other great sponsors provide items for our swag bags. In addition to being professional bloggers, the other thing we all had in common was that we’re all busy moms and each of these items was perfect for us in that role!
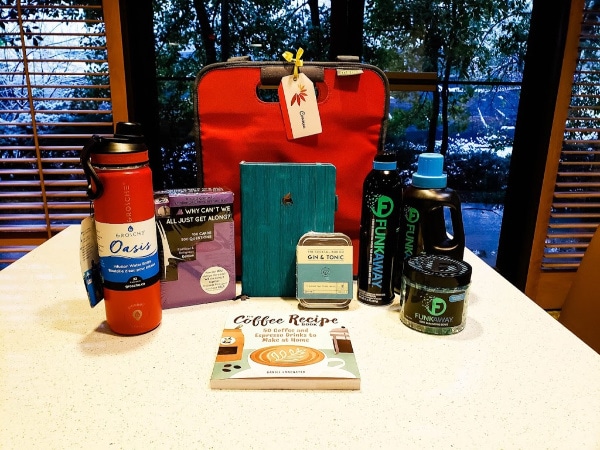
If you look closely at the background of the picture above, you can see the snow that started to fall on the afternoon of our arrival (ultimately leading to a power outage). So much for heading south for better weather!
Here’s a little more info about each of the swag bag items. Click through and check each one out — not just because they were my sponsors but also because they are really great products!
- Authentic Agility Games: They gave each of us the game “Why Can’t We All Just Get Along” which I’d intended to use as our icebreaker on the first night until the power outage threw a kink in that plan!
- Callisto Media: Since my book wasn’t out yet, my publisher generously sent a collection of other books so each of the attendees got one related to their interests. I landed this Coffee Recipes book because of my coffee obsession.
- Clever Fox Planner: My friend recommended these planners because they’re her favorite and now they are my favorite too! Not only do they come in awesome colors with tons of cute stickers, there are plenty of thoughtful features like an elastic band to keep it closed, labeled bookmark sashes and a handy pen holder.
- FunkAway: These odor busting products are amazing at eliminating unpleasant smells like stinky shoes or smelly athletic gear. I’ve got the beads soaking up bathroom odors.
- Grosche International Inc: I really wanted to provide reusable water bottles for the attendees during the retreat and Grosche came through with these OASIS Infuser Water Bottles. Not only does the double-walled insulation keep water ice cold ALL DAY, for every bottle purchased Grosche provides 50+ days of safe drinking water to someone in need!
- Meori: Not only are their products cute AND functional, they’re collapsible too so they take up less space when you aren’t using them. The Hibiscus Red Grocery Bag was the perfect container for all our swag!
- Phoozy: These thermal capsules protect your smartphone like nothing else. They preserve your battery in cold weather, cushion your phone if it drops, sink if your phone falls into water, and prevents your phone from overheating in warm weather.
- The Cocktail Box Co: All the ingredients for a classic cocktail in a handy little box that fits in your purse. All you need is a glass!
Step 7 – Follow Up
By this point, you’ve done all the hard work but it’s no time to get complacent. The key to making sure your event goes smoothly is to stay on top of details up to and after the retreat.
Make sure you’ve set firm deadlines for attendees (and sponsors, if you have them). But don’t count on everyone to remember those deadlines.
Send reminders about upcoming deadlines at least three times:
- Once about a week beforehand
- Another one to days ahead of time
- And a last-minute reminder on the day of a deadline
In addition to following up with attendees and sponsors, make sure you touch base with other key people like your contacts at the venue, restaurants or caterers, and transportation providers.
Go through all the details with a friend to ensure you haven’t overlooked anything. It’s easy to miss something simple when you’re so engrossed in all the details.
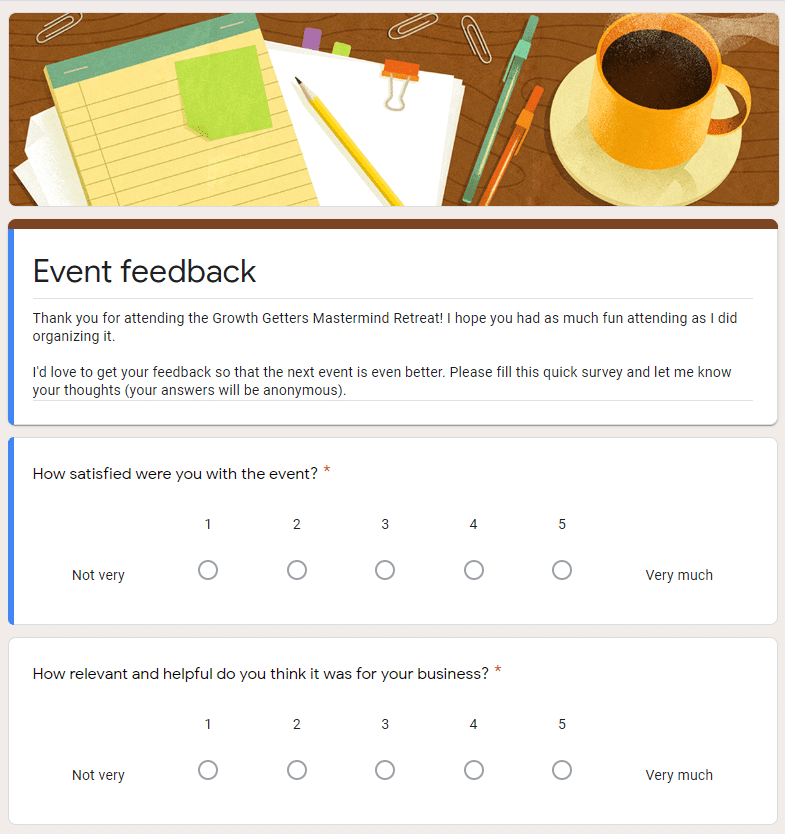
At the end of the event, ask attendees to complete a short, anonymous survey so you can capture their feedback while it’s still fresh in their minds.
I used Google Forms for my survey. Survey Monkey is another option and the free version should be good enough if you’re only doing a single survey.
That’s it! Follow the seven steps above and your retreat should come together smoothly!
You can go above and beyond and plan things like team-building activities and excursions. You can also devote some resources to decorations and signage.
I skipped the extras and was still very satisfied with the result. So if you aren’t up for an extensive to do list, stick with the items above and your retreat will be a success!

Thank you so much for hosting and for this great explanation of all the steps involved. It was a wonderful event and I’m already excited for the next one.
I wanted to go so bad! I missed out. Hopefully you organize another one soon.