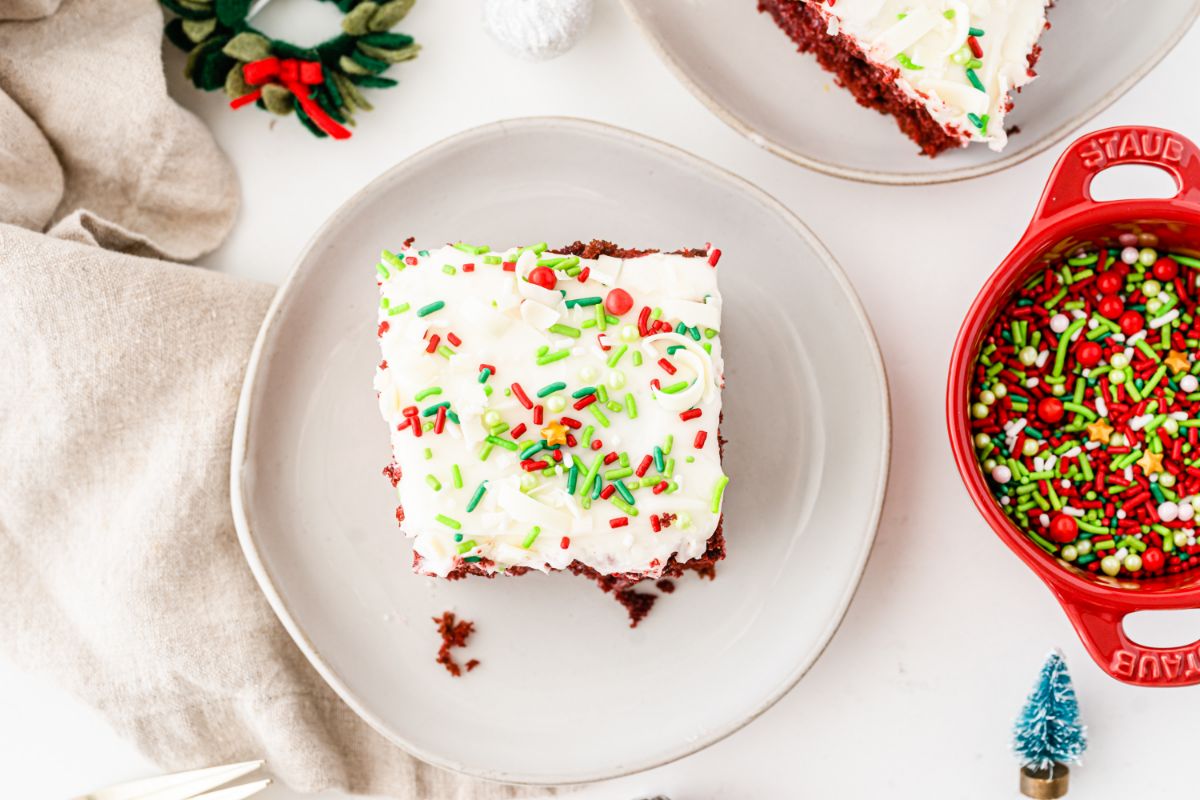
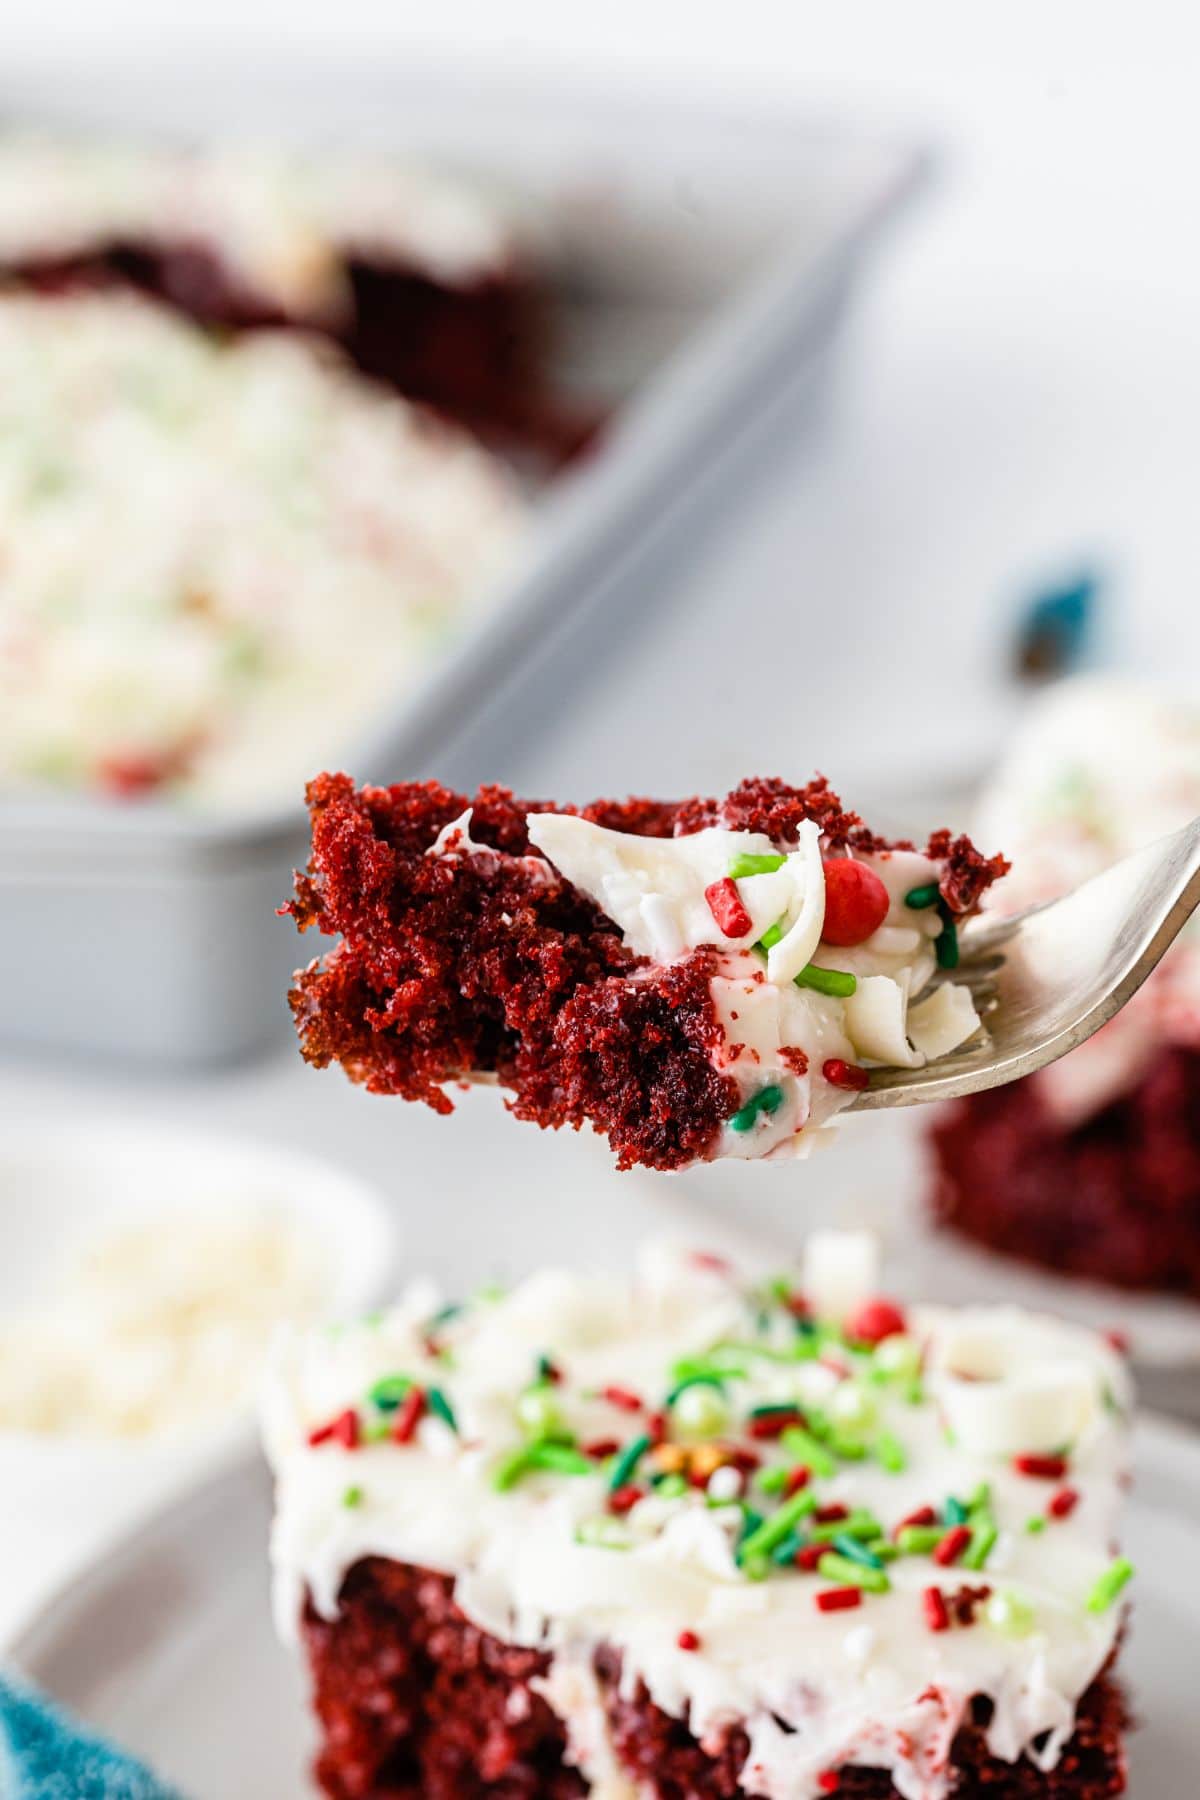
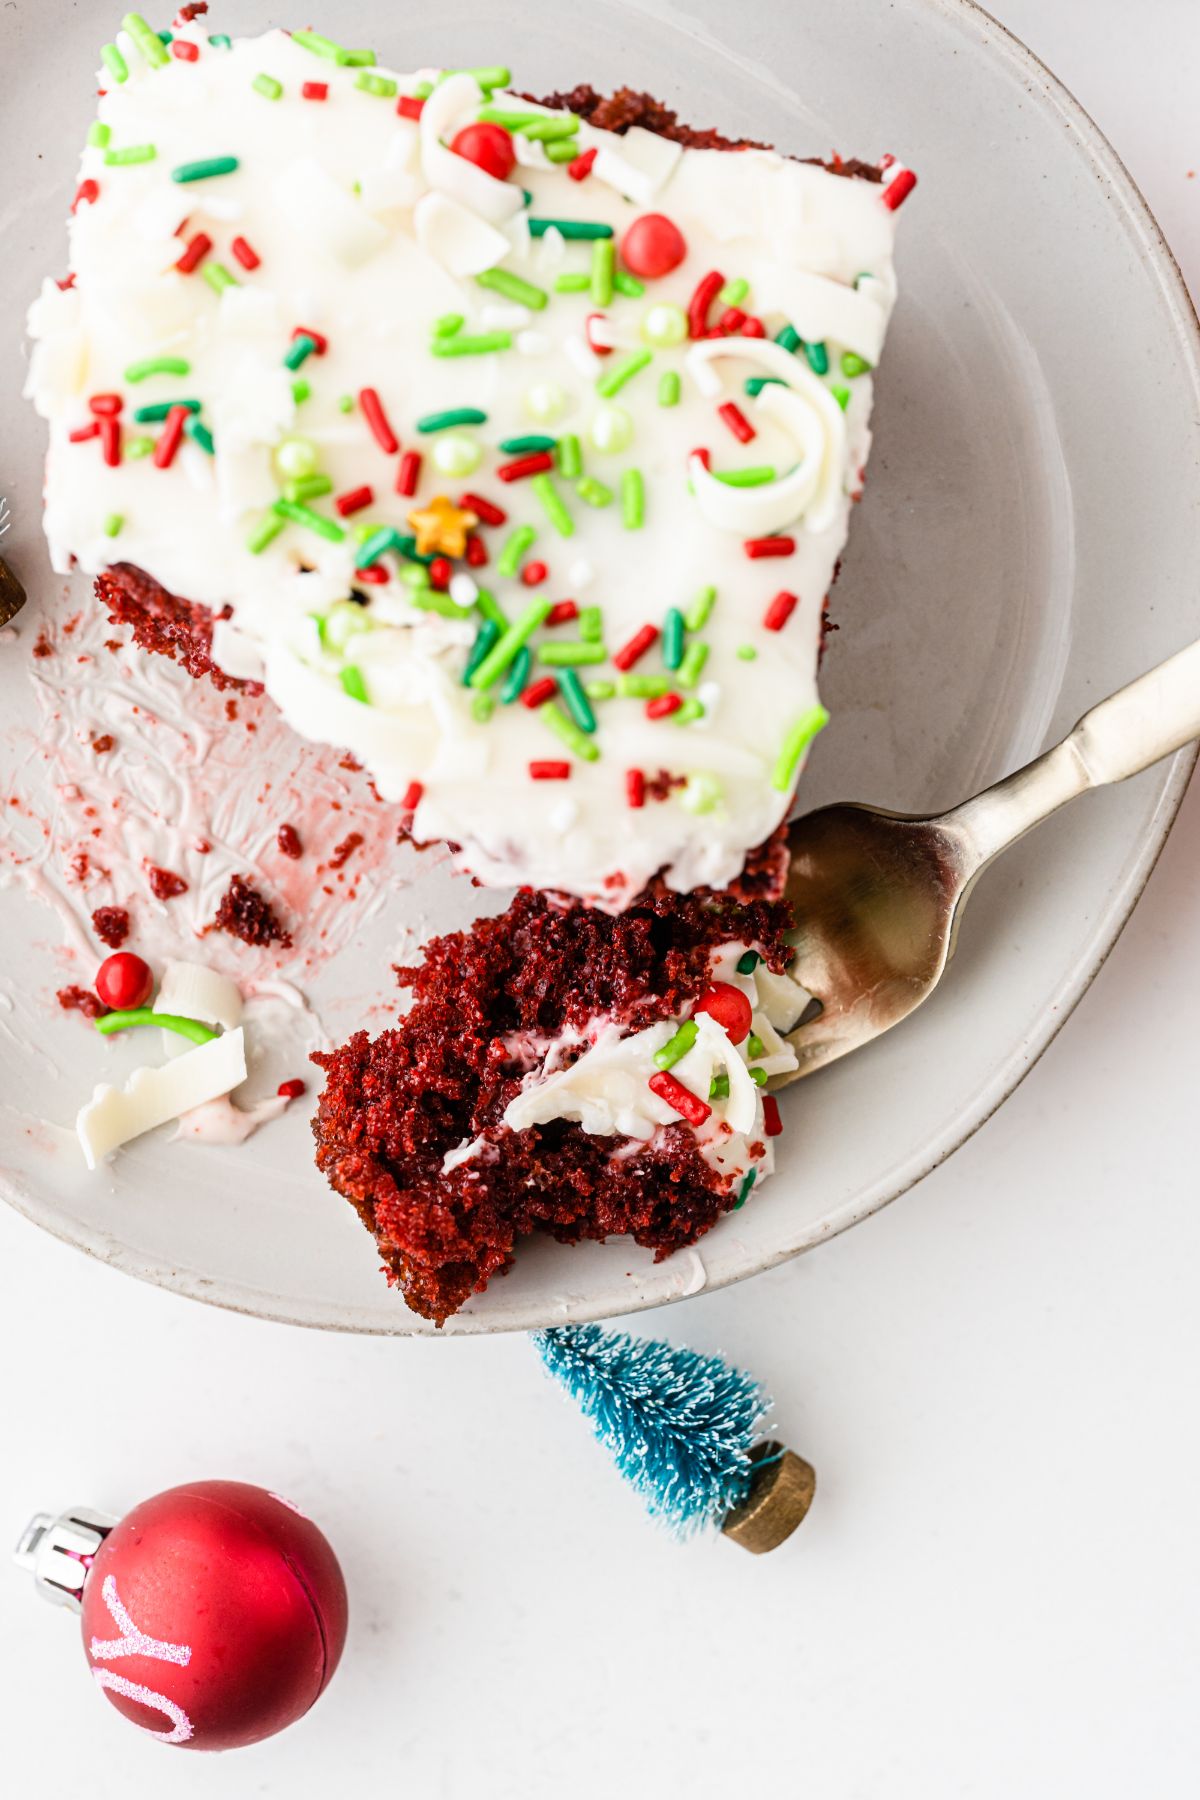
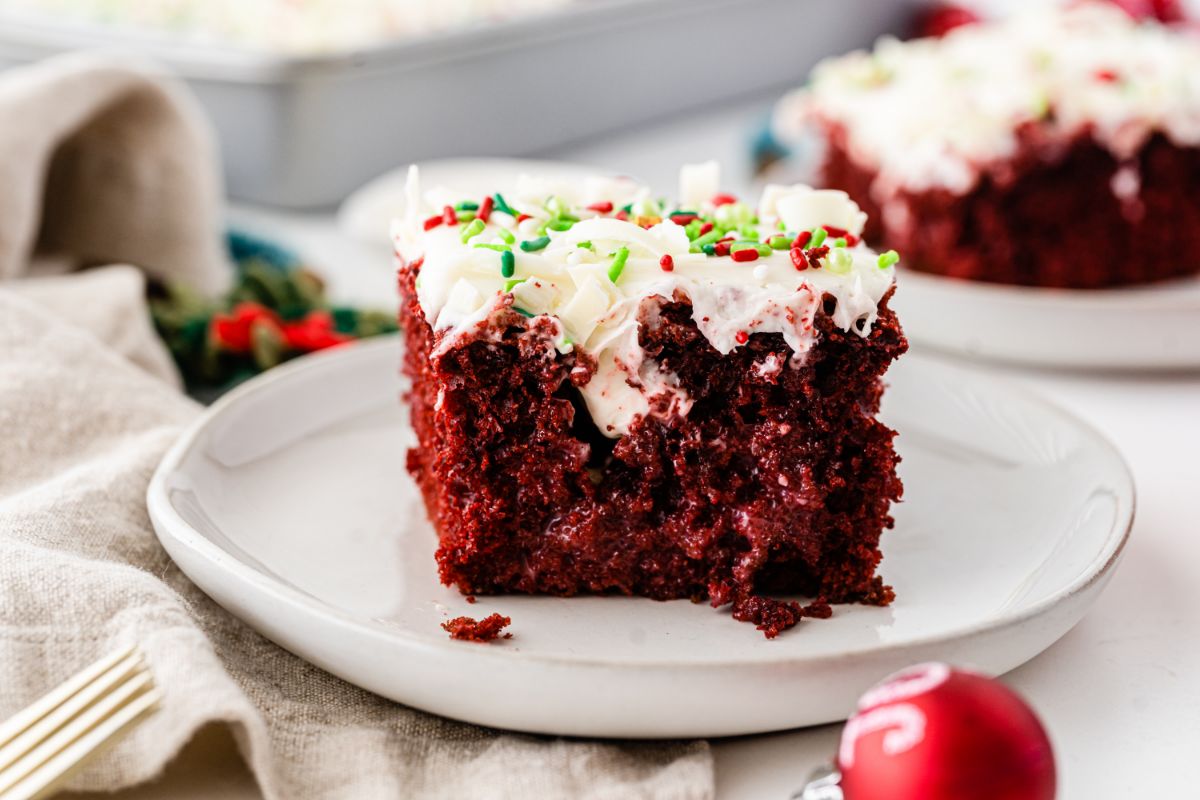
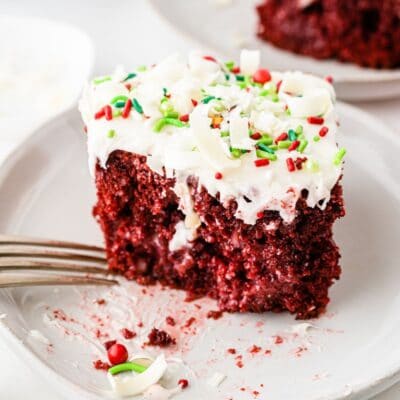
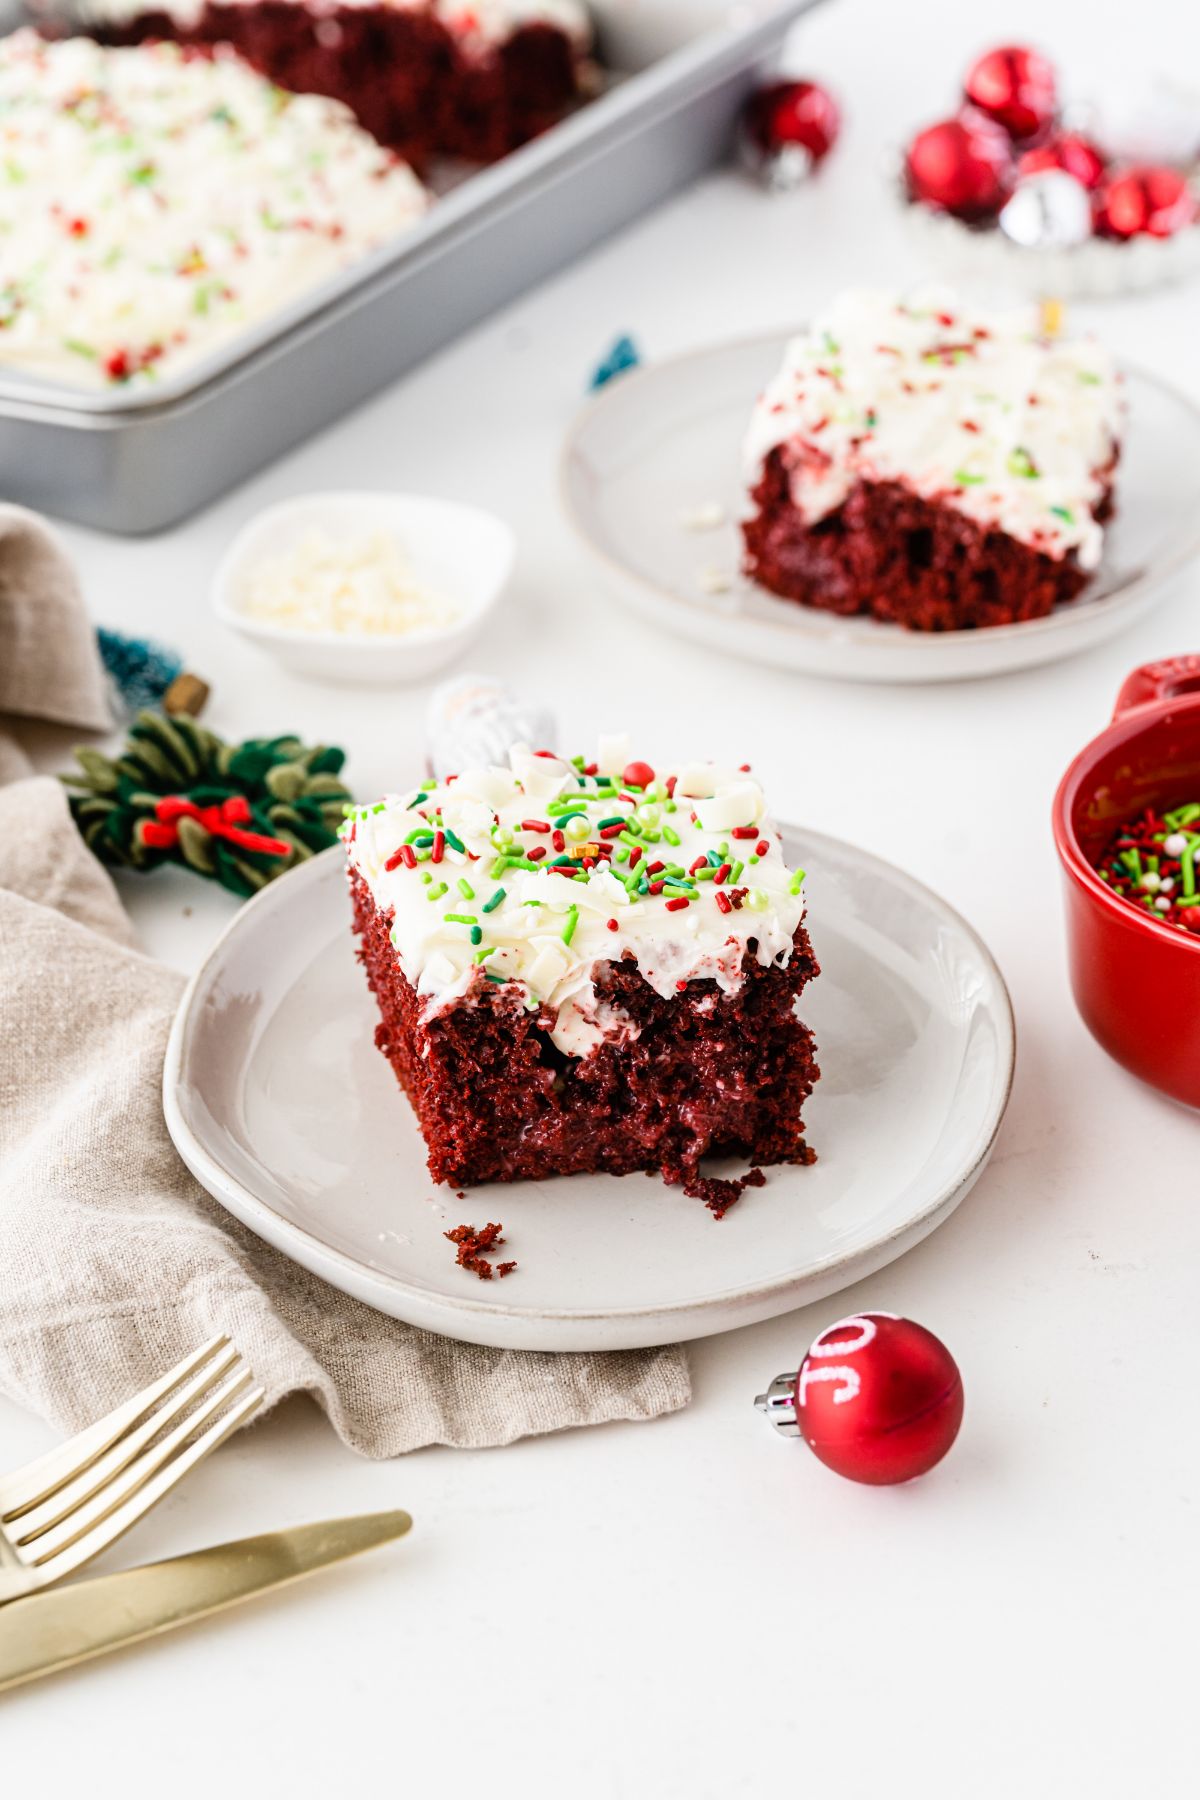
Christmas Poke Cake is so easy to make for a festive dessert.
Poke cakes are soft and moist cakes that require only a handful of ingredients, and always look great on a holiday dessert table. Plus, not only is this cake sweet and delicious, it only requires about 35 minutes of baking time.
While the cake is baking, you can get started on your gifts and have your kids help you make this brownie mix in a jar or these reindeer hot chocolate cones.
Jump to:
- What is the History of Poke Cakes
- SAVE THIS RECIPE!
- โค๏ธ Why Youโll Love This Recipe
- ๐ฅ Ingredients
- ๐ Substitutions
- ๐ Variations / Options / Add-Ins
- ๐ฅ Equipment Needed / Helpful Tools
- ๐ช How to Make Christmas Poke Cake
- ๐ฉโ๐ณ Pro Tips
- โย Recipe FAQs
- ๐ Pairing
- SAVE THIS RECIPE!
- ๐ Recipe
- Pro Tips
- Recipe FAQs
What is the History of Poke Cakes
Poke Cakes became popular back in the 1970’s when Jell-O made a marketing campaign to try and increase their sales. After the Watergate scandal, Jell-O made this campaign to show that they could fill any void.
The slogan was, โMore smiles than ever. Introducing moister, fruitier Rainbow Cakeโ and appealed to housewives because it was so easy to make a “fancy” dessert. In order to promote this cake, Jell-O took out full page ads in popular magazines like Redbook and Ladies Home Journal.
A poke cake is typically made with Jell-O, cake mix and whipped topping. However, since then, there have been a lot of different variations made for various holidays and occasions using a variety of gelatin flavors and instant pudding.
The reason poke cakes became so widespread is because they are a foolproof moist cake that always turns out delicious. Plus, it’s a lot of fun to cut into the cake to discover what’s waiting for you inside.
SAVE THIS RECIPE!
Enter your email below and I’ll send it straight to your inbox.
โค๏ธ Why You’ll Love This Recipe
Christmas Poke Cake will be the highlight of your Christmas desserts and you’ll love it for all of these reasons:
- Easy to make: It only takes 5 steps to make this cake and your kids can even help you make it and decorate it.
- Always a hit at parties: Poke cakes are nostalgic so it will add to the conversation at the party. Everyone will be excited to share the memories of having this cake at their grandma’s house.
- Looks beautiful on a plate: Besides being topped with Christmas sprinkles and white chocolate curls, the red color of this cake makes it even more stunning.
If you love festive Christmas recipes you may also enjoy this easy Christmas holly cupcakes recipe.
๐ฅ Ingredients
To make this fun Christmas poke cake recipe you only need six ingredients. One trip to the grocery store and you will have everything you need to make this easy holiday dessert recipe.
- Red Velvet cake mix: You can use any brand of cake mix that you want. The red color of the cake is perfect for the season.
- Sweetened condensed milk: This is what is poured over the holes in the cake to provide sweetness, richness, moisture and creaminess.
- White chocolate chips: These are melted and mixed with the condensed milk to pour over the cake to add a rich, creamy sweetness and decadent texture.
- Cream cheese icing: Use any brand or make your own. The tangy flavor of the cream cheese perfectly complements the sweetness of the red velvet cake, creating a balanced and delicious flavor combination.
- Christmas sprinkles: When you put these on top of the frosting, they add a nice pop of color and fun.
- White chocolate curls: You can make white chocolate curls by using a vegetable peeler on a chocolate bar. You can also spread melted white chocolate onto a sheet pan, then use different size putty knives available in hardware stores to help you shape the curls.
See recipe card for complete list of ingredients and quantities
๐ Substitutions
If you donโt have the ingredients you need, see if you have these instead; or if you have different dietary needs/preferences:
Red velvet cake mix: Use a gluten free red velvet cake mix if you are gluten sensitive.
Sweetened condensed milk: Coconut milk or cream can be used as a non-dairy alternative. You can also combine 1 cup evaporated milk with 1 cup sugar and simmer until thickened or try any of these other substitutes for sweetened condensed milk.
Cream cheese icing: Combine Greek yogurt with powdered sugar for a tangy, lighter topping.
๐ Variations / Options / Add-Ins
In case you want to add some different flavors to your cake, here are some ideas:
- Different cake mix: Donโt like red velvet cake? Use a white cake mix instead for an easy swap or if you want a more intense chocolate flavor, use devils’ food cake mix.
- Frosting: Want to switch up the frosting? Use vanilla frosting in place of the cream cheese frosting or for a sweeter option, use plain buttercream.
- Topping ideas: Try crushed holiday Oreoโs, Christmas M&Mโs, chocolate chips, red and green colored sugar, crushed candy canes, or edible glitter or pearls.
If you want to try an intense chocolate flavored poke cake, try this Oreo poke cake.
๐ฅ Equipment Needed / Helpful Tools
You only need four kitchen tools to help you make this holiday cake. You probably already have all of these tools on hand in your kitchen.
- 13×9 pan: This is where you’ll bake the cake, fill it and decorate it.
- Mixing Bowl: You’ll mix the cake mix in here.
- Microwave-safe bowl: The white chocolate chips will be melted in the microwave and then combined with the condensed milk.
- Wooden Spoon: The handle of the spoon will be what you use to poke the holes in the cake.
๐ช How to Make Christmas Poke Cake
This easy Christmas cake can be made in just eight easy steps. While the prep time to make this cake may seem overwhelming, it’s mostly chill time so don’t be afraid of this recipe.
Step 1: Make the Cake
Prepare the red velvet cake mix according to the package and bake in a 13×9 pan.
Step 2: Melt the White Chocolate
Place the white chocolate chips in a microwave safe bowl and microwave in 15 second intervals until completely melted.
Step 3: Mix with Condensed Milk
Then, once the chocolate is completely melted, combine with the condensed milk stirring until completely combined and smooth.
Step 4: Poke the Holes
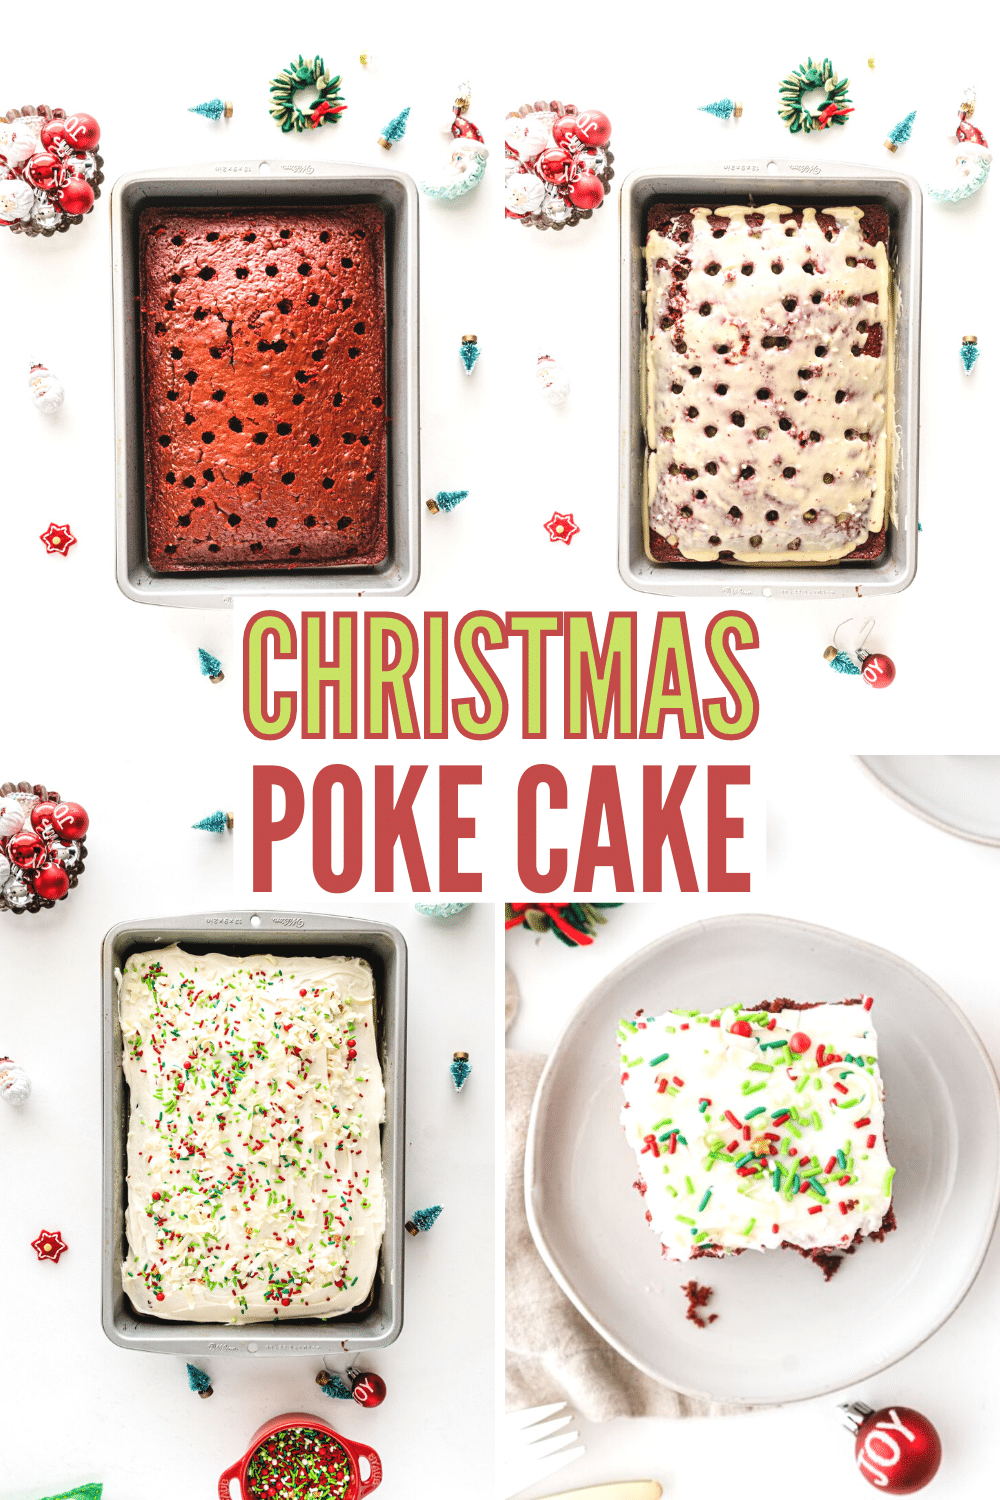
Once the cake has cooled, poke holes with the handle of a wooden spoon in rows.
Step 5: Fill the Holes
Pour the sweetened condensed milk mixture over the cake and push gently into the holes.
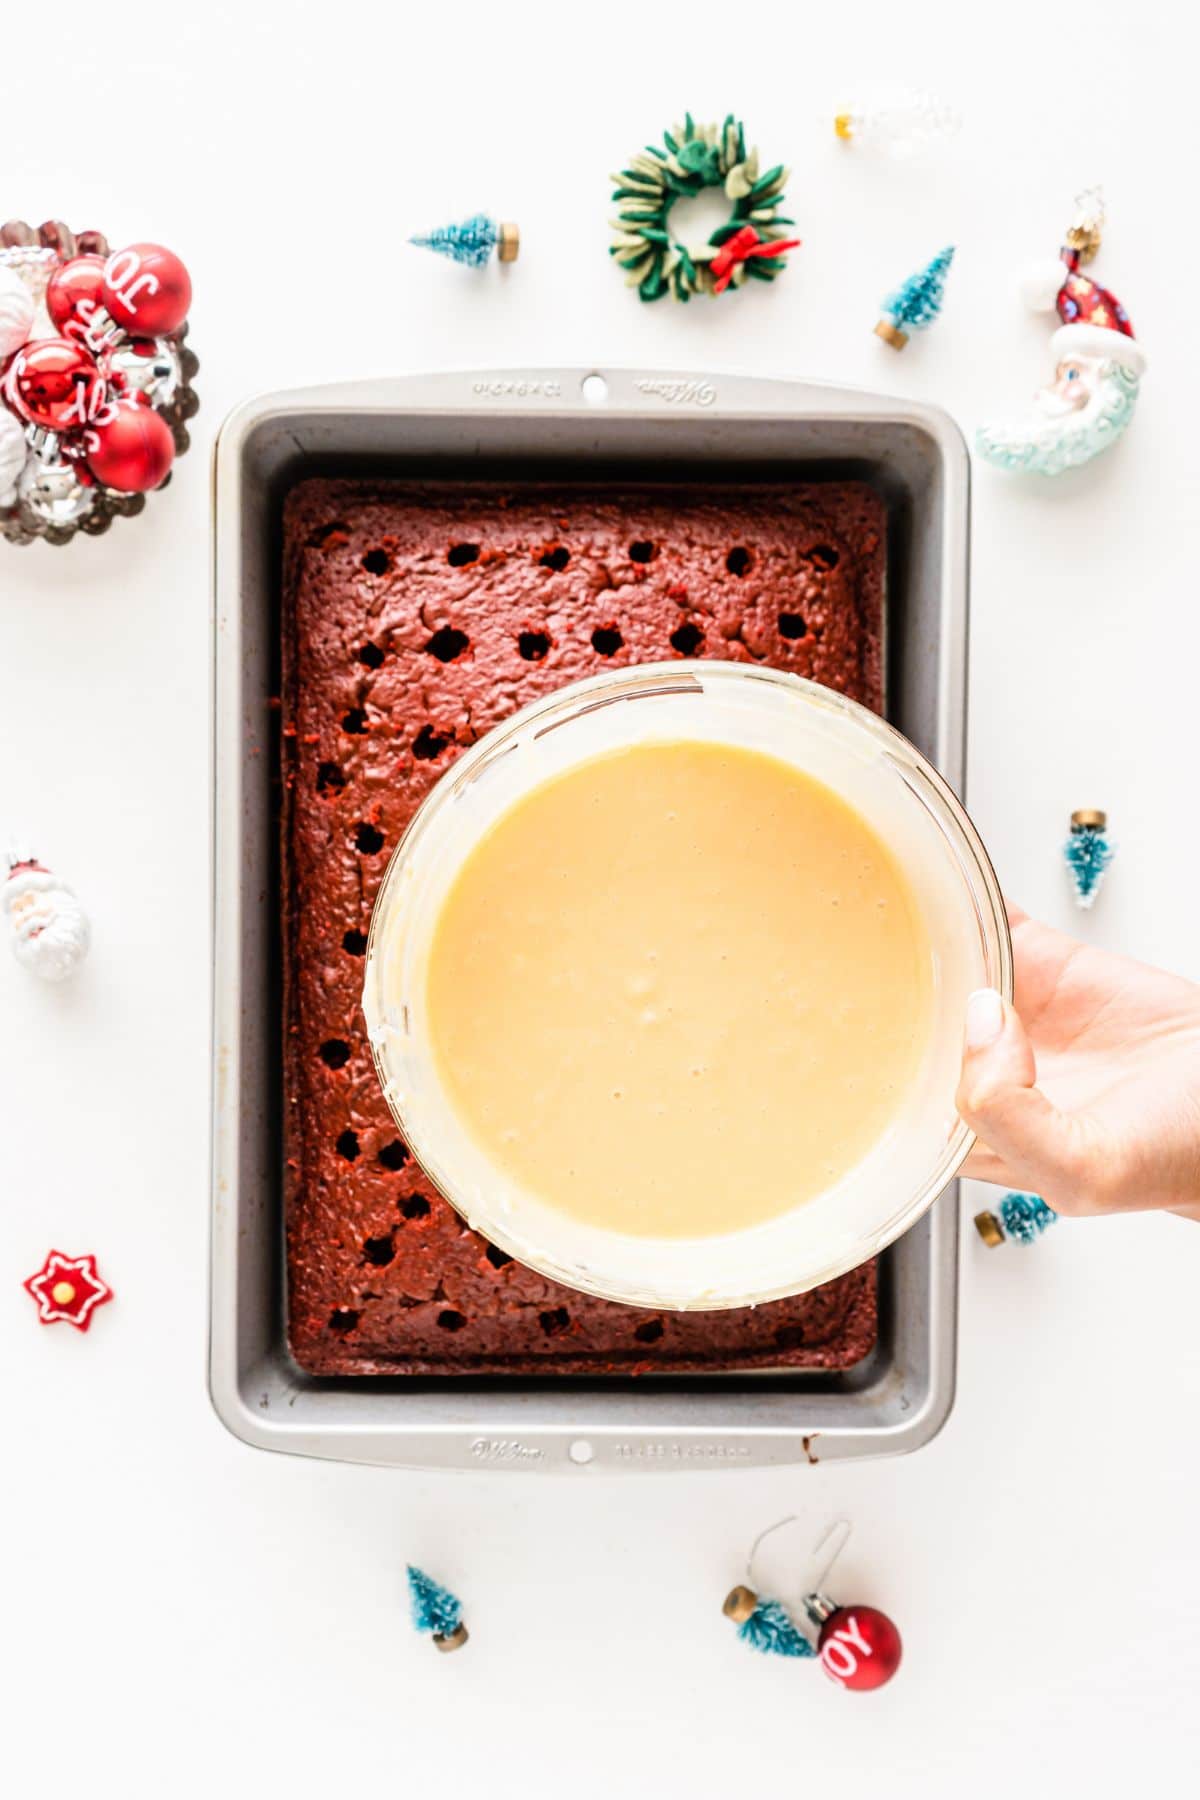
Step 6: Let the Filling set
Place in the refrigerator for at least 30 minutes to set.
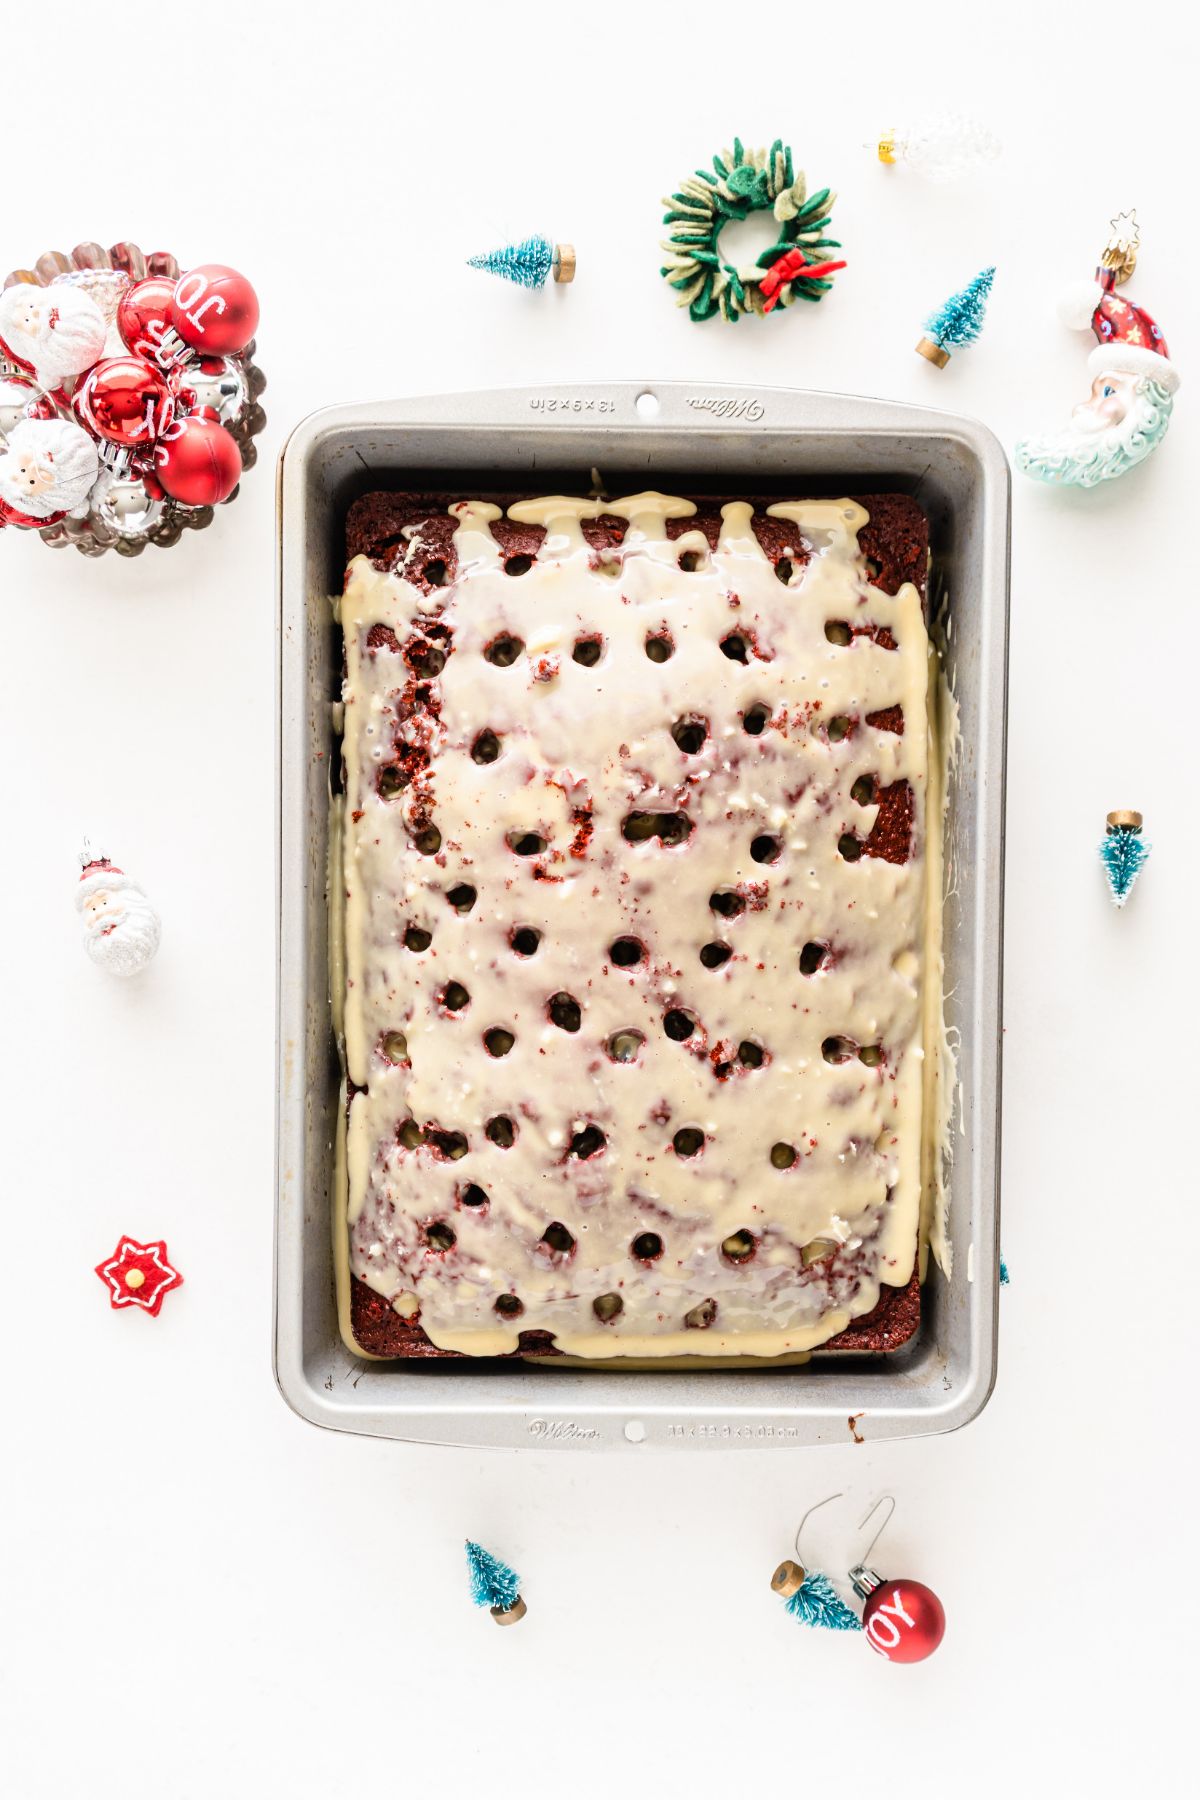
Step 7: Frost the Cake
After the cake chills, top with cream cheese frosting and return to the refrigerator until ready to serve.
Step 8: Serve and Enjoy
Before serving, top the cake with white chocolate curls and the sprinkles.
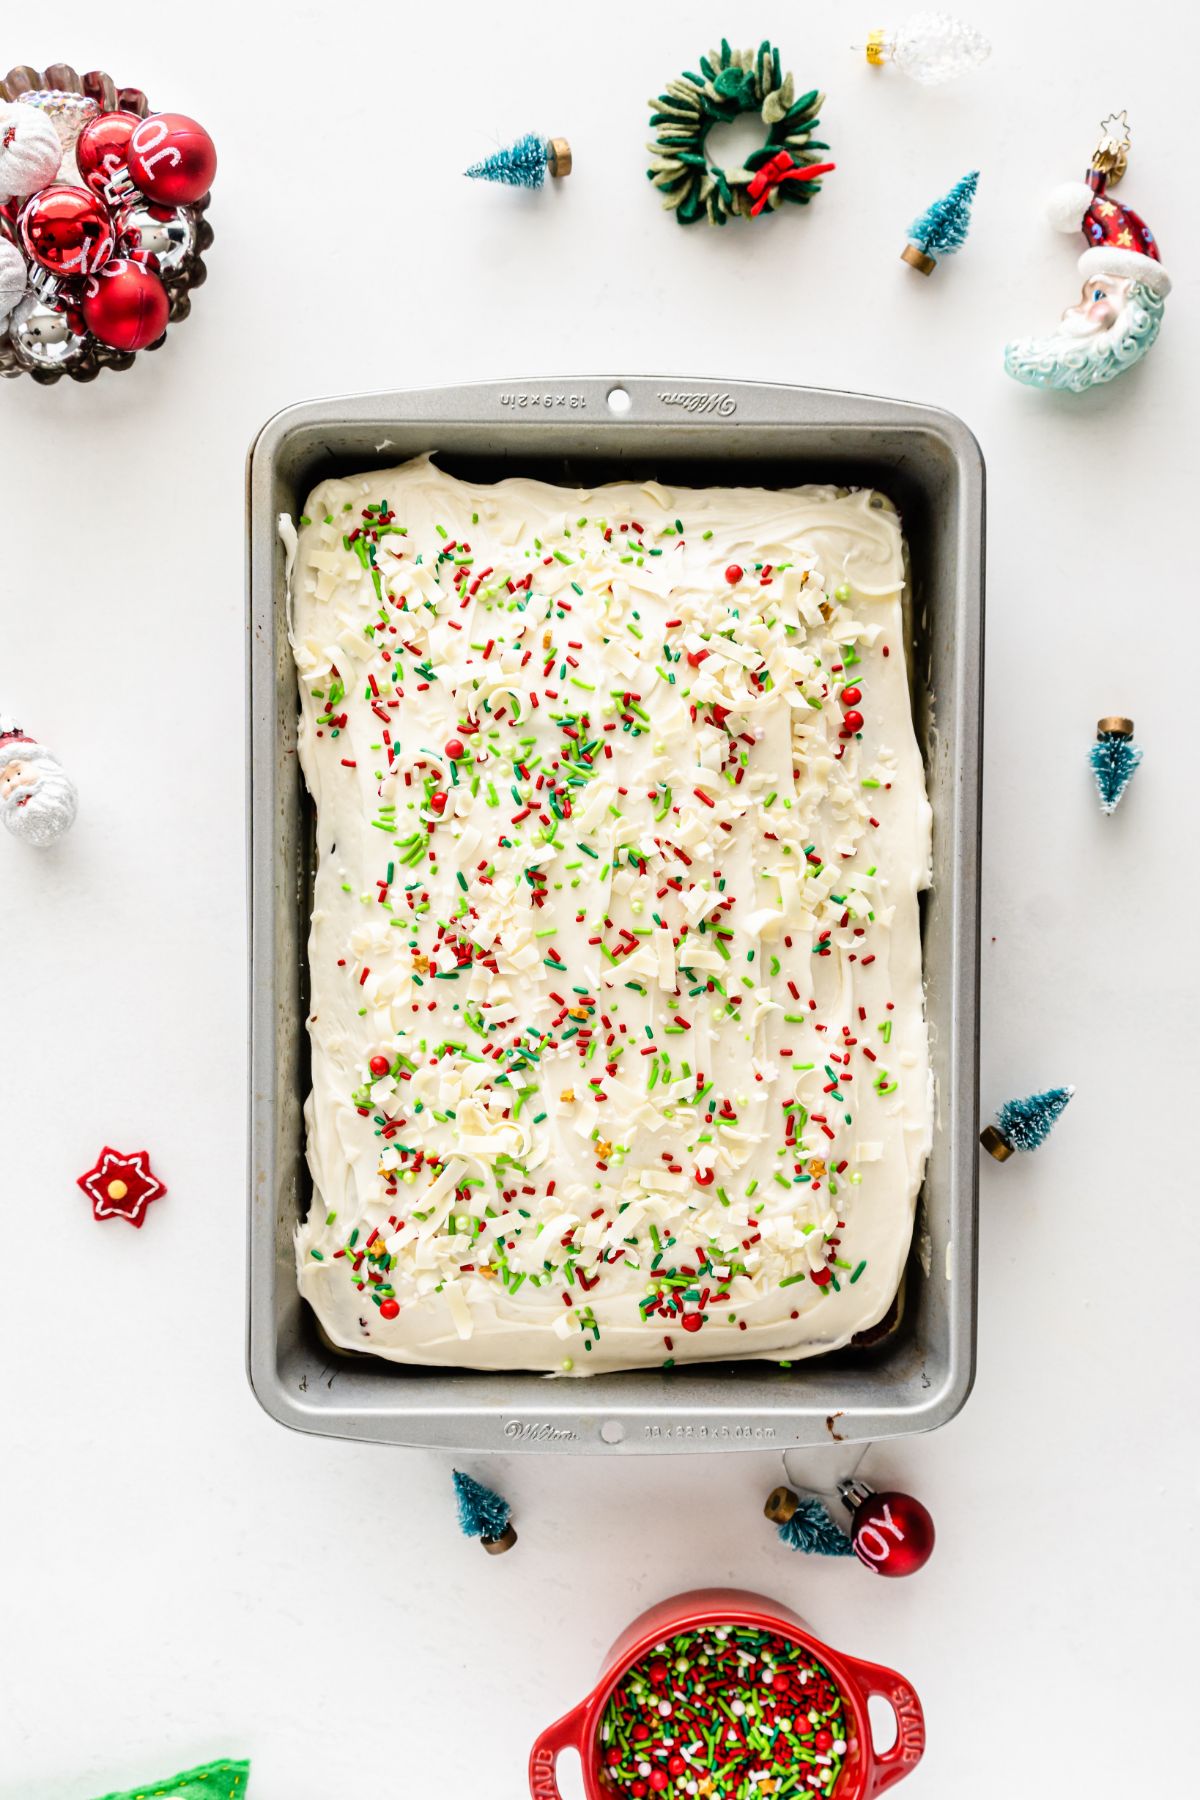
๐ฉโ๐ณ Pro Tips
Here are a few tips for this Christmas recipe to help make your experience even better.
- When preparing the cake batter, don’t overmix it, mix just until the ingredients are combined to avoid a dense cake.
- Let the cake cool completely before poking holes; warm cake may crumble.
- Poke the holes about 1โ2 inches apart for even distribution of the condensed milk mixture.
- Slowly pour the condensed milk mixture to ensure it soaks into the holes rather than pooling on top.
- Gently tap the pan on the counter after pouring the mixture to help it settle into the holes.
- Chilling the cake before frosting ensures the frosting spreads evenly and doesnโt pull up crumbs.
- Add sprinkles just before serving to prevent the colors from bleeding into the frosting.
- For best results, refrigerate the cake overnight to allow the flavors to meld and the texture to set.
โ Recipe FAQs
Cover the cake tightly with plastic wrap or a lid and refrigerate for up to 5 days. Itโs best served cold.
Yes, this cake is even better when made ahead. Prepare the cake and add the condensed milk mixture the day before.
Yes, poke cakes freeze well, but you should freeze your poke cake unfrosted. Just wrap the poke cake tightly in plastic wrap and then aluminum foil and store for up to one month in the freezer.
Thaw in the refrigerator overnight and frost and decorate on the day you plan to serve.
๐ Pairing
These are my favorite dishes to serve with this Chirstmas Poke Cake:
Ready to get cooking? Print off the recipe card below or toggle on Cook Mode to keep your screen from going dark while you follow along on your phone or tablet.
SAVE THIS RECIPE!
Enter your email below and I’ll send it straight to your inbox.
๐ Recipe
Christmas Poke Cake
Would you like to save this?
Equipment
- 13×9 pan
- Mixing bowl
- Microwave safe bowl
- wooden spoon
Ingredients
- 1 box red velvet cake mix prepare as directed
- 14 ounces sweetened condensed milk
- 1 cup white chocolate chips melted
- 16 ounces cream cheese icing can or homemade
- 1/4 cup Christmas sprinkles
- 2 tablespoons white chocolate curls
Instructions
- Prepare the red velvet cake mix according to the package and bake in a 13×9 pan.1 box red velvet cake mix
- Place the white chocolate chips in a microwave-safe bowl and microwave in 15-second intervals until completely melted.1 cup white chocolate chips
- Once the chocolate is completely melted, combine with the condensed milk stirring until completely combined and smooth.14 ounces sweetened condensed milk
- Once the cake has cooled, poke holes with the handle of a wooden spoon in rows.
- Pour the sweetened condensed milk mixture over the cake and push gently into the holes.
- Place in the refrigerator for at least 30 minutes to set.
- After the cake chills for 30 minutes, top with cream cheese frosting and return to the refrigerator until ready to serve.16 ounces cream cheese icing
- Before serving, top the cake with white chocolate curls and theย sprinkles.1/4 cup Christmas sprinkles, 2 tablespoons white chocolate curls
Notes
Pro Tips
- When preparing the cake batter,ย donโt overmixย it, mix just until the ingredients are combined to avoid a dense cake.
- Let the cake cool completelyย before poking holes; warm cake may crumble.
- Poke the holes about 1โ2 inches apartย for even distribution of the condensed milk mixture.
- Slowly pour the condensed milk mixtureย to ensure it soaks into the holes rather than pooling on top.
- Gently tap the pan on the counterย after pouring the mixture to help it settle into the holes.
- Chilling the cake before frostingย ensures the frosting spreads evenly and doesnโt pull up crumbs.
- Add sprinkles just before servingย to prevent the colors from bleeding into the frosting.
- For best results,ย refrigerate the cake overnightย to allow the flavors to meld and the texture to set.